Chapter 2 Playback and Recording 27
Chapter 2 Playback and Recording
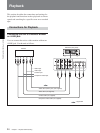
Settings for Playback
Preparation on the unit
Notes
• Text information is superimposed to VIDEO OUT
jack, S VIDEO OUT jack, and COMPONENT OUT
jacks. To record video signals without text data, set
DISPLAY OUTPUT switch to OFF (page 8).
For details on text data, see “Displaying Various Data”
on page 18.
• To view a tape recorded in HDV format by
connecting the unit to a monitor set that has a 4:3
aspect ratio, set [DOWN CONVERT] of
[VIDEO OUT] in [IN/OUT REC] menu to the
desired mode (page 47).
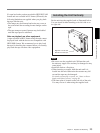
1 Power on the monitor, then set the monitor’s input
switch according to the signals input.
2 Turn the unit on.
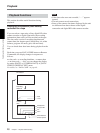
Playback Procedures
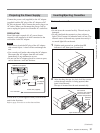
1 Insert a cassette and confirm that q (cassette)
indicator lights.
2 Press PLAY button on the unit.
The unit starts playback.
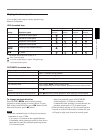
To stop playback
Press STOP button on the unit.
To pause playback
Press PAUSE button on the unit.
Notes
• If the unit is playing a portion of a tape where the
recording format changes between HDV, DVCAM,
and DV, the picture and sound are distorted on such
portions.
•You cannot play back an image recorded in DV (LP)
mode on the unit.
• If the unit is playing a tape recorded with mixed
video signals of the 60i system and 50i system, the
picture and sound will be distorted on a portion of a
tape where the recording system changes.
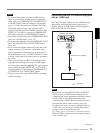
•During pause, the picture recorded on a tape in HDV
format cannot be output from
HDV/DV jack.


