


Chapter 2 Location and Function of Parts
2-6 Chapter 2 Location and Function of Parts
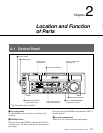
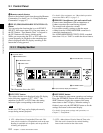
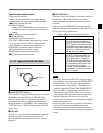
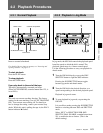
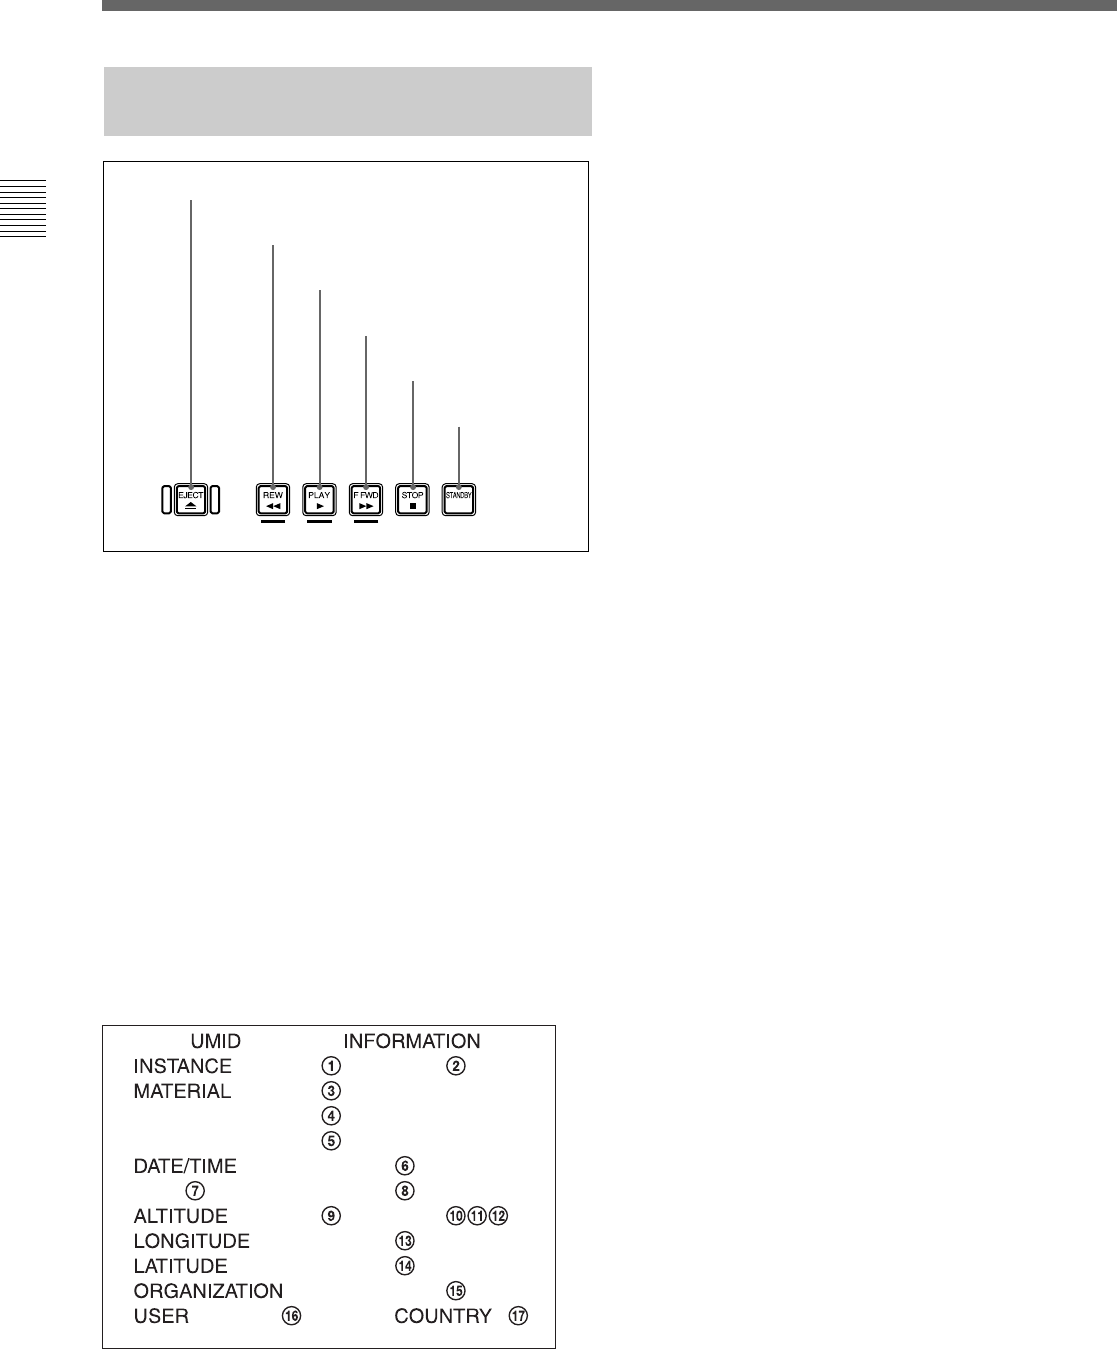
2-1-3 Tape Transport Control
Section
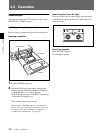
1 EJECT button
Press this button to eject the cassette.
2 REW (rewind) button
To rewind the tape, press this button. The REW
indicator lights. When you are using a tape containing
shot marks, press this button while holding down the
SHIFT button to cue-up the shot mark position located
just before the current position.
3 PLAY button
To start playback, press this button. The PLAY
indicator lights.
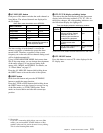
When you are using a tape containing UMID data,
press this button while holding down the SHIFT button
to display UMID data on the monitor.
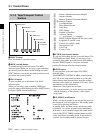
1 Instance Number Generation Method
2 Instance Number
3 Material Number Generation Method
4, 5 Material Number
6 Year/Month/Date
7 Hour:Minute:Second
8 Time Zone
9 GPS Altitude
0 Number of Satellites
qa Auxiliary Device
(“ ”: not equiped, “+”: equiped)
qs PDOP (Position Dilution Of Precision value)
qd Longitude (E: east/W: west)
qf Latitude (S: south/N: north)
qg Organization Code
qh User Code
qj Country Code
4 F FWD (fast forward) button
To start fast forwarding the tape, press this button. The
F FWD indicator lights. When you are using a tape
containing shot marks, press this button while holding
down the SHIFT button to cue-up the shot mark
position located just after the current position.
5 STOP button
To stop playback, press this button. The STOP
indicator lights.
If REFERENCE SYSTEM ALARM, extended menu
item 105 of the setup menu, has been set to ON, this
button flashes when abnormalities about the external
reference video signals are detected (J-H3 only). Those
abnormalities are described below.
•Reference video signals are not input.
• The system frequency set in this unit does not match
with the frequency of the reference video signals
being input.
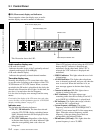
6 STANDBY on/off button
When a cassette is inserted in the unit and the unit is in
the Stop mode, you can toggle the VTR standby mode
on and off by pressing this button.
In standby mode, the drum rotates and the tape sticks
to the drum. As a result, playback starts immediately.
If the unit is set to 8 minutes elapse (this value can be
varied using STILL TIMER extended menu item 501
of the setup menu) in standby mode, it automatically
switches out of standby mode to protect the tape.
1 EJECT button
2 REW button
3 PLAY button
4 F FWD button
5 STOP button
6 STANDBY
on/off button
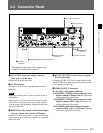
2-1 Control Panel