62
EN
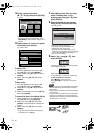
2 Select the icon using [L \ P],
then press [ENTER] within 1 second,
or wait for 1 second to display the
selection menu.
3 Select a desired audio soundtrack or
audio channel using [U \ D], then
press [ENTER].
With a DVD-Video, VR mode DVD-RW, or DivX
®
files:
Audio soundtrack will switch.
Example:
English J Spanish J French
If the title contains both main and sub audio, you
can further select L (main), R (sub), L/R (mixed of
main and sub).
With an Audio CD or Video CD:
The Audio channel will switch.
Example:
L/R J L J R
Note
• For some discs, it is only possible to change the
soundtrack from the disc menu. Press [TOP MENU]
or [DISC MENU] to display the disc menu.
Switching Virtual Surround System
You can enjoy stereophonic virtual space through
your existing 2 channel stereo system.
For audio CD or MP3, skip to step
2.
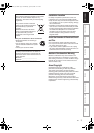
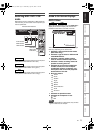
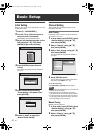
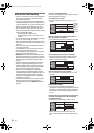
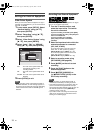
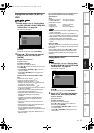
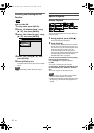
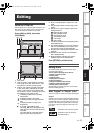
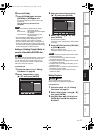
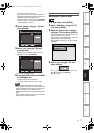
1 During playback, press [DISPLAY].
Display menu will appear.
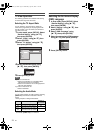
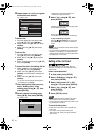
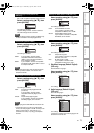
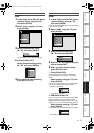
2 Select the icon using [L \ P],
then press [ENTER] within 1 second,
or wait for 1 second to display the
selection menu.
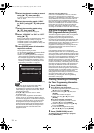
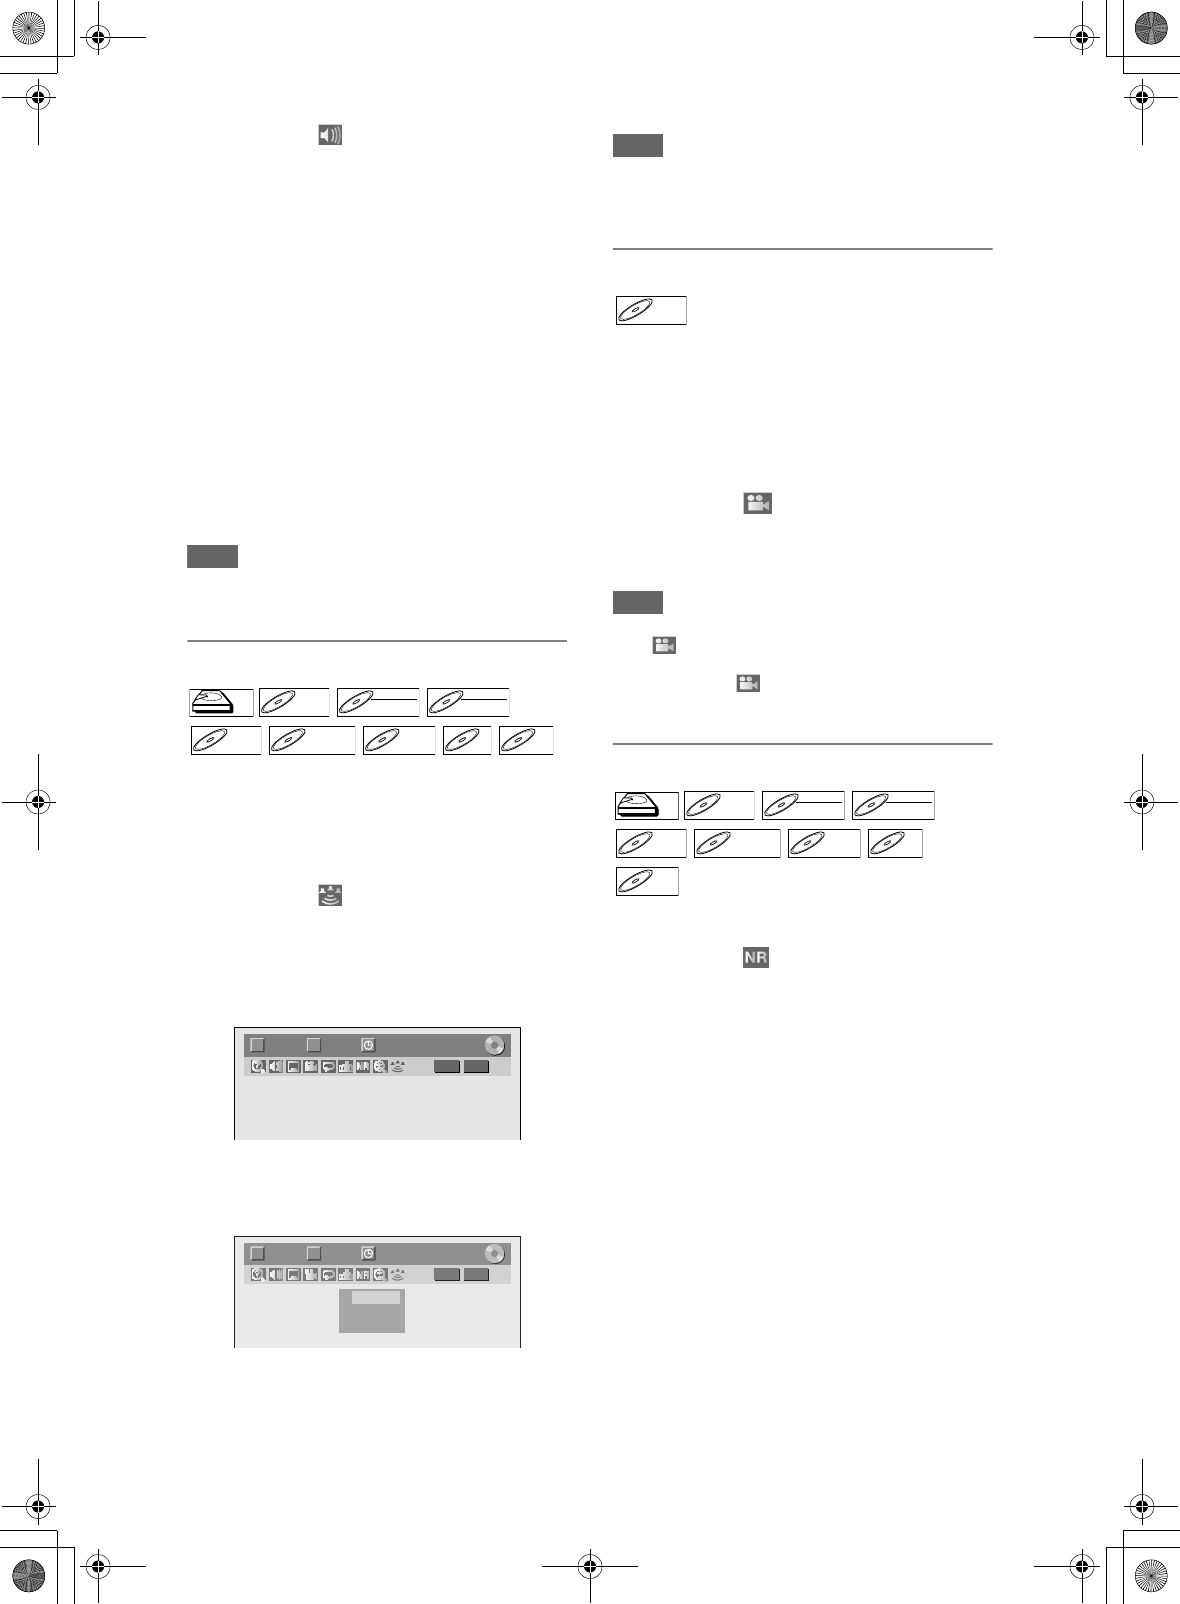
Virtual Surround menu will appear.
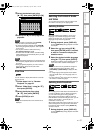
e.g.) DVD-Video
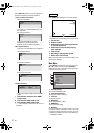
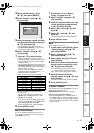
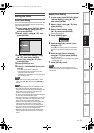
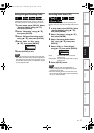
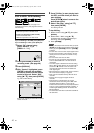
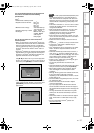
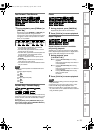
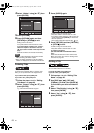
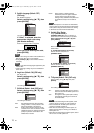
3 Select “OFF”, “Type 1” or “Type 2”
using [U \ D], then press [ENTER].
e.g.) DVD-Video
Note
• Select Virtual Surround to “OFF” in case the sound
is distorted.
• The setting will be kept “OFF” when the unit is
turned off.
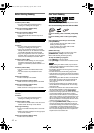
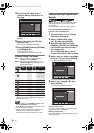
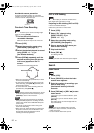
Switching Camera Angles
Some DVD-Videos feature scenes shot from two or
more angles. The disc case is usually marked with an
angle icon if the disc has multi-angle scenes.
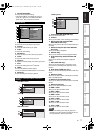
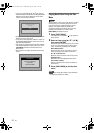
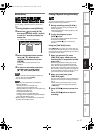
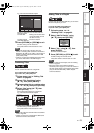
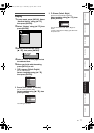
1 During playback, press [DISPLAY].
The angle icon appears when a switching camera
angle is available. (Available only when the angle
icon appears in bottom right on the TV screen.)
2 Select the icon using [L \ P],
then press [ENTER].
The angle will switch each time you press
[ENTER].
Note
• If the Angle Icon setting is “OFF” in “Setup” menu,
the icon will appear only when the disc is played
back and the Display menu appears. (See page 76.)
• Even when the icon is not displayed, you can
select the angle if the currently played back title has
at least two multi-angle scenes.
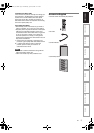
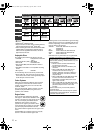
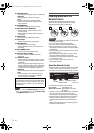
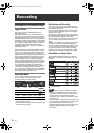
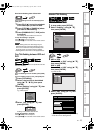
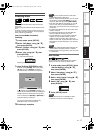
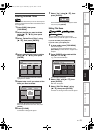
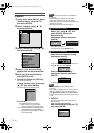
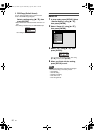
Reducing Block Noise
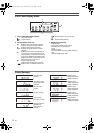
1 During playback, press [DISPLAY].
2 Select the icon using [L \ P],
then press [ENTER] within 1 second,
or wait for 1 second to display the
selection menu.
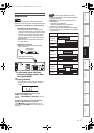
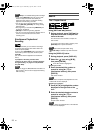
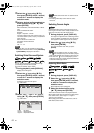
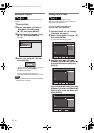
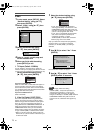
Noise Reduction menu will appear.
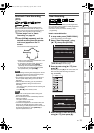
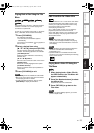
3 Select the desired option using
[U \ D], then press [ENTER].
This function reduces noise in the playback picture.
When playing back discs recorded in long time modes
such as EP or SLP, select “Type 1” or “Type 2”.
“Type 2” is more effective.
When playing back discs with a little noise, such as
DVD-Videos, select “OFF”.
• OFF: No effect
• Type 1: Natural effect
• Type 2: Emphasised effect
HDDHDD
D
VD-V
DVD-V D
VD-R
W
DVD-RW
Video
DVD-RWDVD-RW
VR
DVD-RDVD-R D
VD+R
W
DVD+RW D
VD+R
DVD+R CD
CD MP3
MP3
1/ 5 1/ 5
DVD
0:01:00 / 1:23:45
Video
T C
1/ 5 1/ 5
DVD
0:01:00 / 1:23:45
Video
T C
OFF
Type 1
Type 2
DVD-VDVD-V
HDD
HDD
DVD-VDVD-V D
VD-R
W
DVD-RW
Video
DVD-RWDVD-RW
VR
DVD-RDVD-R D
VD+R
W
DVD+RW D
VD+R
DVD+R VCD
VCD
DivX
®
DivX
®
E3LG0ED_EN.book Page 62 Wednesday, April 30, 2008 11:52 AM