


78
EN
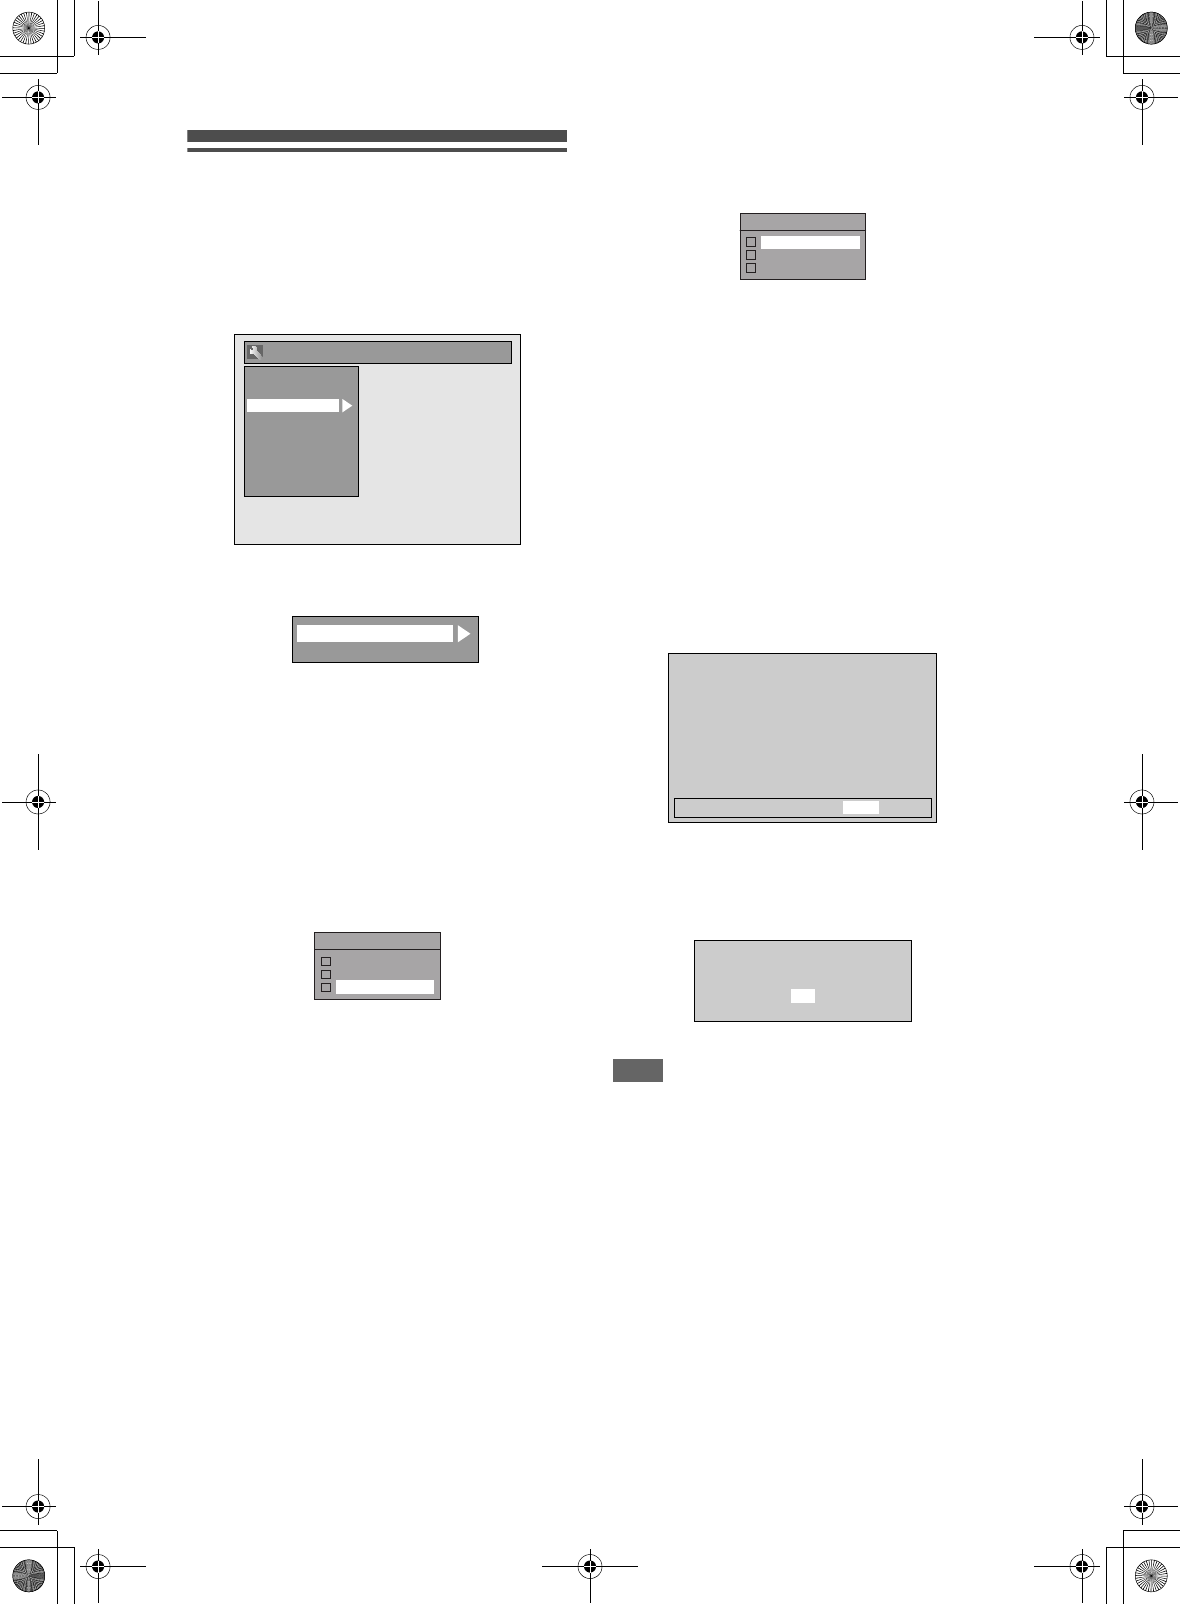
Video
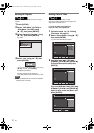
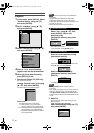
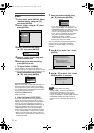
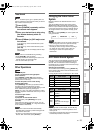
1 In stop mode, press [SETUP]. Select
“General Setting” using [U \ D],
then press [ENTER].
2 Select “Video” using [U \ D], then
press [ENTER].
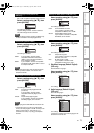
3 Select the desired item using
[U \ D], then press [ENTER].
4 Refer to 1. and 2. on this page and
set the selected item.
5 When you finish with the setting,
press [SETUP] to exit.
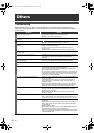
1. TV Aspect (Default: 16:9 Wide)
You can select the TV aspect ratio to match the
formats of what you are playing back with the unit and
your TV screen (4:3 standard or 16:9 widescreen TV).
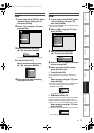
Select the desired setting using
[U \ D], then press [ENTER].
If you have a standard TV:
Select “4:3 Letter Box”, so that black bars appear on
the top and bottom of the TV screen when playing
back a wide-screen picture. Select “4:3 Pan & Scan”
for a full height picture with both sides trimmed when
playing back wide-screen picture.
If you have a widescreen TV:
Select “16:9 Wide”.
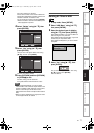
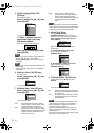
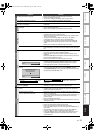
2. Video Out (Default: SCART (RGB))
This unit is compatible with the Progressive Scan
System. The feature provides you with the higher
definition images than the traditional output system
does. You can enjoy Progressive Scan image by
using HDMI OUT or COMPONENT VIDEO OUT. To
utilise the Progressive Scan system through the
COMPONENT VIDEO OUT, you must set Video
Output mode in “Setup” menu by following the steps
on right. “SCART (RGB)” is selected as the default.
• When you set the “Video Out” setting, make sure
that the AV1 (TV) Scart socket is connected to your
TV with Scart cable.
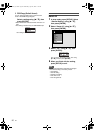
1 Select the desired setting using
[U \ D], then press [ENTER].
• If your TV is compatible with progressive
scanning (576p/480p), connect the TV to the
COMPONENT VIDEO OUT jacks of this unit
and select “Component (Progressive)” and set
your TV to the progressive scan mode.
• If your TV is not compatible with progressive
scan, select “Component (Interlace)” for
component connection, or select
“SCART (RGB)” for Scart cable connection.
• Refer to page 19 for more details.
Only if you select the “Component (Progressive)”,
proceed to step 2. If you select “Component
(Interlace)” or “SCART (RGB)”, your setting is
activated.
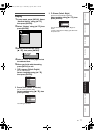
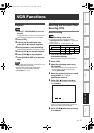
2 Use [L \ P] to select “Yes”. Press
[ENTER].
Final confirmation window will appear.
3 Use [U \ D] to select “Yes”. Press
[ENTER] within 15 seconds.
Your setting is activated.
Note
• When changing “Video Out” setting
(“SCART (RGB)”, “Component (Interlace)” or
“Component (Progressive)”), connect to the
corresponding jack on the TV. If the setting is
changed, for example, to “SCART (RGB)” while the
COMPONENT VIDEO OUT jacks are used to
connect to the TV, a distorted video signal may
result.
Playback
Display
Video
Recording
Clock
Channel
DivX
HDMI
Reset All
General Setting
1
2
TV Aspect
Video Out
TV Aspect
4:3 Letter Box
4:3 Pan & Scan
16:9 Wide
Video Out
SCART (RGB)
Component (Progressive)
Component (Interlace)
Activating progressive scan:
Check your TV has progressive scan
and connect with component video cable.
NOTE:
If there is no picture or picture is
distorted after selecting “Yes”,
wait about 15 seconds for autorecovery.
Activate? Yes No
Confirm again to use progressive scan.
If picture is good, select “Yes”.
Yes
No
E3LG0ED_EN.book Page 78 Wednesday, April 30, 2008 11:52 AM