MANUAL
V1.0
TV+
OTHER RECORDING FUNCTIONS > P. 69
RECORDING PROCEDURE
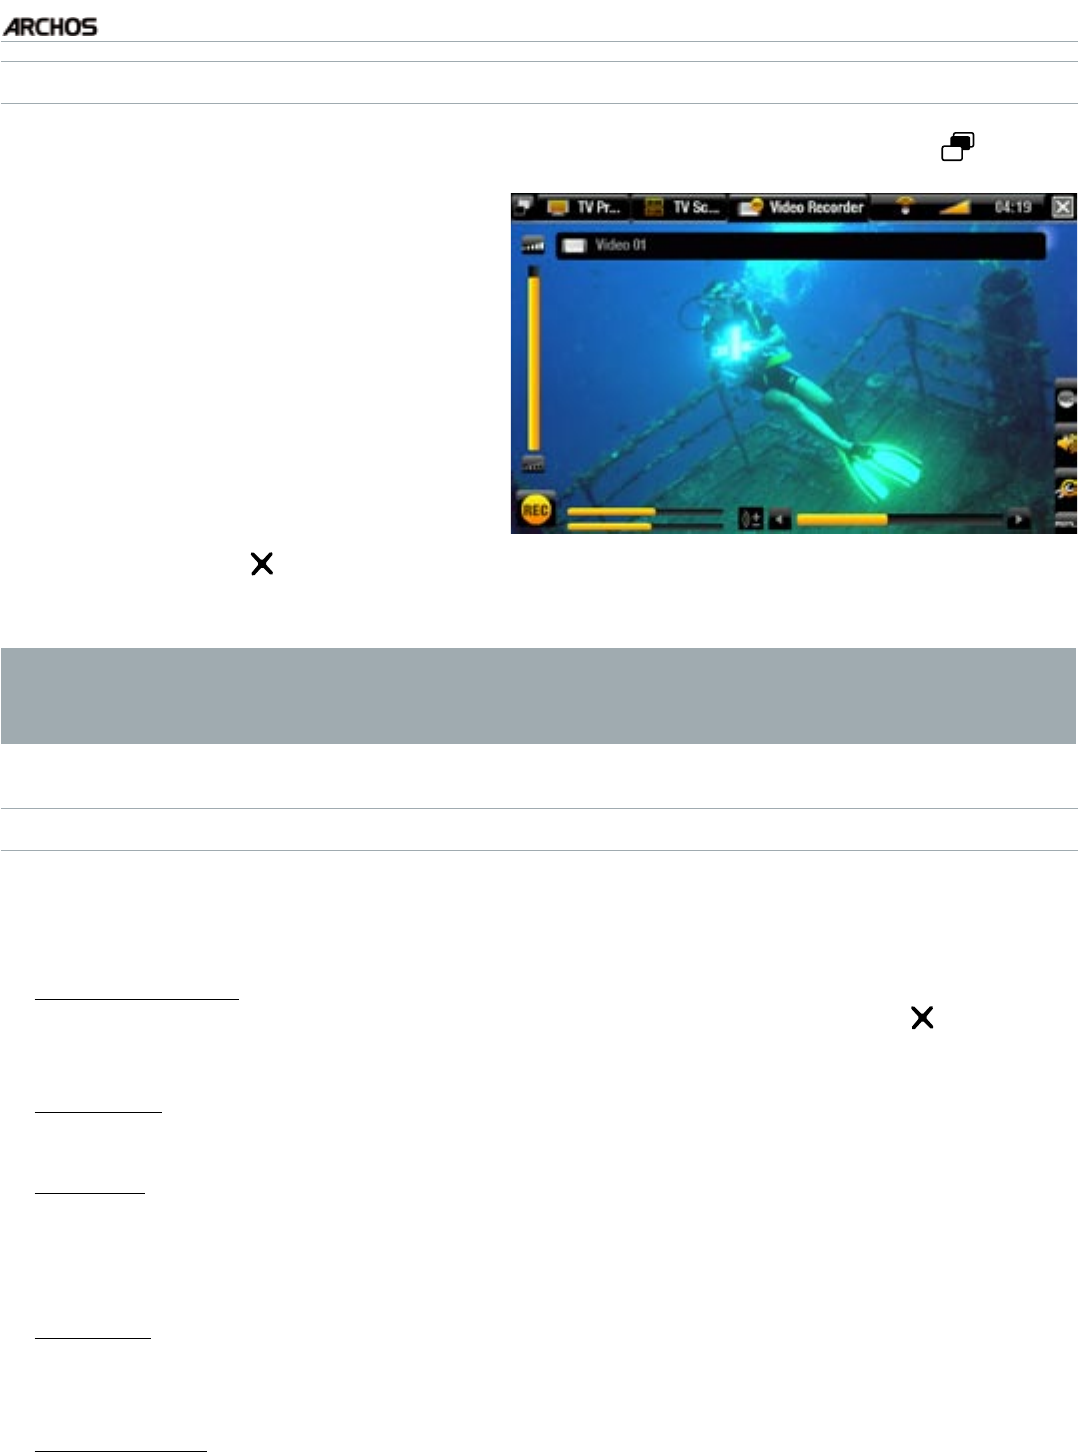
In the Home screen, select the “Recorder” icon and use the Tab button to ac-
cess the “Video Recorder” mode.
This screen will allow you to adjust
the recording sound gain (left/right
arrows) as well as congure other re-
cording parameters
(see next section)
.
You can now start a video recording
by pressing the OK button. You can
pause and resume your recording at
any time (OK button).
2.
3.
Close the screen to stop and save the recording*. The automatic stop setting
(“Auto Stop Rec”) is preset to 2 hours.
* All video recordings made by your ARCHOS device are saved in the Video/
(Rec) folder. If you wish to keep them in a different location, you can use the
“Move” function of the ARCHOS le browser after recording.
“VIDEO RECORDER” SETTINGS
To access the “Video recorder” settings screen, select the “Settings” menu item:
“Auto Stop Rec”:
the duration of time after which the ARCHOS will automatically stop re-
cording. If you disable this function, the recording will continue until you press or until the
entire hard drive lls up.
“Rename”:
allows you to dene the lename before the recording begins, using the remote
control’s keyboard.
“Source”:
you can choose which video input (“Auto”/“Composite”/“S-Video”/“Scart”/
“Component”/“RGB”) you want the ARCHOS to use. Normally, with a good video signal,
you can set it to “Auto” and your ARCHOS will scan its inputs to see which one is receiving
video.
“Format”:
“Auto”/“4:3”/“5:3”/“16:9”/“2.35”. This is the aspect ratio of the screen that the
ARCHOS device will record. You can set this manually, but in most cases you can just leave it
on “Auto”.
“Widescreen”:
“Auto”/“On”/“Off”. If your tuner (cable box, satellite receiver, etc.) outputs a
video signal in widescreen, you can force the ARCHOS to recognize this signal. This should be
set to “On” if recordings show people that look unusually tall and thin. But in most cases you
can just leave it on “Auto”.
1.
4.
-
-
-
-
-
