ASUS TS100-E4/PI2 5-11
4. Exit the RAID conguration utility and reboot the system.
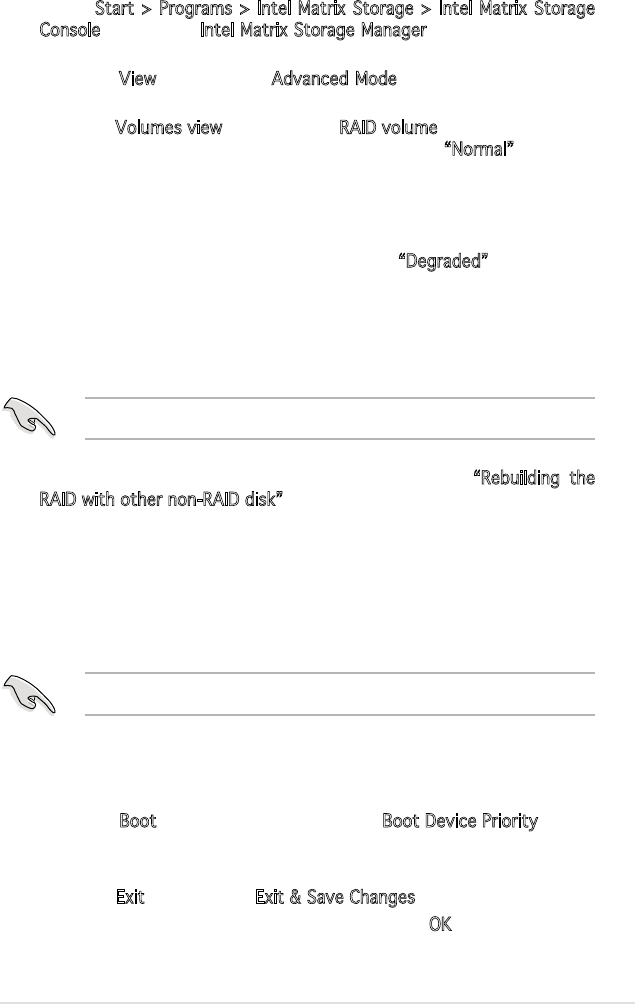
5. Select
Start > Programs > Intel Matrix Storage > Intel Matrix Storage
Console or click the Intel Matrix Storage Manager tray icon to load the
Intel Matrix Stroage Manager utility.
6. From the
View menu, select Advanced Mode to display the details of
the Intel Matrix Storage Console.
7. From the
Volumes view option, select RAID volume to view the rebuild-
ing status. When nished, the status is changed to “Normal”.
Rebuilding the RAID with a new hard disk
If any of the SATA hard disk drives included in the RAID array failed, the
system displays the status of the RAID volume as “Degraded” during POST.
You may replace the disk drive and rebuild the RAID array.
To rebuild the RAID with a new hard disk:
1. Remove the failed SATA hard disk and install a new SATA hard disk of
the same specication into the same SATA Port.
5.2.7 Setting the Boot array in the BIOS Setup
Utility
You can set the boot priority sequence in the BIOS for your RAID arrays when
creating multi-RAID using the Intel
®
Matrix Storage Manager.
2. Reboot the system and then follow the steps in section
“Rebuilding the
RAID with other non-RAID disk” on page 5-12.
Select a destination disk with the same size as the original hard disk.
To set the boot array in the BIOS:
1. Reboot the system and press <Del> to enter the BIOS setup utility dur
-
ing POST.
2. Go to the
Boot menu and select the option Boot Device Priority.
3. Use up/down arrow keys to select the boot priority and press <Enter>.
Refer to “4.6.1 Boot Device Priority” for details.
4. From the
Exit menu, select Exit & Save Changes, then press <Enter>.
5. When the conrmation window appears, select
OK, then press <En-
ter>.
Set at least one of the arrays bootable to boot from the hard disk.


