


2-7ASUS TS100-E4/PI2
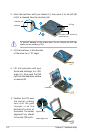
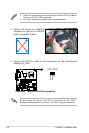
The CPU fits in only one correct orientation. DO NOT force the CPU
into the socket to prevent bending the connectors on the socket and
damaging the CPU!
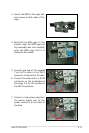
6. Close the load plate (A), then
push the load lever (B) until it
snaps into the retention tab.
A
B
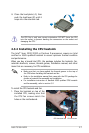
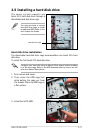
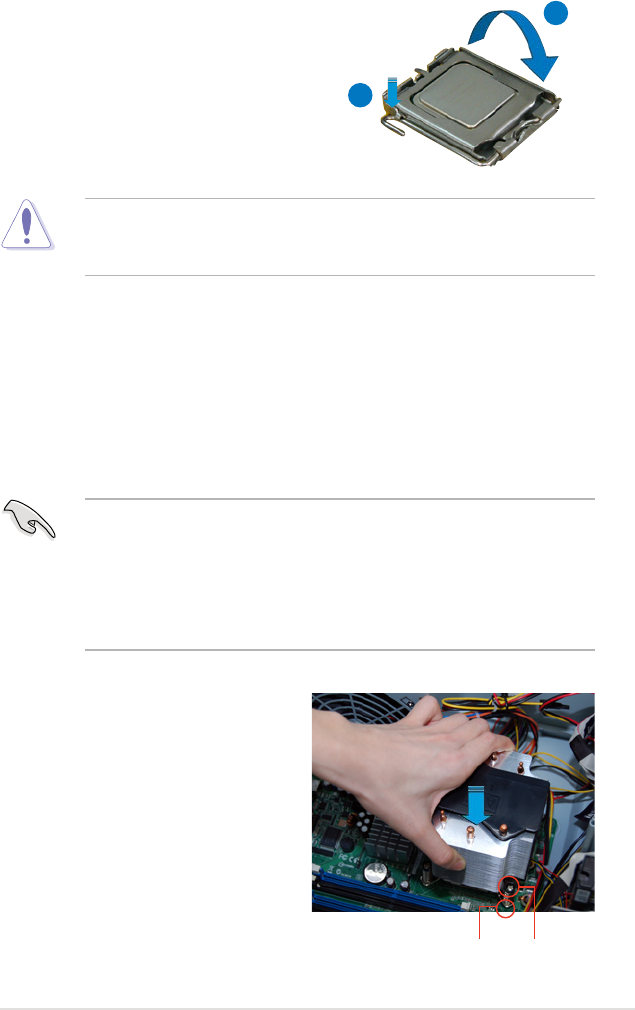
To install the CPU heatsink and fan:
1. Place the heatsink on top of the
installed CPU, making sure that
the CPU fan screws match the
holes on the motherboard.
CPU fan screw
CPU fan screw hole
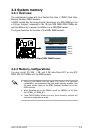
The Intel
®
Xeon 3200/3000 or Pentium D processors require an Intel
certied or ASUS qualied heatsink to ensure optimum thermal condition
and performance.
When you buy a boxed Intel CPU, the package includes the heatsink, fan,
retention brackets, screws, thermal grease, installation manual, and other
items that are necessary for CPU installation.
2.3.2 Installing the CPU heatsink
•
Make sure that you have applied the thermal grease to the top of
the CPU before installing the heatsink and fan.
•
Refer to the installation manual that came with the CPU package for
details on heatsink/fan assembly and installation.
•
For installation instruction of bundled ASUS qualied CPU heatsink
and fan assembly, refer to section 3.2.