


CHAPTER 7 - EDITING FEATURES 35
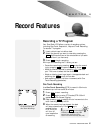
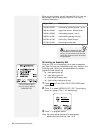
4 Play the source tape in Deck 1 to the beginning of the
first scene (in our example this is tape counter position
0:01:08). Press the
BEGIN
key to mark the beginning of
the scene.
5 Play the tape to the end of the scene (in our example this
is tape counter position 0:03:34). Press the
END
key to
mark the end of the scene.
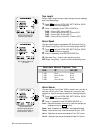
Note: After you program each scene, the next scene
number will blink indicating it’s ready to be
programmed.
6 Press the number for the next scene you want to
program (in our example, scene 2).
7 Repeat steps 4-6 until all scenes are programmed.
8 Press
STOP
to stop the tape in Deck 1.
Note: You cannot eject the tape in Deck 1 with the
remote control if there are scenes in the Edit List.
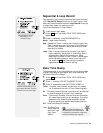
9 Load a blank tape into Deck 2.
Press the
COPY TAPE
key. The Dual-Deck VCR will automati-
cally copy each scene from Deck 1 to Deck 2 in the order
programmed.
When editing is complete, stop Deck 2.
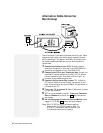
Sync Editing
You can also perform assembly editing manually, also known
as Sync (Synchronized) Editing.
Note: For best results when Sync editing, be sure to:
• Turn on the On-Screen Display (p.12)
• Turn off EZ-Copy (p.19)
• Turn off Auto Play (p.23)
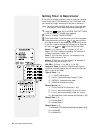
1 Insert the source tape into Deck 1.
2 Insert the target tape into Deck 2.
3 Press
DECK 2
to select Deck 2.
4 Play the target tape in Deck 2 to approximately 3
seconds after the end of the last frame of the last scene,
then press
PAUSE/STILL
.
5 Press
RECORD
for Deck 2. This puts the deck into Record
Pause mode.
6 Press
DECK 1
to select Deck 1.
7 Play the source tape in Deck 1 to the beginning of the
desired scene and press
PAUSE/STILL
. The Copy Tape button
will blink.
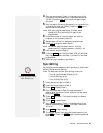
8 Push
COPY TAPE
to begin editing.
9 The source tape will copy onto the target tape until you
press
STOP
on Deck 2, or
COPY TAPE
again to make additional
Sync Edits.
The Copy Tape Button makes
Sync Editing a snap
10
11