21
INSTALLATION
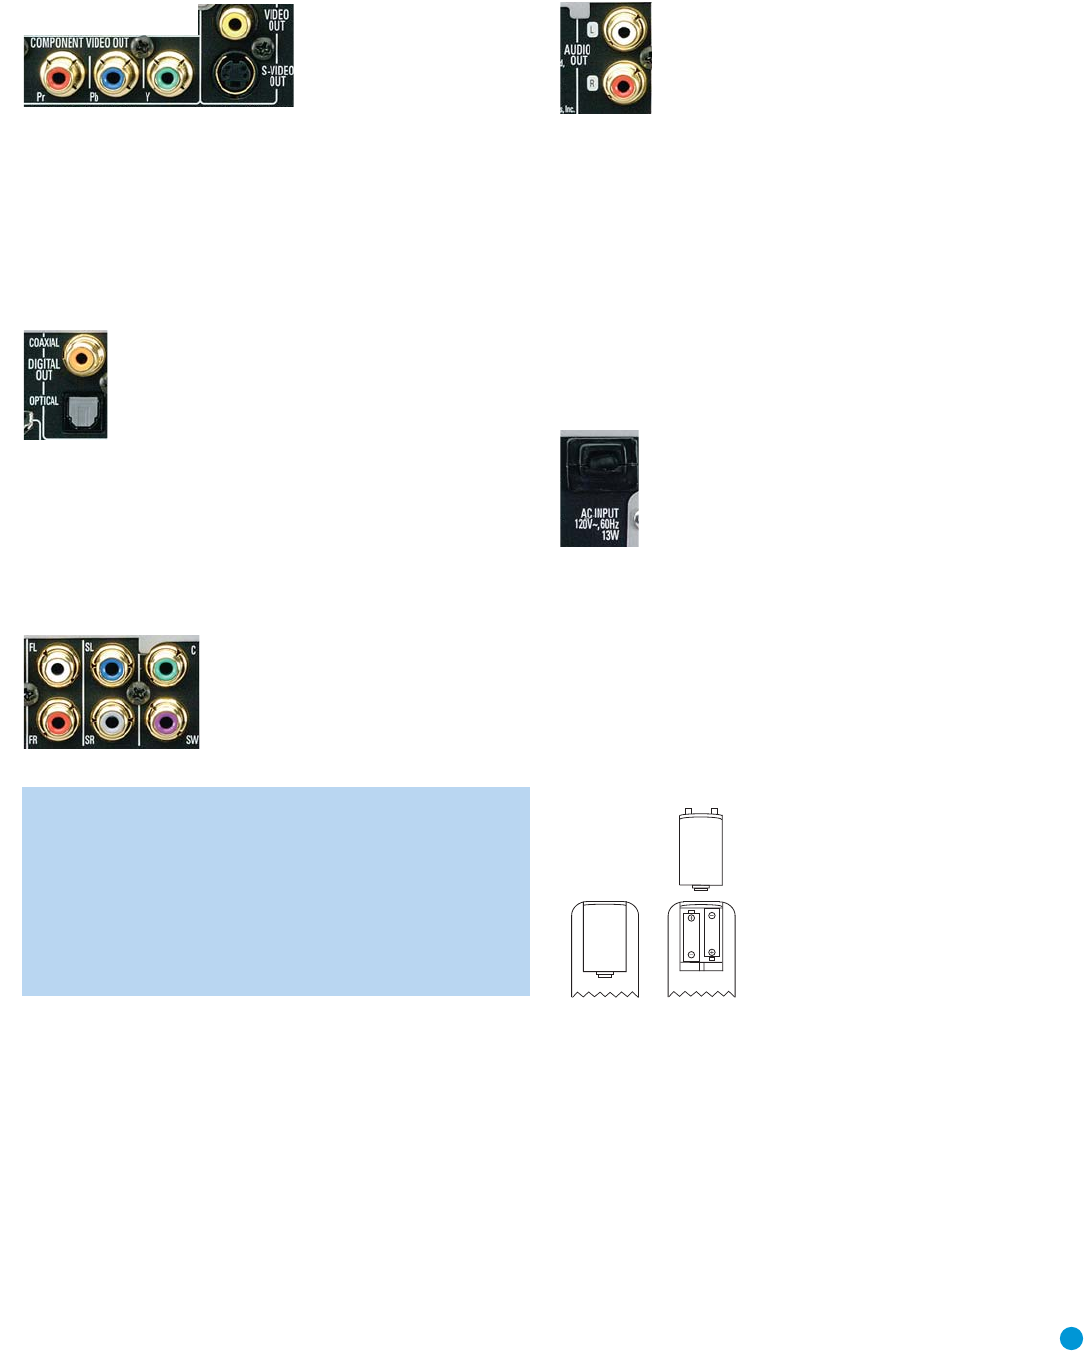
Figure 10 (repeated) – Component, S- and Composite Video Outputs
If your receiver is equipped with digital audio inputs, then select
either
a
coaxial or optical digital audio input, and connect it to the corresponding
output on the DVD 38. See Figure 12. This step also applies to a
receiver that is only capable of HDMI switching and cannot process
the audio portion of the HDMI signal. If your HDMI-capable receiver
processes the HDMI audio, then do not make another digital audio
connection.
Figure 12 – Coaxial and Optical Digital Audio Outputs
If you wish to enjoy DVD-Audio discs in their native lossless format,
connect the DVD 38’s 6-Channel Analog Audio Outputs to the corre-
sponding 6-channel analog audio inputs on the receiver. This connection
is necessary because the digital content is copy-protected and
decoded by the DVD 38, with only the analog audio output available.
See Figure 13.
Figure 13 – 6-Channel Analog Audio Outputs
NOTE: When using the 6-Channel Analog Audio Outputs,
remember to adjust the Bass Management setting in the AUDIO
SETUP menu to On if the inputs on your receiver are “direct”,
meaning that the receiver does not perform any bass manage-
ment on the signal; or to Bypass if the receiver does perform
bass management on the 6-channel inputs, which may be
indicated by calling them 6-channel DVD-Audio inputs. Consult
your receiver’s owner’s manual for more information.
As explained in the Connections section, there may be several reasons
for using the DVD 38’s Analog Audio Outputs in addition to the Digital
Audio Outputs. If you wish to make recordings, to use the DVD 38 as
an audio source for a multiroom system, to play 96kHz discs when your
receiver is not capable of processing 96kHz audio, or if your receiver
is not equipped with digital audio inputs, then connect the DVD 38’s
2-Channel Analog Audio Outputs to any pair of analog audio inputs
on the receiver. See Figure 11.
Figure 11 (repeated) – 2-Channel Analog Audio Outputs
Even if you connected one of the DVD 38’s digital audio outputs to
your receiver, you may wish to connect the 2-Channel Analog Audio
Outputs to your TV (if it isn’t HDMI-capable) so that you may watch a
DVD without turning on your complete home theater system. If you
make this connection, remember to also connect one of the DVD 38’s
video outputs directly to the TV.
Step Two – Plug In AC Power
Having made all of your wiring connections, it is now time to power
up the DVD 38. Plug the AC Power cord into a working, unswitched
AC outlet. See Figure 14.
Figure 14 – AC Input for Power Cord
Step Three – Insert Batteries in Remote
The DVD 38 remote control uses two AAA batteries (included).
To remove the battery cover located on the back of the remote, firmly
press the ridged area and slide the cover towards the bottom of
the remote.
Insert the batteries as shown in Figure 15, making sure to observe
the correct polarity.
Figure 15 – Remote Battery Compartment
When using the remote, remember to point the lens toward the front
panel of the DVD 38. Make sure no objects, such as furniture, are
blocking the remote’s path. Bright lights, fluorescent lights and plasma
video displays may interfere with the remote’s functioning. The remote
has a range of about 20 feet, depending on the lighting conditions.
It may be used at an angle of up to 30 degrees to either side of the
DVD 38.
If the remote seems to operate intermittently, make sure the batteries
have been inserted correctly, or replace all three batteries with fresh ones.
DVD 38 OM(color).qxd 2/7/07 3:57 PM Page 21


