Administrator’s Guide and Operating Instructions
26
6.8 Camera Setup
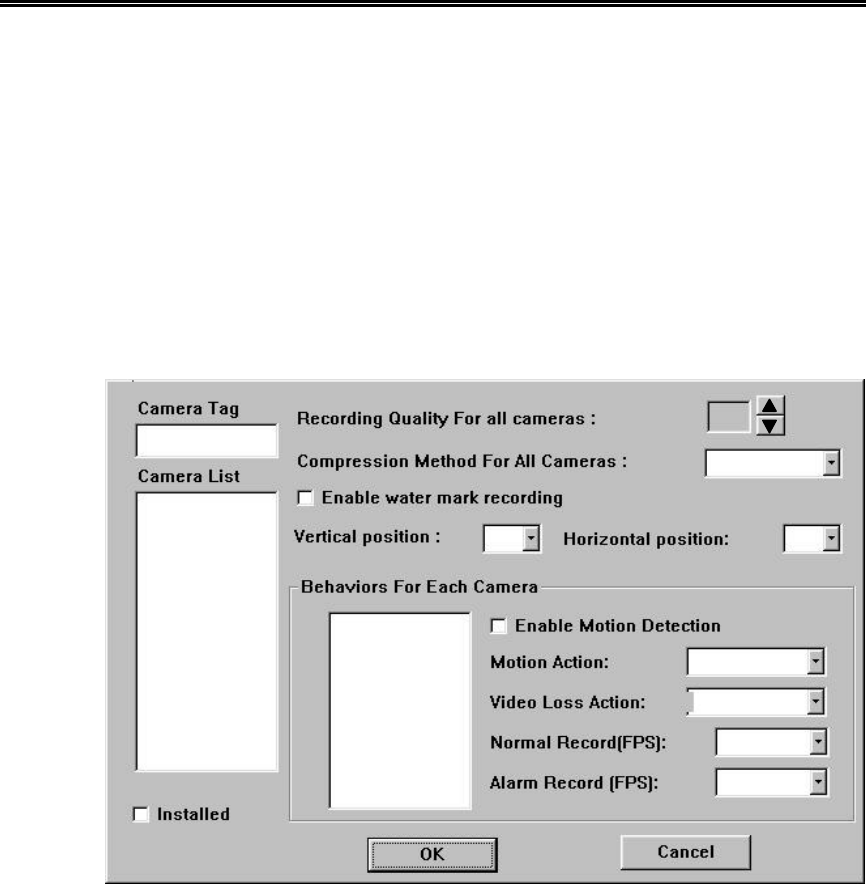
The Camera Setup allows the administrator to define the behaviors
for each Camera at each Time Type. There are up to 16 Cameras
connected to the system. For each Camera and each Time Type,
you may configure the behaviors as shown on the screen and
described below.
Operations:
After the Camera menu item is selected, the Camera Setup dialog
box will be shown on the screen.
Please click on the item in the Camera List, then click on the Camera
Tag, and then enter the new tag name for the selected Camera by
using the mouse or the keyboard. The Recording Quality and the
Compression Method apply to all cameras. For the Behaviors For
Each Camera, please click on the item in the Time Type list to select
the Time Type. All the other settings correspond to the selected
Camera shown in the Camera Tag and the highlighted Time Type in
the Time Type list.
The following is a brief description for each item shown above.
Installed – Check this item if the selected Camera is installed. If the
selected Camera is installed, all the items in the Behaviors For Each
Camera are settable. The default setting is installed.
Camera 01
Camera 01
Camera 02
Camera 03
Camera 04
03
JPEG_CIF
03 03
Motion A01
Vloss A01
0.1
5
On Duty
Off Duty
TTYPE 03


