Masterpage:Right+
EN 73
Filename [MV4S_13Subsidiary.fm]
SUBSIDIARY SETTINGS
Page 73Tuesday, 10 May 2005 10:26
Various modes of this unit are categorized into menus nested in 2
levels shown in the following table. To change the settings of these
modes, find the desired mode in the menu (for details on each
menu, see page 73), then follow the procedure below.
● The procedure below shows how to set the desired option of the
“VIDEO CALIBRATION” mode as an example.
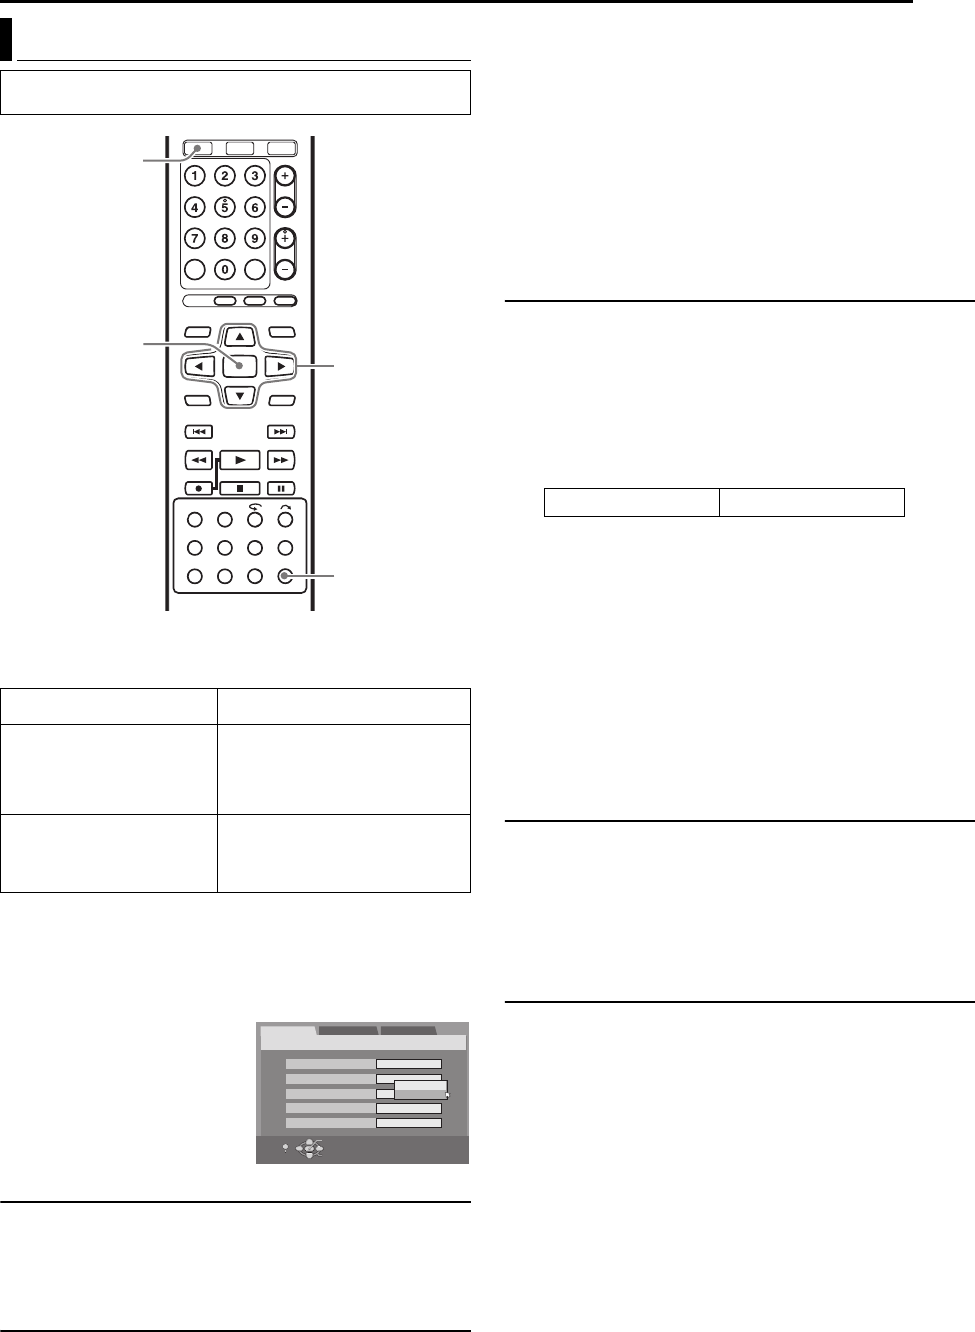
1 Press VHS so that the VHS lamp lights up on the unit.
2 Press SET UP to access the Main Menu screen.
3 Press we to select “VHS SET UP”, then press t.
4 Press rt to select “VIDEO
CALIBRATION”, then press
ENTER.
5 Press rt to select the desired
option, then press ENTER.
6 Press SET UP to complete the
setting.
*The boldface settings below indicate the settings at your purchase.
8 VHS]DVD DUBBING — 1 PROG / TAPE END
Set to the appropriate mode when you perform the dubbing from
VHS tape to DVD disc. For details, refer to page 36 –37.
1 PROG: Dubbing stops when the unit decodes the index code
(VISS signal).
TAPE END: Dubbing stops when the end of the tape reached.
8 VIDEO CALIBRATION — ON / OFF
You can set the Video Calibration to “ON” or “OFF”.
NOTES:
● When watching a tape recorded with “VIDEO CALIBRATION” set to
“ON”, it is recommended that you leave “VIDEO CALIBRATION” on
during playback as well.
● When watching a rental tape or one recorded on another video
recorder, or when using this unit as the player for editing, set “VIDEO
CALIBRATION” to your preference.
● The Video Calibration works for both SP and EP modes only after a
tape has been inserted and the Record mode is first initiated. It does
not work during recording.
● The Video Calibration does not work while Automatic Satellite
Program Recording is in progress. (੬ pg. 35) In the case of timer
recordings, the Video Calibration works before recording is initiated.
● Once the cassette is ejected, the Video Calibration data is cancelled.
The next time the cassette is used for recording, Video Calibration is
re-performed.
8 AUTO SP]EP TIMER — ON / OFF
When this function is set to “ON”, the unit automatically switches to
EP mode to allow complete recording if there is not enough tape to
record the entire program while timer-recording in SP mode.
For Example:
Recording a program of 140 minutes in length onto a 120-minute
tape.
Make sure you set this function to “ON”, before the timer-recording
starts.
NOTES:
● If you have programed the unit to timer-record 2 or more programs,
the second program and those thereafter may not fit on the tape if
you set “AUTO SP]EP TIMER” to “ON”. In this case, make sure the
mode is not engaged, then set the tape speed manually during timer
programing.
● In order to ensure that the recording fits on the tape, this feature may
leave a slight non-recorded section at the end of the tape.
● There may be some noise and sound disturbance at the point on the
tape where the unit switches from SP to EP mode.
● The “AUTO SP]EP TIMER” feature is not available during ITR
(Instant Timer Recording), and the feature will not work properly on
the following tapes: T(ST)-30, T(ST)-60, T(ST)-90, and T(ST)-120.
8 VIDEO STABILIZER — ON / OFF
When this function is set to “ON”, you can automatically correct
vertical vibration in the picture when playing back unstable
recordings made on another recorder.
NOTES:
● When you finish viewing a tape, be sure to set this function to “OFF”.
● Regardless of the setting, this function has no effect during recording
and during special effects playback.
● To watch recordings with close-caption, set this function to “OFF”.
8 PICTURE CONTROL — AUTO (NORM) / EDIT / SOFT /
SHARP
This feature helps you to adjust the playback picture quality
according to your preference. Normally select “AUTO (NORM)”.
AUTO (NORM): Picture quality is adjusted automatically.
EDIT: Minimizes picture degradation during editing (recording and
playback).
SOFT: Reduces image coarseness when viewing overplayed tapes
containing a lot of noise.
SHARP: Clearer, sharper-edged picture when viewing images with
lots of flat, same-colored surfaces such as cartoons.
NOTES:
● When you select “EDIT”, “SOFT” or “SHARP”, the selected mode will
not change until you select another mode.
● When you select “EDIT” to dub tapes, be sure to select “AUTO
(NORM)” after you finish dubbing the tapes.
● When “VIDEO CALIBRATION” is “OFF”, “PICTURE CONTROL”
switches automatically from “AUTO” to “NORM”.
Mode Set (VHS Deck)
● Turn on the unit.
● Turn on the TV and select the AV mode.
VHS SET UP (੬ pg. 73)
FUNCTION SET UP*
* Common settings with DVD
deck
VIDEO IN/OUT (੬ pg. 23, 71)
RECORDING SET (੬ pg. 71)
DISPLAY SET (੬ pg. 71)
OTHERS (੬ pg. 72)
INITIAL SET UP*
* Common settings with DVD
deck
TUNER SET (੬ pg. 22)
CLOCK SET (੬ pg. 21)
rtwe
ENTER
VHS
SET UP
VHS SET UP
VHS ] DVD DUBBING
FUNCTION SET UP
INITIAL SET UP
VIDEO CALIBRATION
TAPE END
OFF
OFF
VIDEO STABILIZER OFF
PICTURE COUNTROL AUTO
AUDIO SP ] EP TIMER OFF
SELECT WITH [CURSORS]
THEN PRESS [ENTER]
OK
SELECT
EXIT
SET UP
OFF
ON
SP mode EP mode
Total 140 minutes
Approximately 110 minutes
Approximately 30 minutes
MV4S_13Subsidiary.fm Page 73 Tuesday, May 10, 2005 10:26 AM


