Masterpage:Right-No-Heading
EN 45
Filename [DR-M10SE_07Playback.fm]
Page 45 February 12, 2004 5:09 pm
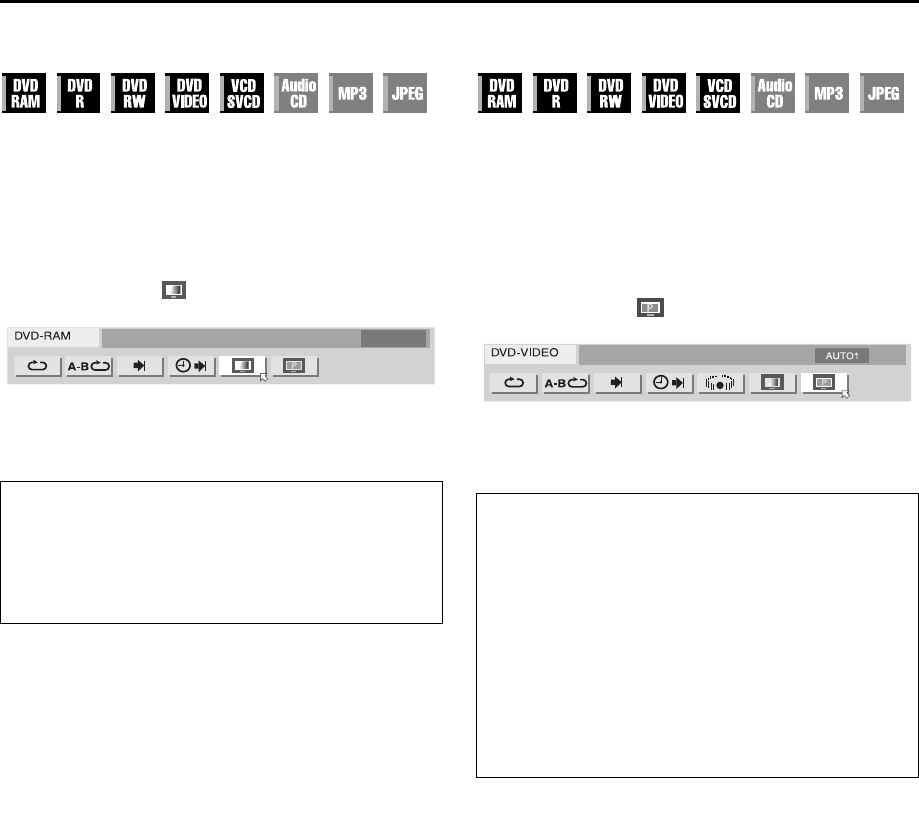
Adjusting the picture quality
You can obtain optimal picture quality by selecting an
appropriate picture mode.
1 Access Play Set Up Menu.
Press ON SCREEN twice.
2 Select the menu item.
Press we to select “”, then press ENTER.
● The pop-up window appears under the selected item.
3 Select the desired option.
Press rt to select the desired option, then press ENTER.
Setting the progressive mode
You can obtain optimal picture quality by selecting whether the
content on the disc is processed by field (video source) or by
frame (film source).
1 Access Play Set Up Menu.
Press ON SCREEN twice.
2 Select the menu item.
Press we to select “”, then press ENTER.
● The pop-up window appears under the selected item.
3 Select the desired option.
Press rt to select the desired option, then press ENTER.
NOTE:
When the progressive mode is set, be sure to set “L-1 OUTPUT”
to “COMPONENT”. (
੬ pg. 82, “L-1 Output and L-1 Input
Setting (L-1 OUTPUT and L-1 INPUT)”) Progressive scan is
output only from COMPONENT VIDEO OUT connector.
NORMAL: Normally select this option.
CINEMA: Suitable for a movie disc, etc.
SHARP: Clearer, sharper-edged picture when viewing
images with lots of flat, same-coloured surfaces
such as cartoons.
SOFT:
Select this option when too much noise appears.
AUTO 1: Used to play a disc containing both video
and film source materials. This system
recognizes the source type (video or film) of
the current disc according to the disc
information. Normally select this option.
AUTO 2: Almost the same as the “AUTO 1”, but the
processing of the scenes with movement is
different. Select “AUTO 1” or “AUTO 2” to
your preference.
FILM: Suitable for playing back a progressive
scanned film source disc.
VIDEO:
Suitable for playing back a video source disc.
The outlines on the played back pictures will
be soft.
DR-M10SE_01.book Page 45 Thursday, February 12, 2004 9:08 PM


