Network Stand Alone DVR
Network Stand Alone DVRNetwork Stand Alone DVR
Network Stand Alone DVR
Network (JPEG2000+H.264)
Network (JPEG2000+H.264)Network (JPEG2000+H.264)
Network (JPEG2000+H.264)
23
5-2. DISPLAY SETUP
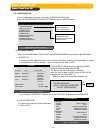
Setting up parameters for monitor and display on screen.
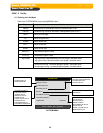
Enter into SYSTEM MENU-DISPLAY SETUP.
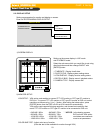
DISPLAY SETUP
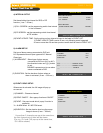
SCREEN DISPLAY
MONITOR SETUP
SELECT MENU : ▲▼, & [ENTER]
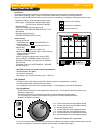
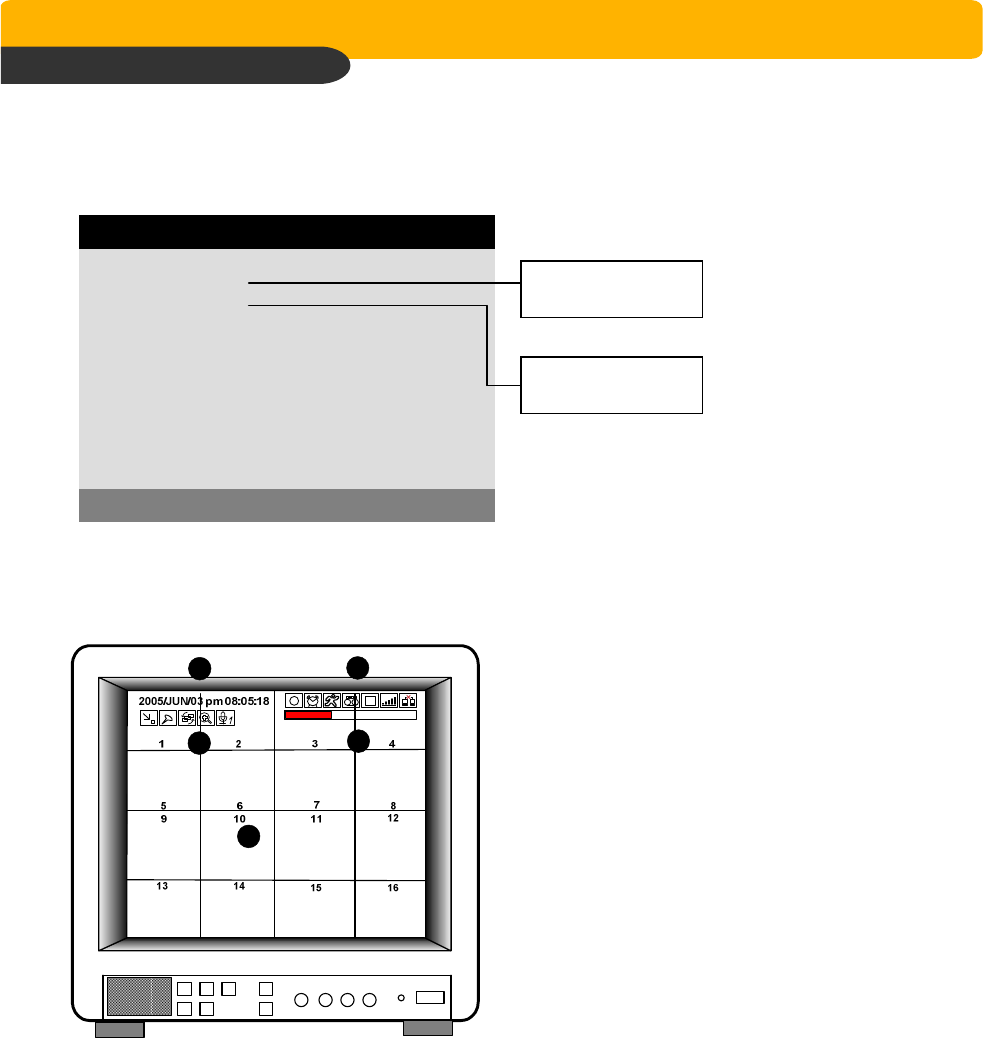
Setting up the screen display in LIVE mode
and PLAYBACK mode.
Select the sub-menu which you would like to set using
direction buttons and then change ON/OFF with
[ENTER] button.
1. TIME/DATE : Display time & date
2. DVR STATUS : Display system setting status
3. ICON DISPLAY : Display function setting status
4. REC/PLAY BAR : Display record / playback status
5. CAMERA TITLE : Display camera title
2) MONITOR SETUP
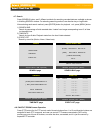
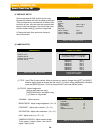
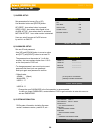
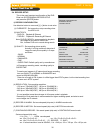
VGA SETUP : VGA option card enables to connect TFT LCD monitor or CRT type PC monitor to
DVR unit. To connect TFT LCD monitor or CRT type PC monitor to DVR unit, select
resolution as follows using [+] or [
−
] button. After setting the below option, press
[ENTER] button then the DVR unit will set VGA resolution automatically.
VGA option card supports following resolution, and choose best resolution that
match TFT LCD monitor or CRT type PC monitor to be connected to DVR unit.
- 640X480 / 60Hz - 640X480 / 75Hz ※
※※
※ NOTICE : In the booting process,
- 800
X
600 / 60Hz - 800X600 / 75Hz DVR unit with VGA option
- 1024X768 / 60Hz - 1024X768 / 75Hz card takes some seconds
- 1280X1024 / 60Hz - 1280X1024 / 75Hz more to set parameters.
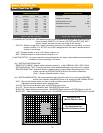
COLOR BAR TEST : Adjust color tone of monitor.
(Color bar test is Not available for monitor through VGA)
1) SCREEN DISPLAY
LIVE
PLAYBACK
VGA SETUP
COLOR BAR TEST
1
2
3
4
5
CHAP. 5 Set Up


