


Microboards Technology, LLC
14
Microboards B.30
10. Mix Audio Tracks
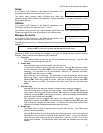
Total: 4 Trk 12m:43s
*Track 6: 3m:56s
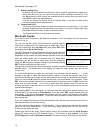
Total: 0 Trk 0m:00s
Track 1: 4m:24s
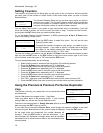
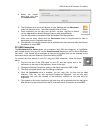
7. Select Loading Drive
By default, the drive selected as the source will be used for transferring a master from
disc to hard drive, but you can use this function to select a different source drive. Use
the ▼▲ buttons to scroll through the available drives to find the drive you want to use.
Press ENT to select the displayed drive.
This will not change the Source Drive in the Main Menu; it will only be used as the
source for loading discs to the hard drive.
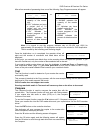
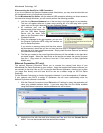
8. Format Hard Drive
The Format Hard Drive function will clear all contents from the hard drive. If you want
to delete all partitions from the hard drive, this function is a quicker method than using
the Delete Partition function on each individual partition.
The Format Hard Drive function cannot be undone.
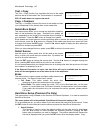
Mix Audio Tracks
If you have a DVD Premium or the External connection is On, the display will show this menu
item as 9, not 10.
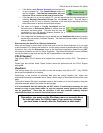
You can use the Mix Audio Tracks feature to combine specific
tracks from multiple audio CD masters onto a single disc. Insert
your first master disc and one blank CD, then press ENT when
the display shows Mix Audio Tracks.
The DVD Premium Pro Series Duplicator will give you the option of
sending the tracks to the hard drive or burning directly from CD.
Regardless of the method, the track selection process will be the same.
After the master audio disc is analyzed and any blank discs
recognized, you will be able to select tracks from the master by
using the ▼▲ buttons to navigate through the tracks and pressing
ENT to select the tracks you want to burn.
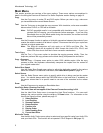
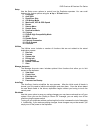
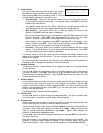
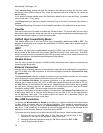
The top line of the display will show the number of tracks currently selected and the total time of
selected tracks. The bottom line of the display will show the track number and time for the
current track.
If a track is selected for the audio mix, the bottom line will begin with an asterisk ( * ). In the
example to the right, 4 tracks have been selected, totaling 12 minutes 43 seconds; track 6 is 3
minutes and 56 seconds in length and has been selected for burning, as indicated by the asterisk.
When you use the ▼▲ buttons to go past the last track, you will be asked if you are done. Press
ENT to burn the selected tracks from the current master to the blank media, or ESC to add more
tracks from the same master. If you want to add tracks from another audio CD and are not
sending the tracks to the hard drive, you will have to burn the selected tracks from the current
master before doing so.
After pressing ENT to burn the tracks, or if you are using the hard drive to store the tracks, you
will be asked if you are ready to Finish Mixing. If you are, press ENT and the burned discs will
be finalized. If you want to add tracks from another audio CD, press the ▼ button for the option
to Insert Next Master and press ENT. Follow the same procedure to select and burn tracks for
each master disc.
If you are using the hard drive to store the selected tracks, the discs will not be burned until you
have specified that you are done mixing.
The disc must be finalized before it will be playable. If you are burning the tracks from the hard
drive, this will occur automatically. If you are mixing tracks directly from CD, you will have to
finalize the disc as the last step.
Please note that the Mix Audio Tracks function cannot be performed with the CD+G Support
setting ON when using the DVD Premium Series. This function is also disabled if you have
CD+G Support ON and the External Connection ON when using the DVD Premium Pro Series.