


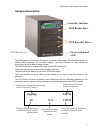

DVD Premium & Premium Pro Series
15
Microboards B.30
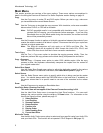
11. Setup
Microboards B.30
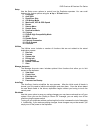
12. Utilities
Microboards B.30
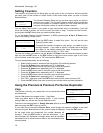
13. Manage Accounts
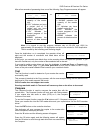
Setup
If you have a DVD Premium or the External connection is On,
the display will show this menu item as 10, not 11.
The Setup menu includes many functions that affect the
operation of the DVD Premium Pro Duplicator. Please see page 17 for more information on the
Setup menu options.
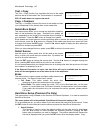
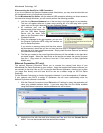
Utilities
If you have a DVD Premium or the External connection is On,
the display will show this menu item as 11, not 12.
The Utilities menu provides you with hardware information and a few maintenance functions.
Please see page 22 for more information on the Utilities menu.
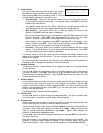
Manage Accounts
If you have a DVD Premium or the External connection is On,
the display will show this menu item as 12, not 13.
The Manage Accounts menu includes optional User functions that allow you to limit access to the
duplicator.
You must either log in as the Admin user or have the Password on Bootup
setting as NO if you want to access the Manage Accounts menu.
You will be asked for the password when you enter the Manage Accounts menu. The default
password is 0000, which should be changed if you plan on using the user account security
features. Keep a record of the Admin account password.
1. View User
This function allows to you see the list of available user accounts. Use the ▼▲
buttons to scroll through the user list.
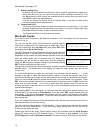
2. Create User
Use the Create User function to add a new user account.
You will first be asked to enter in the new user name. Use the ▼▲ buttons to select
the first character, then press ENT to move to the next, or ESC to move to the prior
character. You can enter in up to 14 characters. After the 14
th
character is entered,
press ENT when the cursor is on OK.
Next, enter the user’s password. The password is limited to numerals, and will be 4
digits long. Again, use the ▼▲ buttons to change the number of the current digit,
pressing ENT when the number is correct. After the 4
th
digit is entered, press ENT
when the cursor is on OK. The display will briefly show that the user has been
added.
3. Edit User Info
Use the Edit User Info menu to change an existing user’s name or password.
You will first be able to change the user’s name. Use the ENT or ESC buttons to
move right or left in the user’s name and the ▼▲ buttons to change the highlighted
character and press ENT to accept the character. When all changes are complete,
move the cursor to OK and press ENT.
The password can be modified next using the same method. When the new
password is entered, press ENT to move the cursor to OK and press ENT one more
time to save the changes you have made. The display will briefly show that the user
information has been changed before returning to the menu.
4. Delete User
The Delete User is used to remove users account from the list. The Admin user
account cannot be deleted.
Use the ▼▲ buttons to scroll through the list of existing users. When the display is
showing the user you want to remove, press the ENT button. You will be asked to
verify that you want to remove the user; press ENT if you do, or ESC if it is not the
correct user to delete. The display will briefly show that the selected user has been
deleted.