


Microboards Technology, LLC
20
Disconnecting the Hard Drive, USB Connection
If you do not perform the Remove Hardware steps listed below, you may lose the data that was
just transferred over to the Duplicator’s hard drive.
For the Microboards Pro Series, with the external USB connection allowing you direct access to
the hard drive through Windows, you will need to perform the following process:
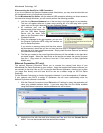
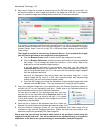
1. Left-click the Remove Hardware icon in the tool tray in the right corner of your desktop.
The icon will appear either as a green arrow pointing left or a USB plug with a green
check mark on the right, depending on your Operating System.
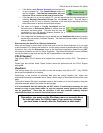
2. All hardware that can be
disconnected will be listed. Left-
click the USB Mass Storage
Device with the same Drive
letter as the Duplicator drive in
Windows Explorer.
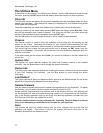
3. When the message to the right appears, you can turn
the External Connection OFF using the interface on
the Pro Series Duplicator.
If you receive a warning stating that the drive cannot
be disconnected, check that you do not have the drive open in Windows Explorer. This
will keep the drive from being disconnected. Simply close Windows Explorer and attempt
the hardware removal again.
4. The files you copied to the correct hard drive directory will be available on the hard drive
as stored images. Select the Hard Drive as the source and select the correct file name
from the 1. Copy menu for .iso files or from the 2. Print menu for .lsi files (LightScribe
Models only).
Ethernet Connection (PC only)
The optional Ethernet Connection allows you to connect the internal hard drive of your
Microboards Pro Series Duplicator to your network. Using the supplied NetConnect software, you
can connect to the drive from any PC running the NetConnect application, allowing you to place
.iso image files directly onto the hard drive for use as a master image on the Pro Series
Duplicator.
For the Ethernet Connection to function through the Network, it must be assigned an IP address.
If your network uses DHCP to assign IP addresses, this will occur automatically when the
Network Duplicator software is launched.
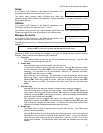
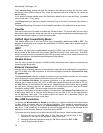
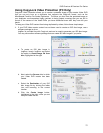
1. With the External Connection turned ON and the IP settings in place, the application will
show your available network device. If you have more than one Pro Series available
using the Ethernet connection, each available device will be shown.
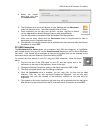
2. Highlight the line with the hard drive showing as Free and click the Connect Device
button. You can also double-click the hard drive to connect.