30
2
3
4
5
6
7
8
No.
Signal line
names
RD
SD
ER
SG
DR
RS
CS
Directions
(from VCR side)
INPUT
OUTPUT
OUTPUT
–
INPUT
OUTPUT
INPUT
Receive data
Transmitt data
Data terminal ready
Signal ground
Data set ready
Request send
Clear to send
Meanings
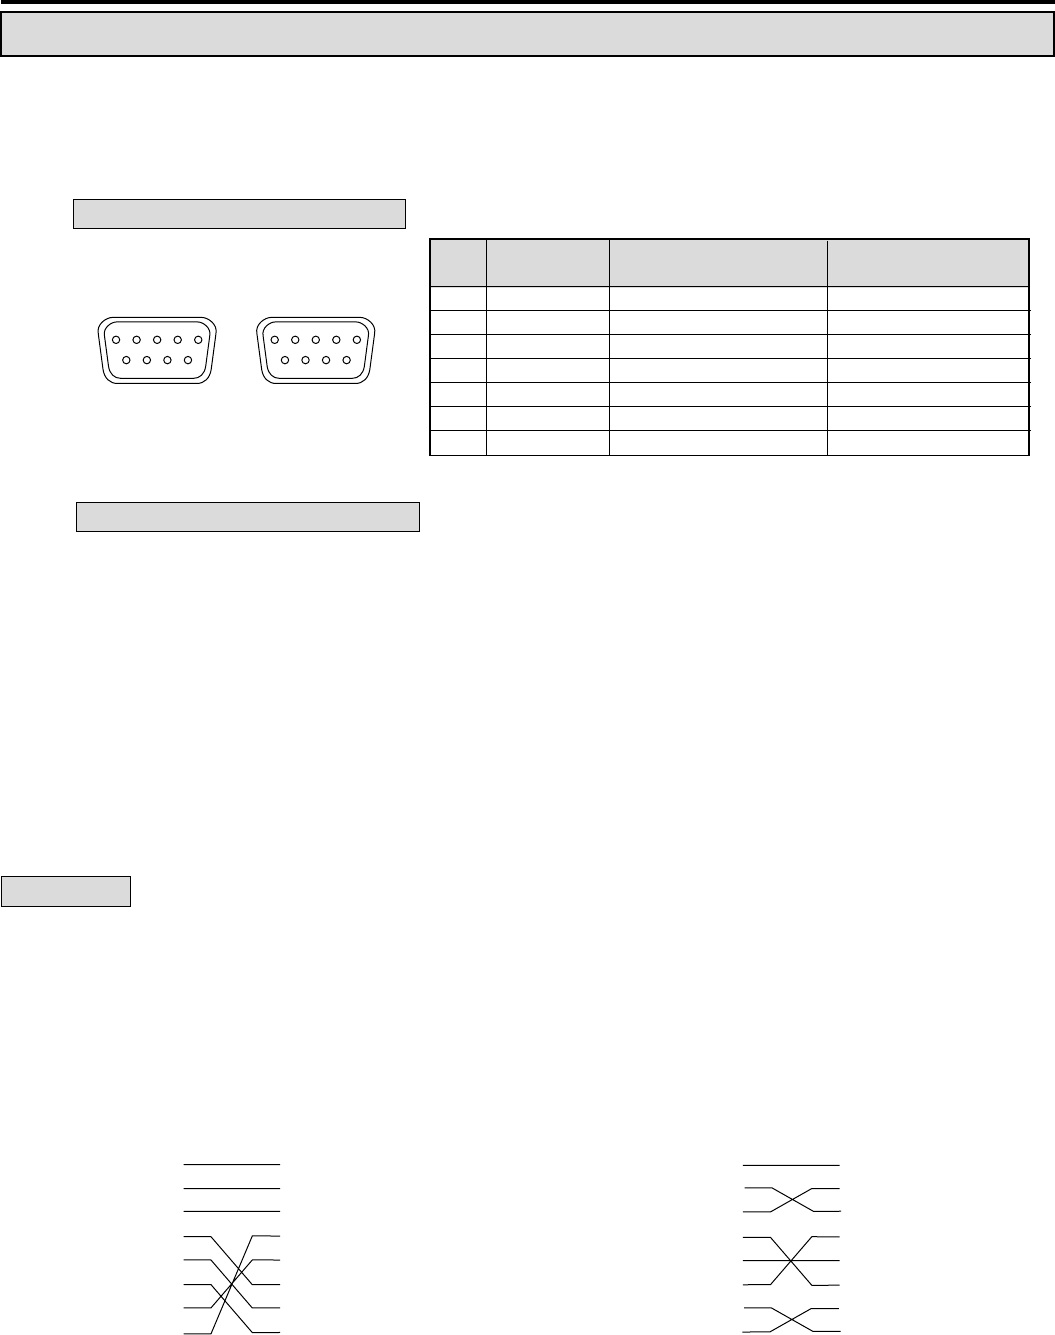
RS-232C IN
D-SUB 9pin maleD-SUB 9pin male
5 4 3 2 1
9 8 7 6
RS-232C OUT
5 4 3 2 1
9 8 7 6
Data Communications Settings
Physical protocol of RS-232C
Synchronization Asynchronous
Transmission rate 1200/ 2400/ 4800/ 9600 bps
Data bit length 8bits/ 7bits
Stop bit length 1bit/ 2bits
Parity bit Nil/ Even/ Odd
X control Nil
S parameter Nil
CS-RS hand-shake With
Delimiter code for send CR(0DH)/ CR(0DH)+LF(0AH)
Delimiter code for receive CR(0DH)/ CR(0DH)+LF(0AH)
Connections
Before connecting the hardware, unplug the power cord of the VCR from the outlet, and turn the personal computer power
off. Connect the RS-232C IN terminal of the VCR to the personal computer's serial port.
Cable connections
A personal computer that has an RS-232C serial port can be used to remotely control VCRs that have the RS-232C
interface board installed.
2 When the RS-232C connector of the computer is D-
SUB 9pin.
• When connecting with 2 or more VCRs, use the
following cross cable.
1 When the RS-232C connector of the computer is D-
SUB 25pin.
RD 2
SD 3
ER 4
SG 5
DR 6
RS 7
CS 8
2 RD
3 SD
4 ER
5 SG
6 DR
7 RS
8 CS
D-SUB 9 pin female D-SUB 9 pin female
FRAMEFRAME
Frame
RD 2
SD 3
ER 4
SG 5
DR 6
RS 7
CS 8
1 FG
2 RD
3 SD
4 ER
5 SG
6 DR
7 RS
20 CS
D-SUB 9 pin female
(RS-232C interface board)
D-SUB 25 pin male
(Computer)
USING WITH THE PERSONAL COMPUTER
CONNECTING TO A PERSONAL COMPUTER


