


Chapter 3. NetCommand Setup and Editing 55
Adding IEEE 1394 Devices Automatically, continued
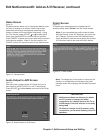
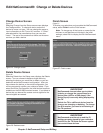
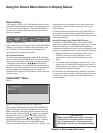
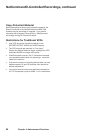
Connection Screen
Figure 32
Select the TV input that you used when you connected
the video or S-Video cables. You may also select the TV
or A/V receiver input you used when you connected the
stereo audio cables.
The playback and record control of some devices may
still operate via the IEEE 1394 cable automatically, even
though you must use the video or S-video cable for the
picture. In this case, when you select the device, be sure
to select analog (not digital) from the pop-up that opens
when the device is selected from the Device Selection
menu. With this setup, the picture is shown via the
analog connection but control is through the IEEE 1394
connection.
Figure 32. Connection screen
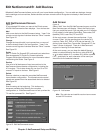
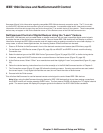
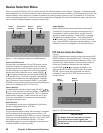
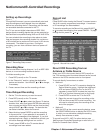
IEEE 1394 Device Type Screen
Figures 30 and 31
If the new IEEE 1394 device is also connected using
analog inputs, you will need to define the device type.
Select the type of device, such as a VCR.
Figure 30. IEEE 1394 Device Type screen
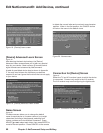
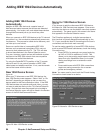
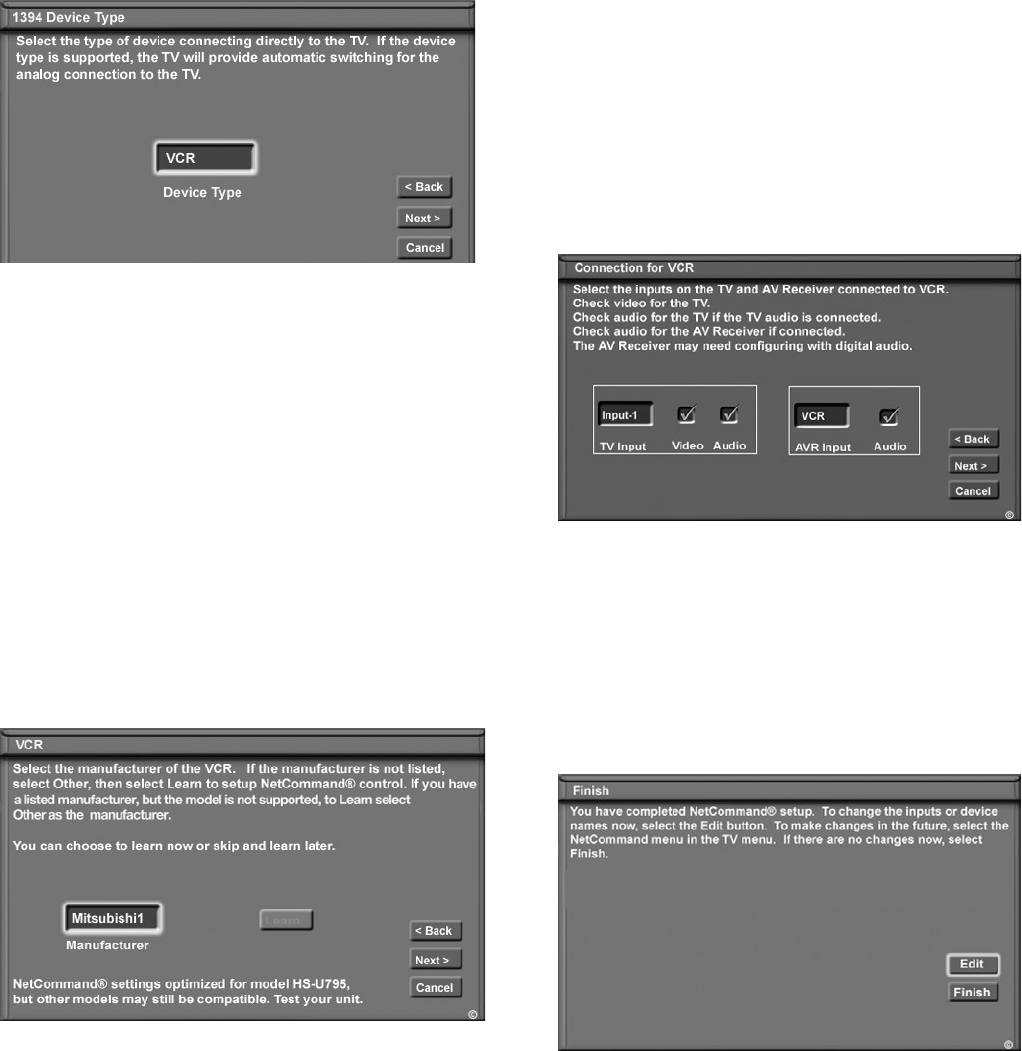
Once the device type is selected, then the Device screen
is displayed so the manufacturer can be selected. If the
manufacturer is listed, then you may be able to control
this device while it is operating as an analog VCR. For
example, if the IEEE 1394 device you have added is
a Mitsubishi DVCR, and you have selected an analog
connection as a second connection, then you will select
Mitsubishi for the manufacturer. If the manufacturer is
not listed, select “Other” and use the Learn screens
Be sure to place an IR Emitter in front of the remote
control sensor, just as you have done for other
NetCommand® devices. It is necessary to use the IR
Emitter only when the DVCR is being used as an S-VHS
or VHS VCR. When the DVCR is playing or recording
digital signals in D-VHS, the TV will control the VCR
through the IEEE 1394 cable.
Figure 31. Device screen
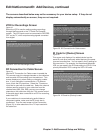
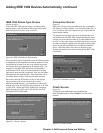
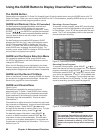
Finish Screen
Figure 33
To finalize your selections and complete the
NetCommand setup, select Finish from the Finish
screen.
Figure 33. Finish screen