


Dubbing
32
RQT6570
Dubbing programs or play list
[HDD] [RAM] [DVD-R]
≥It is possible to dub a program or play list to another drive.
≥Dubbing a play list will create a program.
≥You can dub a maximum of 250 programs to HDD and 99 pro-
grams to DVD-RAM or DVD-R.
Preparation
Press [HDD] to select HDD drive.
≥You can select the kind of picture display using “Dubbing Aspect”
(➜page 61).
≥When dubbing SAP broadcast using a recording mode other than
“High Speed”, the kind of sound may be selected at “Select dub-
bing Audio to DVD-RAM”.
When dubbing SAP broadcast to DVD-R or dubbing sound using
LPCM, the setting at “Select MTS for DVD-R or LPCM” is given
priority (➜ Audio, page 61).
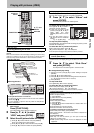
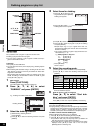
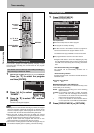
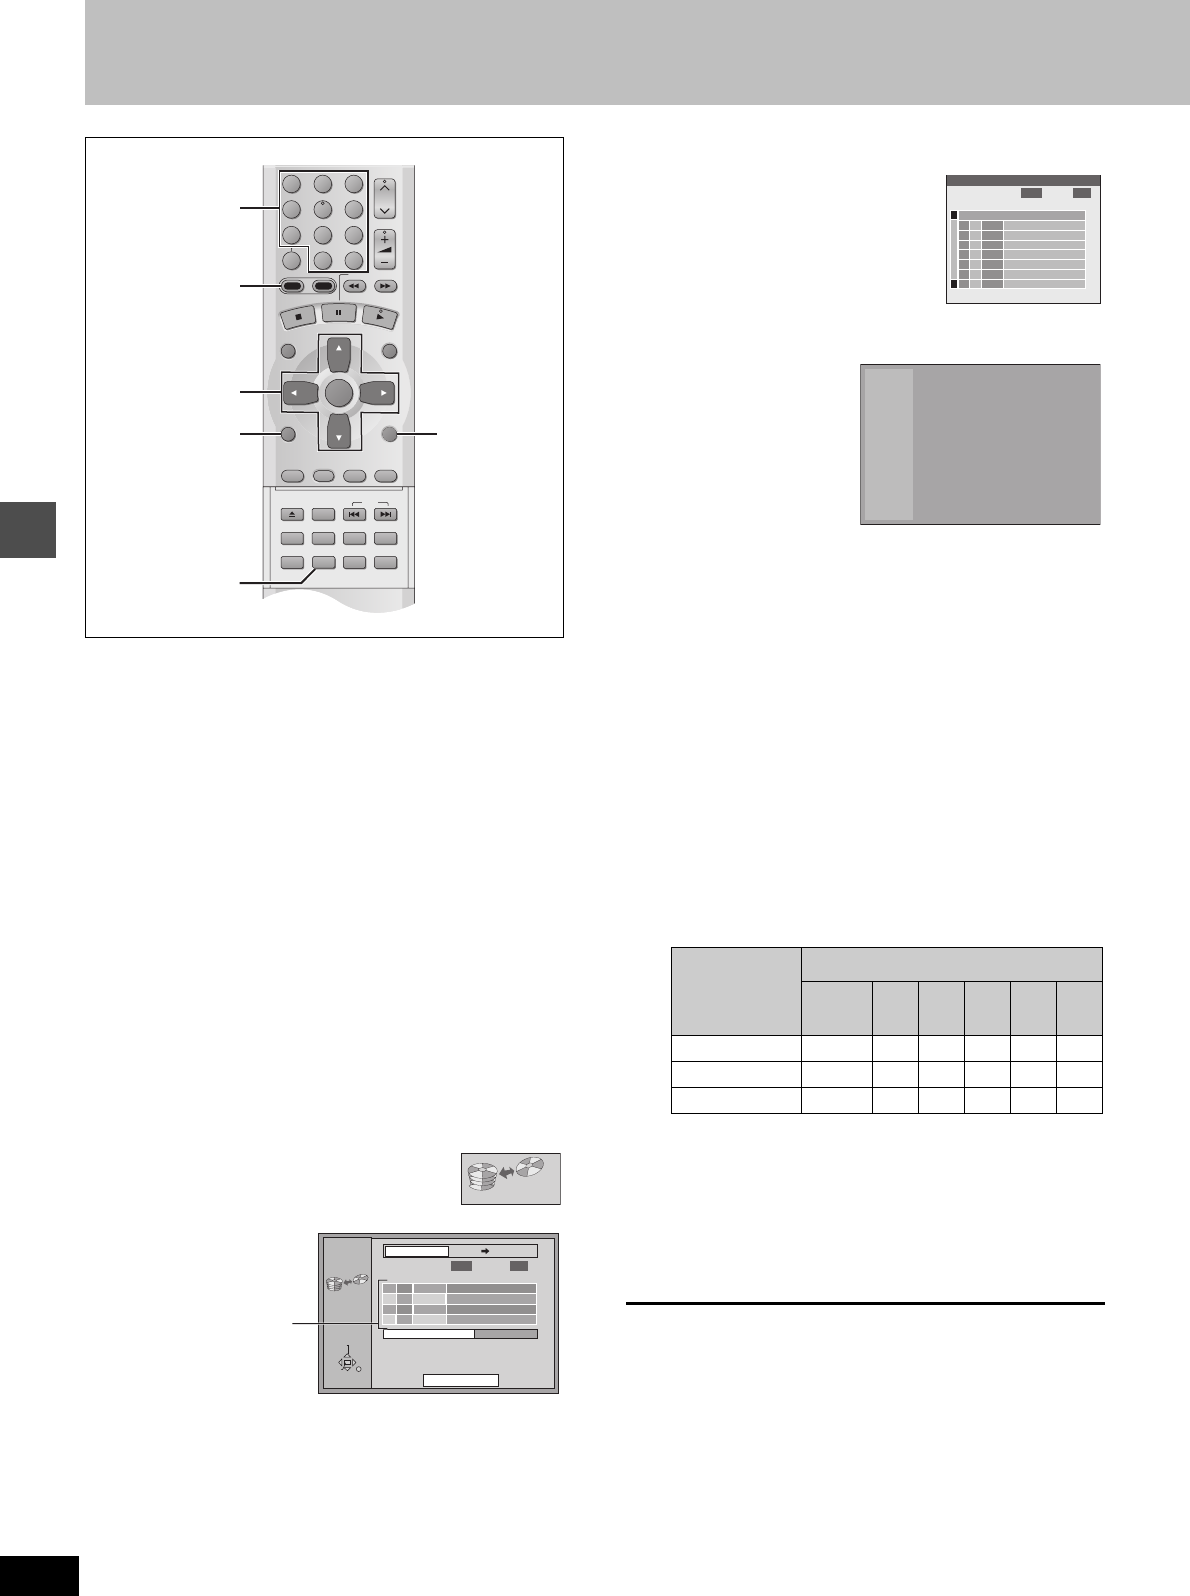
1 While stopped
Press [FUNCTIONS].
The FUNCTIONS window appears (➜page 53).
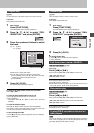
2 Press [3, 4, 2, 1] to select
“DUBBING” and press [ENTER].
e.g., Dubbing from HDD to DVD-RAM
3 Select the dubbing direction.
1 While selecting “Dubbing direction”
Press [ENTER].
2 Press [3, 4] to select the dubbing direction and press
[ENTER].
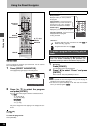
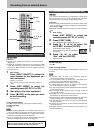
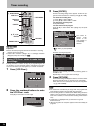
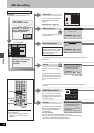
4 Select items for dubbing.
1 Press [3, 4] to select the dub-
bing list table and press [ENTER].
Dubbing List appears.
2 Press [3, 4] to select “-- --:--” and press [ENTER].
Dubbing select screen appears.
3
Press [
2
,
1
] to select “Select Programs” or “Select Play Lists”.
4 Press [3, 4] to select the program or play list for dubbing
and press [ENTER].
≥Repeat steps 4-2 to 4-4 to register more than one.
(Check that the dubbing list “Amount” does not exceed the
“Remain” indicated).
≥You can also select the program or play list with the num-
bered buttons (0, 1j9).
e.g., HDD programs or Play lists
“5”: [0] ➜ [0] ➜ [5]
“15”: [0] ➜ [1] ➜ [5]
DVD-RAM programs
“5”: [0] ➜ [5]
“15”: [1] ➜ [5]
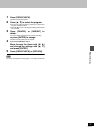
5 Press [RETURN].
Return to step 2.
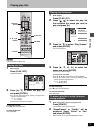
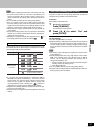
5 Select the recording mode.
1 Press [3, 4] to select “Rec Mode” and press [ENTER].
2 Press [3, 4] to select the recording mode and press
[ENTER].
§1
Cannot be selected for programs with recording limit or play list.
§2
Cannot be selected for play list.
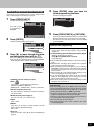
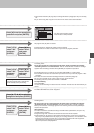
6 While the screen in step 2 is displayed
Press [3, 4] to select “Start dub-
bing” and press [ENTER].
The confirmation screen will be displayed.
Press [
2
,
1
] to select “Yes” and press [ENTER] to start dubbing.
To stop dubbing
Press and hold [RETURN] for 3 seconds.
≥
Stopping dubbing in High Speed mode partway through will cancel the
recording and any data recorded up to that point will be lost. In all other
recording modes, if dubbing is stopped partway through, the part
recorded up to that point will be recorded as one complete program.
To add or remove from the dubbing list
While the Dubbing List (➜ step 4-1) is displayed
1 Press [3, 4] to select the dubbing list and press [1].
2 Press [3, 4] to select an item and press [ENTER].
≥If you select “Add”, carry out steps 4-3 and 4-4. Addition will
take place above the program selected in step 1.
≥If you select “Erase” or “Erase All”, a confirmation screen will be
displayed. Press [2, 1] to select “Yes” or “No” and press
[ENTER] (Return to Dubbing List).
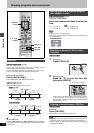
CH
VOLUME
123
789
0
100
4
5
6
SLOW/SEARCH
DIRECT NAVIGATOR
TOP
MENU
MENU
RETURN
FUNCTIONS
PROG/CHECK
DISPLAY
TIME SLIP
ADD/DLT
ENTER
PLAY LIST
CANCEL
OPEN/CLOSE
SET UP
ERASE
DUBBING
POSITION MEMORY
MARKER
AUDIO
INPUT SELECT
CM SKIP
STATUS
SKIP
HDD
DVD
RETURN
3, 4, 2, 1
ENTER
DUBBING
FUNCTIONS
HDD
Numbered
buttons
DUBBING
ENTER
RETURN
No
TIME
TITLE
Remain
Rec Mode
High Speed
Dubbing direction
DVD-RAMHDD
4061
Amount
0 : 00
Start dubbing
Dubbing
MB
MB
SELECT
Dubbing list table
Dubbing
direction
Recording mode
High
Speed
XP SP LP EP FR
HDD ➜ RAM ±
§1
±±±±±
HDD ➜ DVD-R
k
±±±±±
RAM ➜ HDD ±
§2
kkkkk
0 Press Return to store
Dubbing List
No
TIME
TITLE
EDIT
3
3
—
—
:
—
1
1
1
1
1
1
1
1
Remain
4061
Amount
0 : 00
MB
MB