C665M-C (5/03) 7
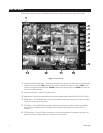
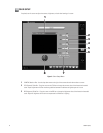
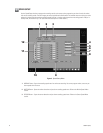
7 COPY Button (Backup) – Click the COPY button to record to a backup device that is recommended by Pelco.
NOTE: The copy button appears only if a backup device, such as Pelco’s DX7000CD and software, are installed. Refer to the
How to Copy to a Backup Device
section of this manual for more information.
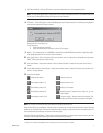
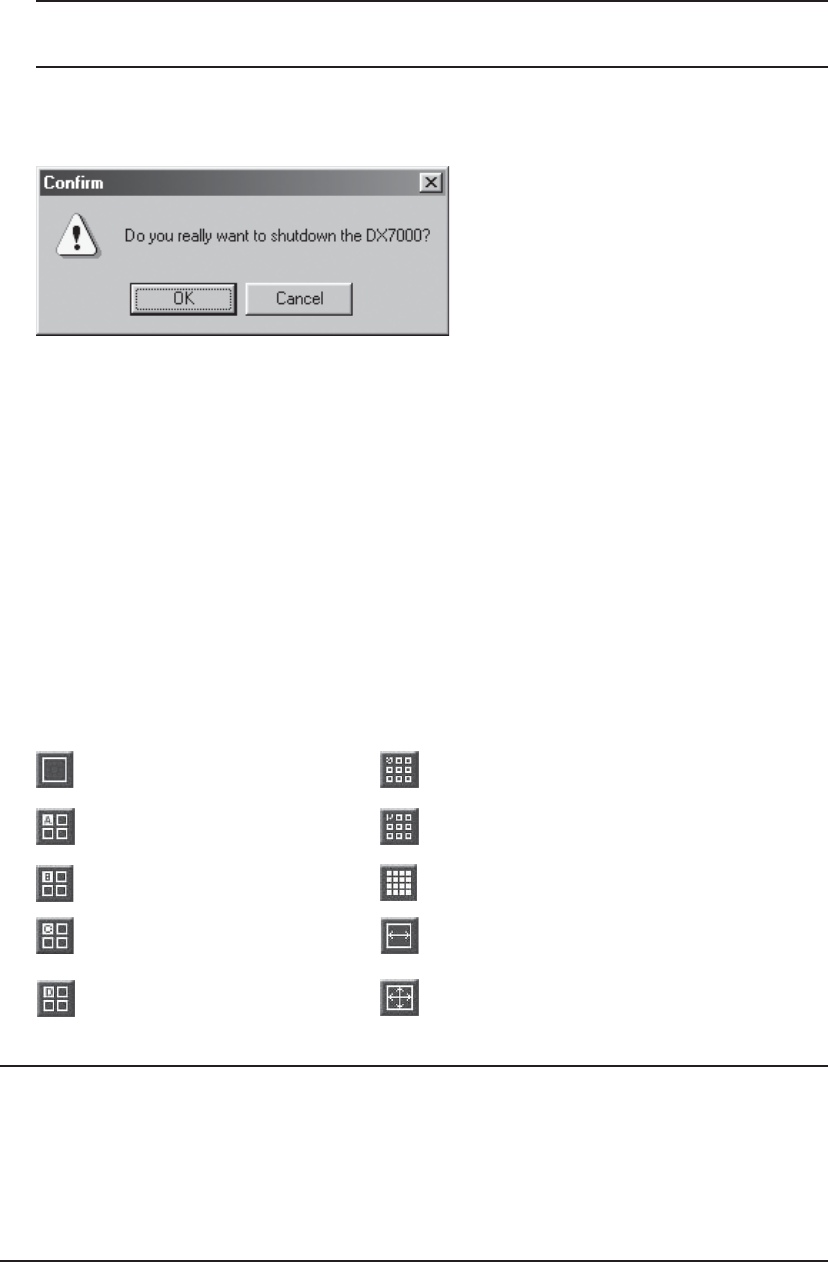
8 EXIT Button – Click the EXIT button to exit the DX7000 program and shutdown the system. The following warning appears
on the monitor when the EXIT button is selected:
Selecting OK will turn the system off.
To start the system:
a. Open the front panel of the DVR.
b. Press and hold the power switch down until the LED turns green.
9 Modem – This is displayed only if the DX7000EM is installed and the USE MODEM box is checked in Speed Setup. Refer
to the
Speed Setup
section of this manual for more information.
10 Relay Output Buttons – Click a relay button (1-8) to turn the device, such as a light or alarm, connected to the relay output
ON/OFF. A blue button indicates a relay is active.
11 Alarm Input Buttons – A blue button indicates an alarm has been activated. The button will stay blue until the alarm is
cleared.
12 Camera (Motion Detection Status) Buttons – A blue button indicates motion is detected. The button will remain blue until
motion is no longer detected.
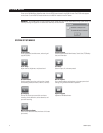
13 Screen Division Buttons
Single camera display Displays cameras 1-9
Quad display, cameras 1-4 Displays cameras 10-16
Quad display, cameras 5-8 Displays all 16 cameras
Quad display, cameras 9-12 Sequencing mode – Sequence using a single-, four-, or nine-
camera display.
Quad display, cameras 13-16 Full-screen display – Removes menu bars from display. Click
the right mouse button to return to previous screen display.
NOTE: You can also use the left and right mouse buttons to change the screen division.
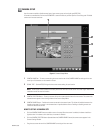
Single Camera Display Using the Mouse – Move the cursor to a camera view, and click the left mouse button. A green rectangle
appears around the selected view. Click the left mouse button again to display a single camera view of the selected camera. To
return to the previous screen display, click the left mouse button again.
Full-Screen Display Using the Mouse – Click the right mouse button anywhere on a camera scene to remove the menu bars from
the display. Click the right mouse button again to return to the previous screen display.
*
Settings are not available with DX7008 models. In 9 camera display, the last camera input is disabled.
*
*
*
*


