32
Record on Hard Disk (continued)
TIPS: Set the appropriate recording mode for HDD recording. The same recording mode will be
used for recording from HDD to a recordable DVD, see page 29.
Recording from a DV
camcorder
Using this feature, you can record video
directly from a connected DV camcorder
onto the HDD, where you can edit it
easily and copy to a recordable DVD if
required.
IMPORTANT!
Before starting camcorder
recording, mark the contents in the
temporary HDD storage for which
you wish to record to the HDD.
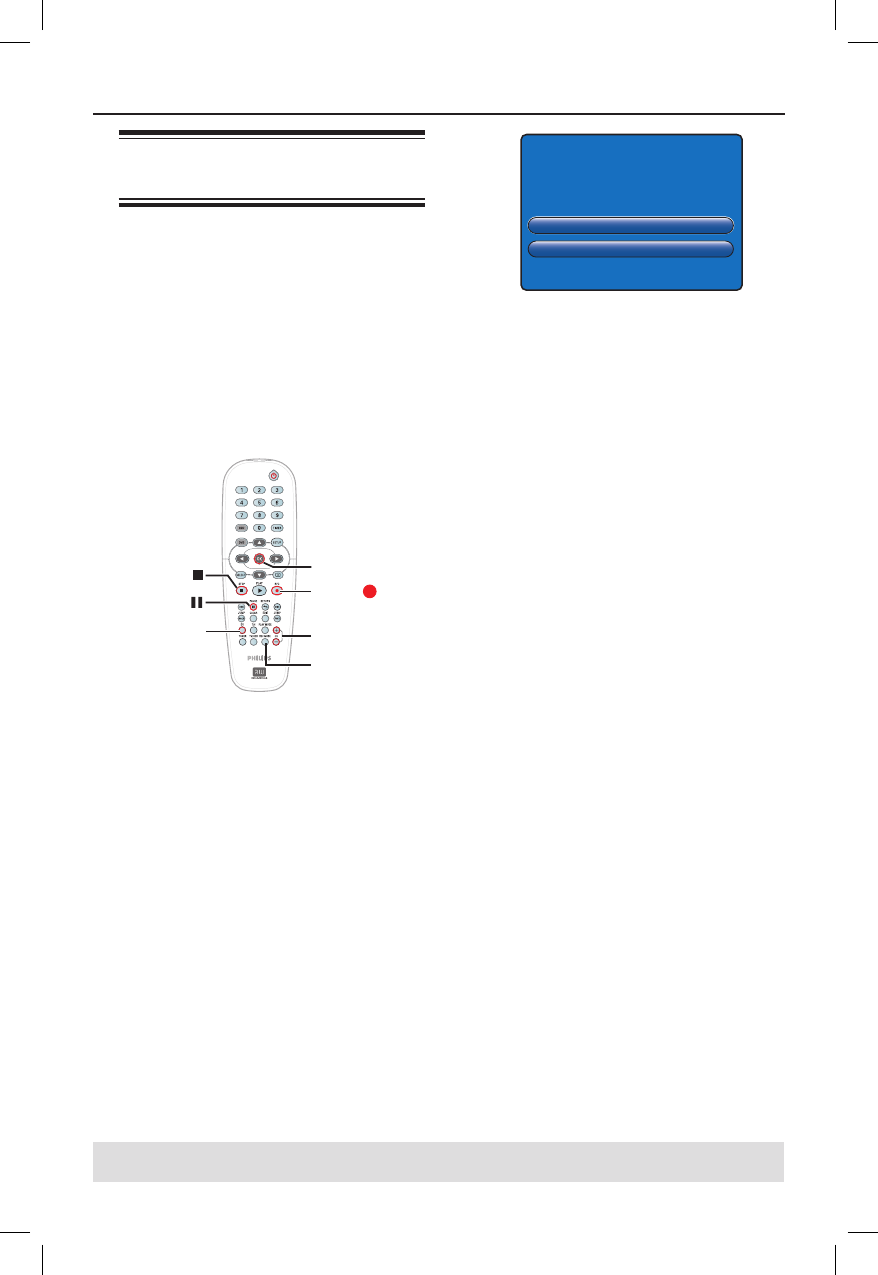
STOP
OK
DV
CH +/-
REC
PAUSE
REC MODE
A
Connect the DV camcorder to the
DV IN socket at the front panel of this
recorder (see page 22).
B
Find the place on the DV camcorder that
you want to start recording from and set
the camcorder to pause mode.
C
Turn on the TV to the correct
programme number for the recorder
(e.g. ‘EXT’, ‘0’, ‘AV’).
D
Turn on the recorder and press DV on
the remote control.
Press OK to continue
Cancel
This will clear Time Shift Video Bar
E
A warning message will appear on the
screen. Select { Press OK to continue }
in the menu and press OK to con rm.
All the contents in the temporary
HDD storage will be cleared except for
the ‘marked’ (in red) contents.
Otherwise, select { Cancel } in the menu
and press OK to abort the camcorder
recording operation.
F
Press REC MODE to select a suitable
recording mode, see page 29 for more
information.
G
Press REC
to start recording and
press PLAY button on the DV camcorder
to start playback.
To pause the recording, press PAUSE
Å
.
To continue recording, press REC
.
A new chapter marker is created after
recording restarts.
H
To stop the recording, press STOP
.
I
To end the camcorder operation, press
DV again.
Helpful Hint:
– Scheduled recordings will not be carried
out whilst the recorder is in camcorder
operating mode.
u
dvdr3300h_uk_eng_17233d.indd 32dvdr3300h_uk_eng_17233d.indd 32 2005-10-19 10:41:24 AM2005-10-19 10:41:24 AM


