Setting up
08
27
En
Chapter 8
Setting up
Setting up TV channels automatically
This section describes how to automatically search for and set up
TV channels.
Using Auto Installation
When the plasma television is switched on for the first time after
purchase, the initial auto installation is initiated. You can set tuner
type and region in successive operations.
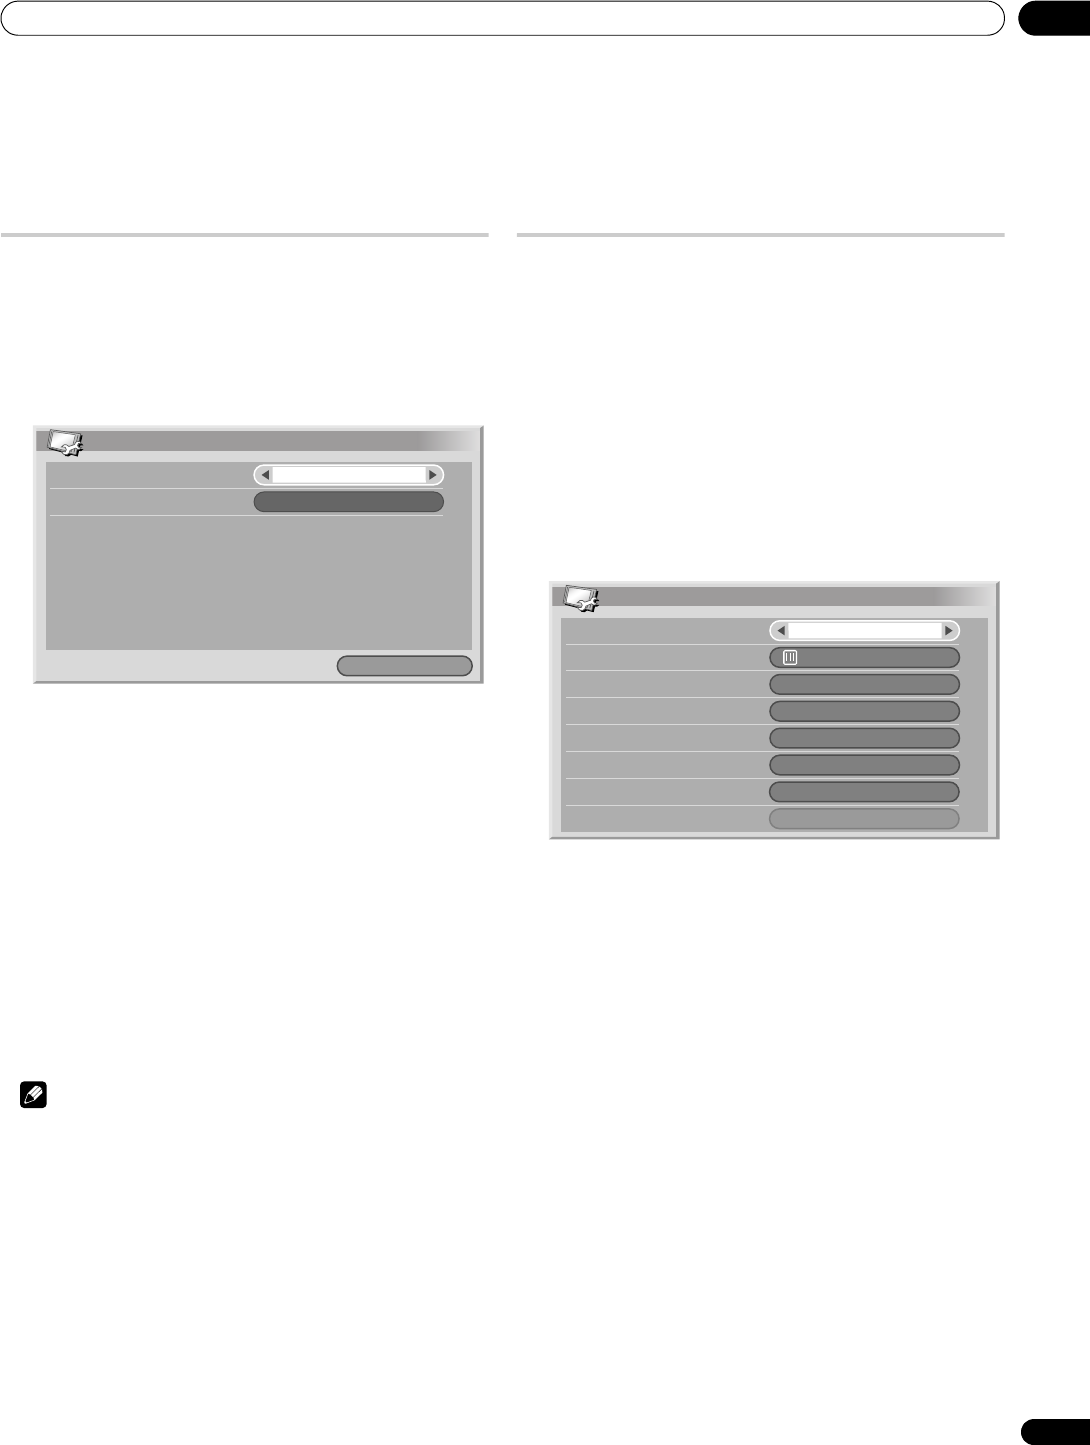
1 Select “Tuner Type” (/).
2 Select the desired tuner type (/).
• You can select from “All”, “Digital” or “Analogue”.
• When you select “All”, set up DTV channels then analogue
channels in successive operations. When you select
“Digital”, only DTV channels are scanned. Likewise, when
you select “Analogue”, only analogue TV channels are
scanned.
3 Select “Region” (/).
4 Select your region (/).
• Select the city or region in which you live. If it is not listed,
select “Auto Detection” for automatic setup.
5 Select “Start“ (/ then ENTER).
Auto Installation automatically starts.
• To quit Auto Installation in progress, press RETURN.
Note
• You can start Auto Installation from the HOME MENU after
moving to another city, for example. Perform the following
steps before starting Auto Installation: Press HOME MENU,
select “Setup” (/ then ENTER), then “Auto Installation” (/
then ENTER). The password entry screen appears. Enter
your four-digit password using buttons 0 to 9. For the
password, see Using a password on page 49.
• If no channels are found, check the antenna connections, and
then retry Auto Installation.
Setting up analogue TV channels manually
Use the Manual Adjust function to set up analogue TV channels
manually.
1 Press HOME MENU.
2 Select “Setup“ (/ then ENTER).
3 Select “Analogue TV Setup“ (/ then ENTER).
The password entry screen appears. Enter your four-digit
password using buttons 0 to 9. For the password, see Using a
password on page 49.
4 Select “Manual Adjust“ (/ then ENTER).
5 Select “Programme Entry“ (/).
6 Select a programme number (/).
You can select 1 through 99.
7 Select “Search“ (/).
8 Enter a frequency using buttons 0 to 9, then ENTER.
You can also press / to enter a frequency.
9 Select “System“ (/).
10 Select a sound system (/).
You can select from among “B/G”, “D/K”, “I”, “M/N”.
11 Select “Colour System“ (/).
12 Select a colour system (/).
You can select from “Auto”, “PAL”, “NTSC”, “SECAM”, “PAL-M”,
“PAL-N”, and “4.43NTSC”.
13 Select “Store“ (/).
14 Select “Yes“ (/).
• With “Yes” selected, you can select the channel using P+/P–.
With “No” selected, you cannot select the channel using
P+/P–.
15 Press HOME MENU to exit the menu.
• Alternatively, to set up for another channel, repeat steps 5 to
14.
Auto Installation
Region
Installation
Tuner Type
All
Start
Auto Detection
Manual Adjust
Search
System
Programme Entry
Colour System
Store
Tuner NR
Child Lock
High Deviation
44.25MHz
B/G
Auto
View
On
Yes
1
Off


