


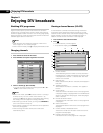
Enjoying DTV broadcasts
09
42
En
• To quit a channel scan in progress, press RETURN. If you
quit scanning halfway, all channels may not be registered
properly. Make sure to repeat scanning again until it is
completed.
Note
• You can select “DTV Setup” only while viewing DTV channels.
• Once the digital TV signal is scanned, the channel number and
programme name will be shown on the Programme List above
the percentage bar.
Manual Scan
This function is used to add channels to the preset channel list
when a new channel is added to the city or region you live in.
Manual Scan searches for the channel based on the frequency and
bandwidth you request.
1 Press HOME MENU.
2 Select “Setup” (/ then ENTER).
3 Select “DTV Setup” (/ then ENTER).
4 Select “Installation” (/ then ENTER).
• The password entry screen appears. Enter your four-digit
password using buttons 0 to 9.
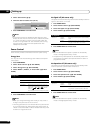
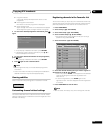
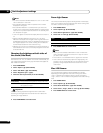
5 Select “Manual Scan” (/ then ENTER).
• A scanning data entry screen appears.
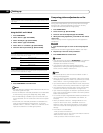
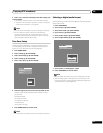
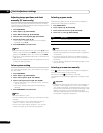
6 Select “Channel No.” (/).
7 Select the RF Channel No. you want to scan (/).
• If you enter the correct RF Channel No., the correct
frequency displays. If the correct frequency is not displayed,
check the RF Channel No. you have entered.
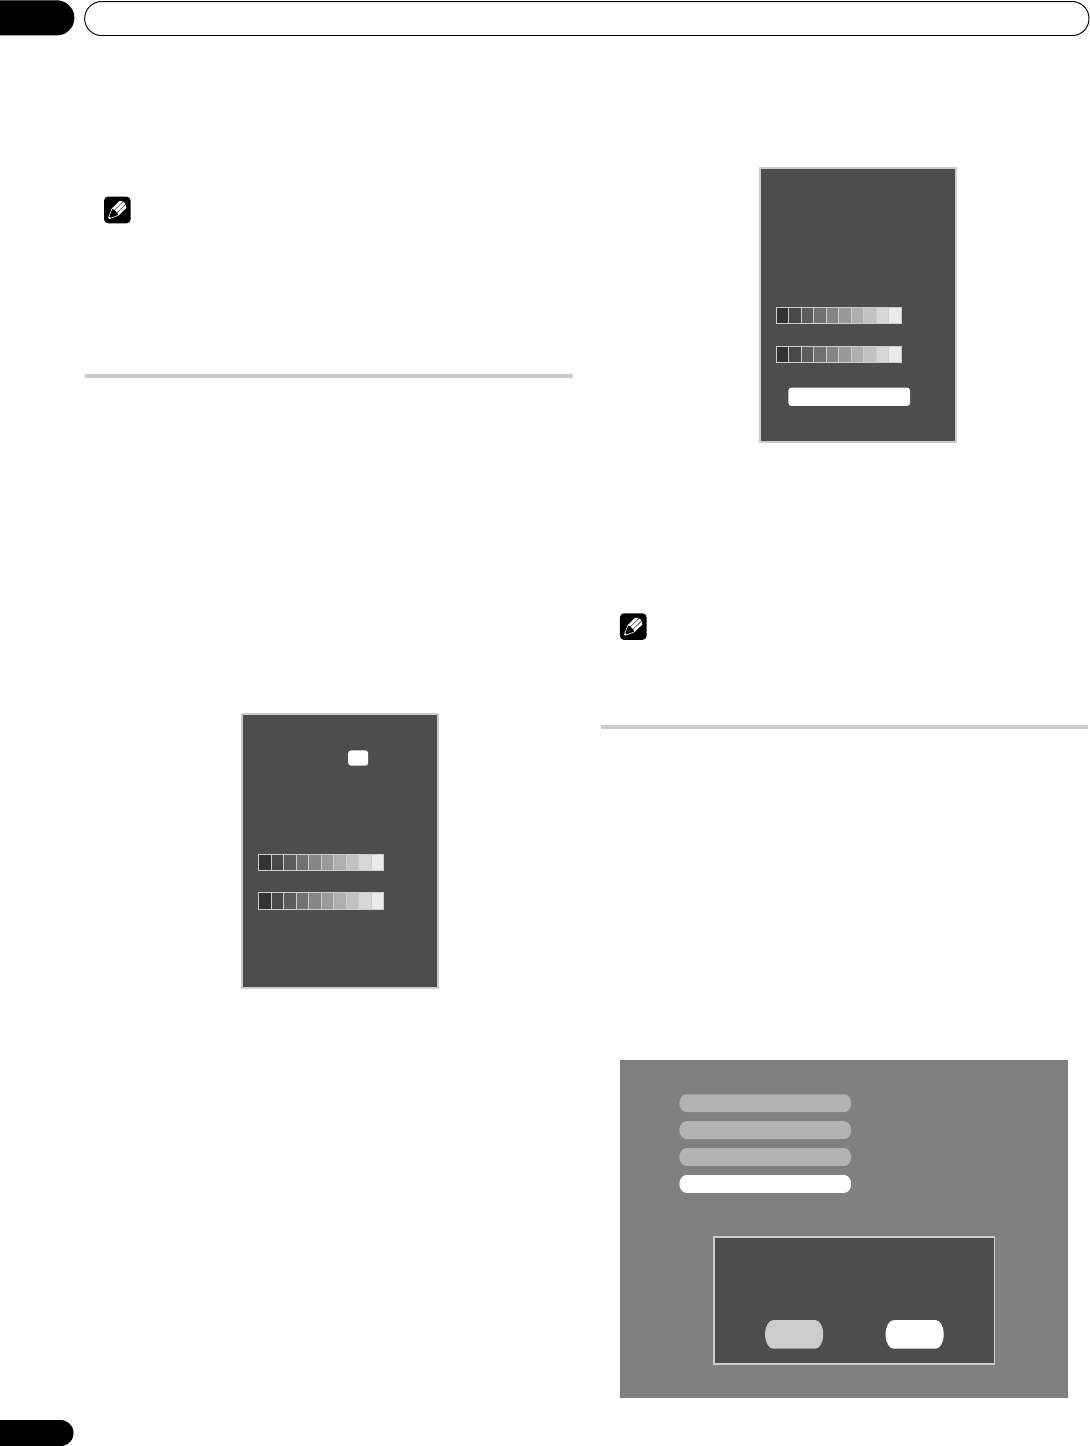
8 After entering the correct RF Channel No., select “Start
Scan” (/ then ENTER).
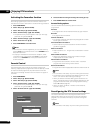
• Scanning starts for the designated RF channel.
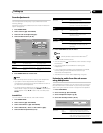
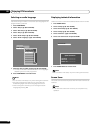
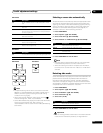
• When scanning is completed, the image on the scanned
channel is displayed.
• If scanning fails and no screen appears, you can try to scan the
signal again, or refer to the Signal Level and Quality indicators
to align the antenna to improve your signal reception.
• To quit a channel scan in progress, press RETURN.
Note
• You can select “DTV Setup” only while viewing DTV channels.
Clear All Data
This function resets all DTV-related settings and preset channels to
factory default.
1 Press HOME MENU.
2 Select “Setup” (/ then ENTER).
3 Select “DTV Setup” (/ then ENTER).
4 Select “Installation” (/ then ENTER).
• The password entry screen appears. Enter your four-digit
password using buttons 0 to 9.
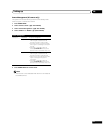
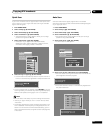
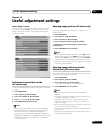
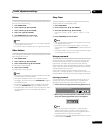
5 Select “Clear All Data” (/ then ENTER).
•A confirmation screen appears.
• Selecting “Yes” moves to the next screen while selecting
“No” cancels “Clear All Data” option.
Channel No.:
9
Frequency : 198500 KHz
Bandwidth : 7 MHz
Signal Level
Quality
100%
100%
Start Scan
SNR dB
Channel No.: 9
Frequency : 198500 KHz
Bandwidth : 7 MHz
Get Channel Success
Signal Level
Quality
100%
100%
SNR 26 dB
Quick Scan
Auto Scan
Manual Scan
Clear All Data
All user setting would be deleted.
Would you like to continue?
Yes No