


4
Setup and Connections
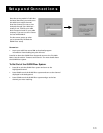
Step 1: Unpack the TV/VCR and
remote control
Contact your dealer if your remote control is missing.
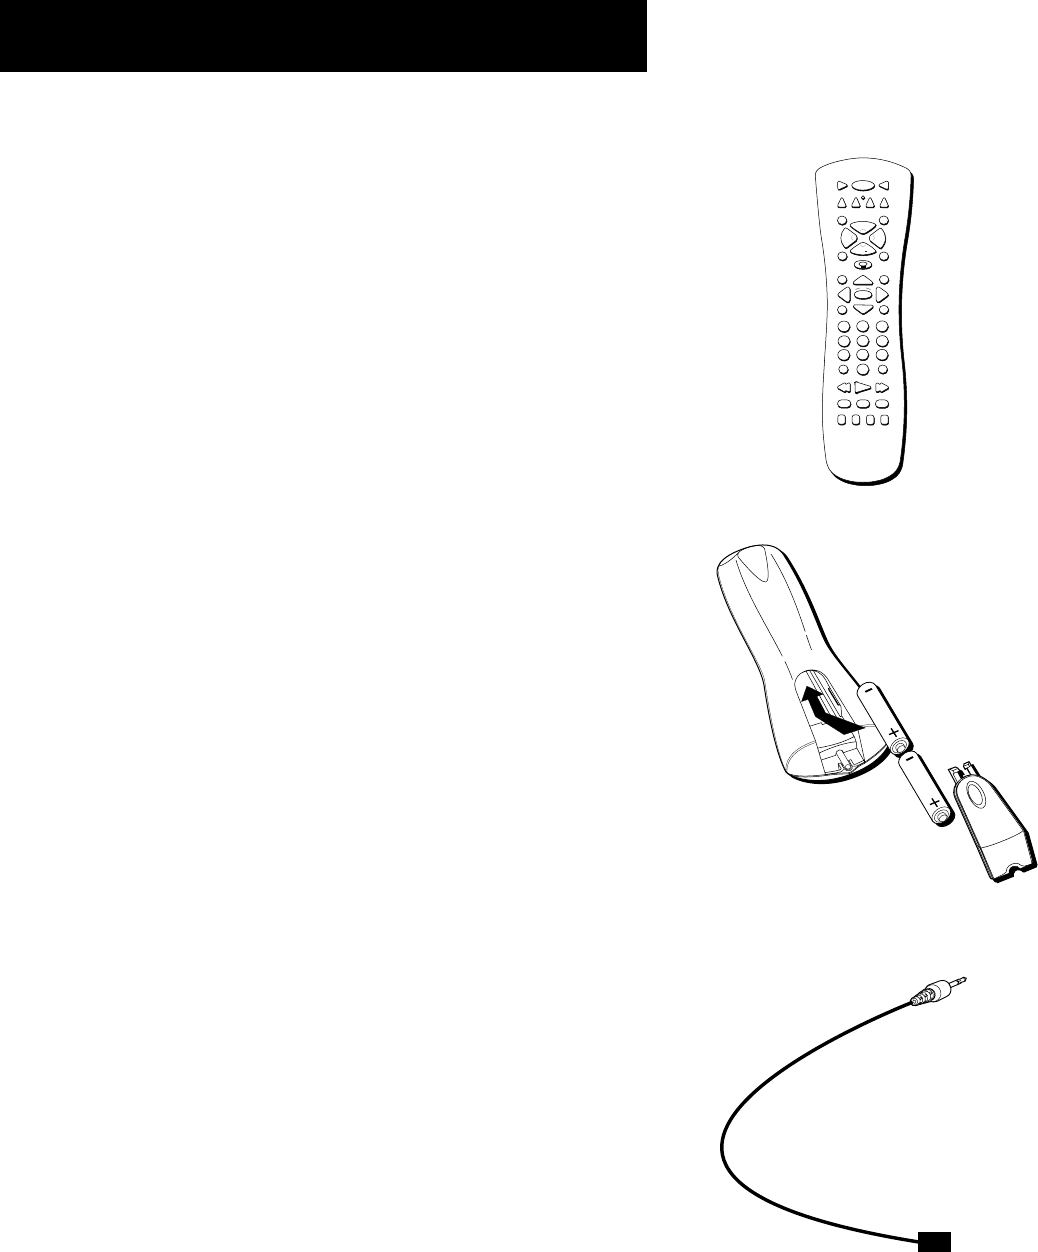
Step 2: Insert batteries in the
remote
1. Remove the battery compartment cover from the back of the
remote.
2. Insert fresh batteries. Make sure that the polarities (+ and -) are
aligned correctly.
3. Replace the cover.
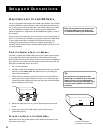
Step 3: Place your TV/VCR on a
stable surface
CAUTION: To reduce the risk of personal injury or damage to the
TV/VCR, take care in selecting a surface or stand on which to place your
product and when moving or carrying it. Use a stable surface
or a strong steady stand and a location where the TV/VCR cannot
be tipped over or easily pulled off, particularly by children. Do not
attempt to carry or move this product with one hand. Grasp the TV/VCR
with both hands with the TV front against your body to prevent it from
slipping out of your grasp.
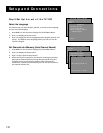
Step 4: Choose a Hookup
Answer the questions to choose the appropriate hookup for your
TV/VCR.
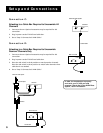
1. How does your TV/VCR receive signals?
Choose one answer from below.
• Dipole antenna – Use Connection A.
• Outside antenna – Use Connection B.
• Cable System – Go to question 2.
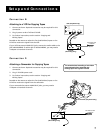
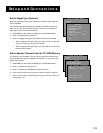
2. What type of Cable-TV system* do you have?
Choose one answer from below.
• Cable without a box – Use Connection B.
• Cable box to unscramble all channels – Use Connection C.
• Cable box to unscramble only premium channels, such as HBO,
Showtime, Cinemax, etc. – Use Connection D.
*You may need to contact your local cable company for assistance.
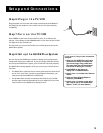
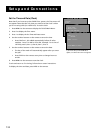
G-LINK Cable
Please locate the G-LINK cable (provided)
when you’re getting ready to set up your
TV/VCR. You need to use this cable to
connect your TV/VCR to your cable box
(if you have one) in order for all of the
features of the program guide to work
properly.
123
456
789
0
ON•OFF
TVVCR1
DVD
MUTE SEARCH
GO BACKSPEED
GUIDE INFO
MENU CLEAR
INPUT
REVERSE PLAY FORWARD
REC•VCR+
- TRACKING + EDIT FR. ADV
STOP PAUSE
ANTENNA
AUX
SAT•CABLE
OK
CH
+
CH
VOL
VOL
VCR2