USER'S MANUAL
7. BORDER COLOR
- Split screen’s border can be set in three colors.
[GRAY/WHITE/BLACK]
- Select ON/OFF or Color (GRAY, WHITE, BLACK)
using
,
,
,
key. Use key to change
selection.
8. PIP POSITION
- Set Sub-screen location.
[B-RIGHT/B-LEFT/T-RIGHT/T-LEFT]
- Select PIP (B-LEFT, B-RIGHT, T-LEFT, T-RIGHT)
location using
,
,
,
key.
Use
key to change selection.
5-2) RECORD MODE SETUP
07/07/07 12:30:01
RECORD MODE SETUP
PICTURE QUALITY HIGH
FIELD RATE 7,5 IPS
DISK END MODE STOP
DISK END ALARM TONE ON
RECORD TIME MARK ON
RECORD TITLE MARK ON
1. PICTURE QUALITY
-Qualityofthevideotoberecordedisdenedin
three stages. HIGH means quality of the video to be
recorded is the highest, then NORMAL, then LOW.
[NORMAL/HIGH/LOW]
- Select video quality using
,
,
,
key.
Use
key to change it.
2. FIELD RATE
-Setnumbersofeldstoberecorded.
- 8CH Mode
[NTSC][1/2.5/3.75/7.5 IPS]
[PAL][0.8/1.6/3.1/6.3 IPS]
- 1CH Mode
[NTSC][1/2.5/3.75/7.5/15/30 IPS]
[PAL][0.8/1.6/3.1/6.3/12.5/25 IPS]
3. DISK END MODE
- Setting to STOP will stop recording when HDD
becomes full during recording.
- Setting to CONTINUE will overwrite previously
recorded data with the one currently being recorded.
The oldest data saved in HDD will get overwritten
rst.[CONTINUE/STOP]
- Use
,
,
,
key to change the setup.
4. DISK END ALARM TONE (Notice Mode when
HDD is full)
- When DISK END MODE is set to STOP, setting
this to ON will make ALARM TONE ring when HDD
is full during recording. If it is set to OFF, ALARM
TONE will not ring. This feature won’t be activated
unless DISK END MODE is set to STOP. [ON/OFF]
- Use
,
,
,
, key to change the setup.
5. RECORD TIME MARK
- Setting to ON will show the time when the recording
is done during playback, Setting to OFF will not
show it. [ON/OFF]
- Use
,
,
,
, key to change ON or OFF.
6. RECORD TITLE MARK
- Setting to ON will show the title when the recording
is done during playback, Setting to OFF will not
show it. [ON/OFF]
- Use
,
,
,
, key to make change.
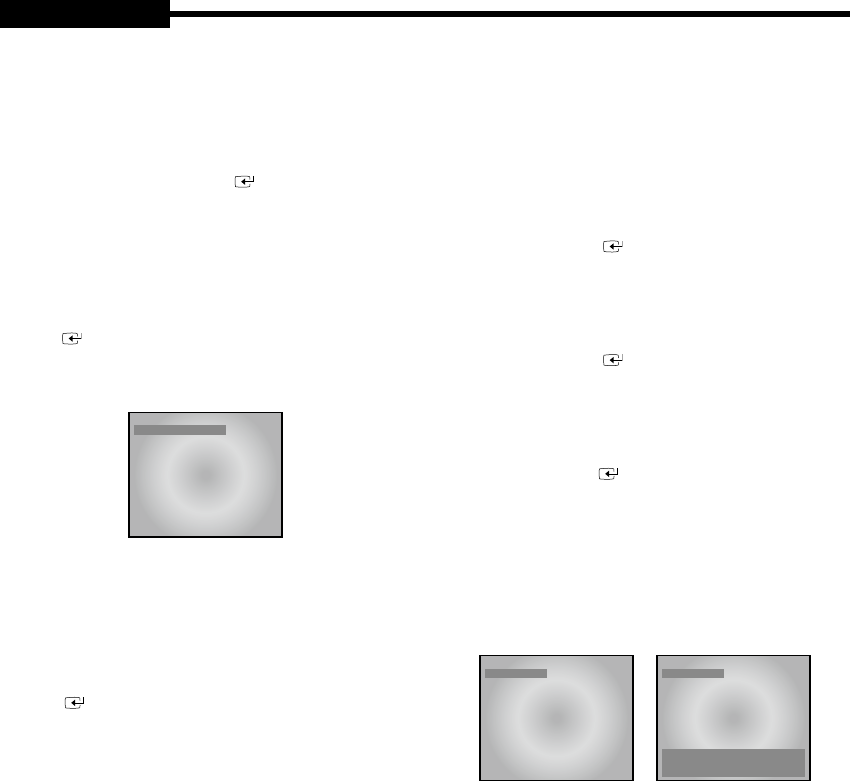
5-3) TITLE SETUP
• Function: Set the desired title of each camera.
• Setting method: Move to TITLE SETUP MENU by using
/
KEY in the SETUP MENU, and press the ENTER
keySWITCHtodisplaytheOSDasshowninthegure
below.(Thegureshowstheinitialsettingstatus.)
07/07/07 12:30:01
TITLE SETTING
CAMERA1 CAM1
CAMERA2 CAM2
CAMERA3 CAM3
CAMERA4 CAM4
CAMERA5 CAM5
CAMERA6 CAM6
CAMERA7 CAM7
CAMERA8 CAM8
07/07/07 12:30:01
TITLE SETTING
CAMERA1 CAM1
CAMERA2 CAM2
CAMERA3 CAM3
CAMERA4 CAM4
CAMERA5 CAM5
CAMERA6 CAM6
CAMERA7 CAM7
CAMERA8 CAM8
0123456789
ABCDEFGHIJKLMNOPQ RSTUVWXYZ
:=.()[/]_+-
Move to a target camera channel by using
/
KEY,
then press the ENTER KEY to display a cursor
atthespaceoftherstcharacterinthecameratitle.
Move the cursor to a target character in the OSD
box lower part by using
/
KEY, then press the
ENTER KEY to set the character.
The cursor automatically moves to the next space after
one character is set. Set the title of camera by repeating
the same method.
(Only eight characters are available for a camera title.)
Eng-20
USER'S MANUAL


