English
Recording settings
How to set 48
2
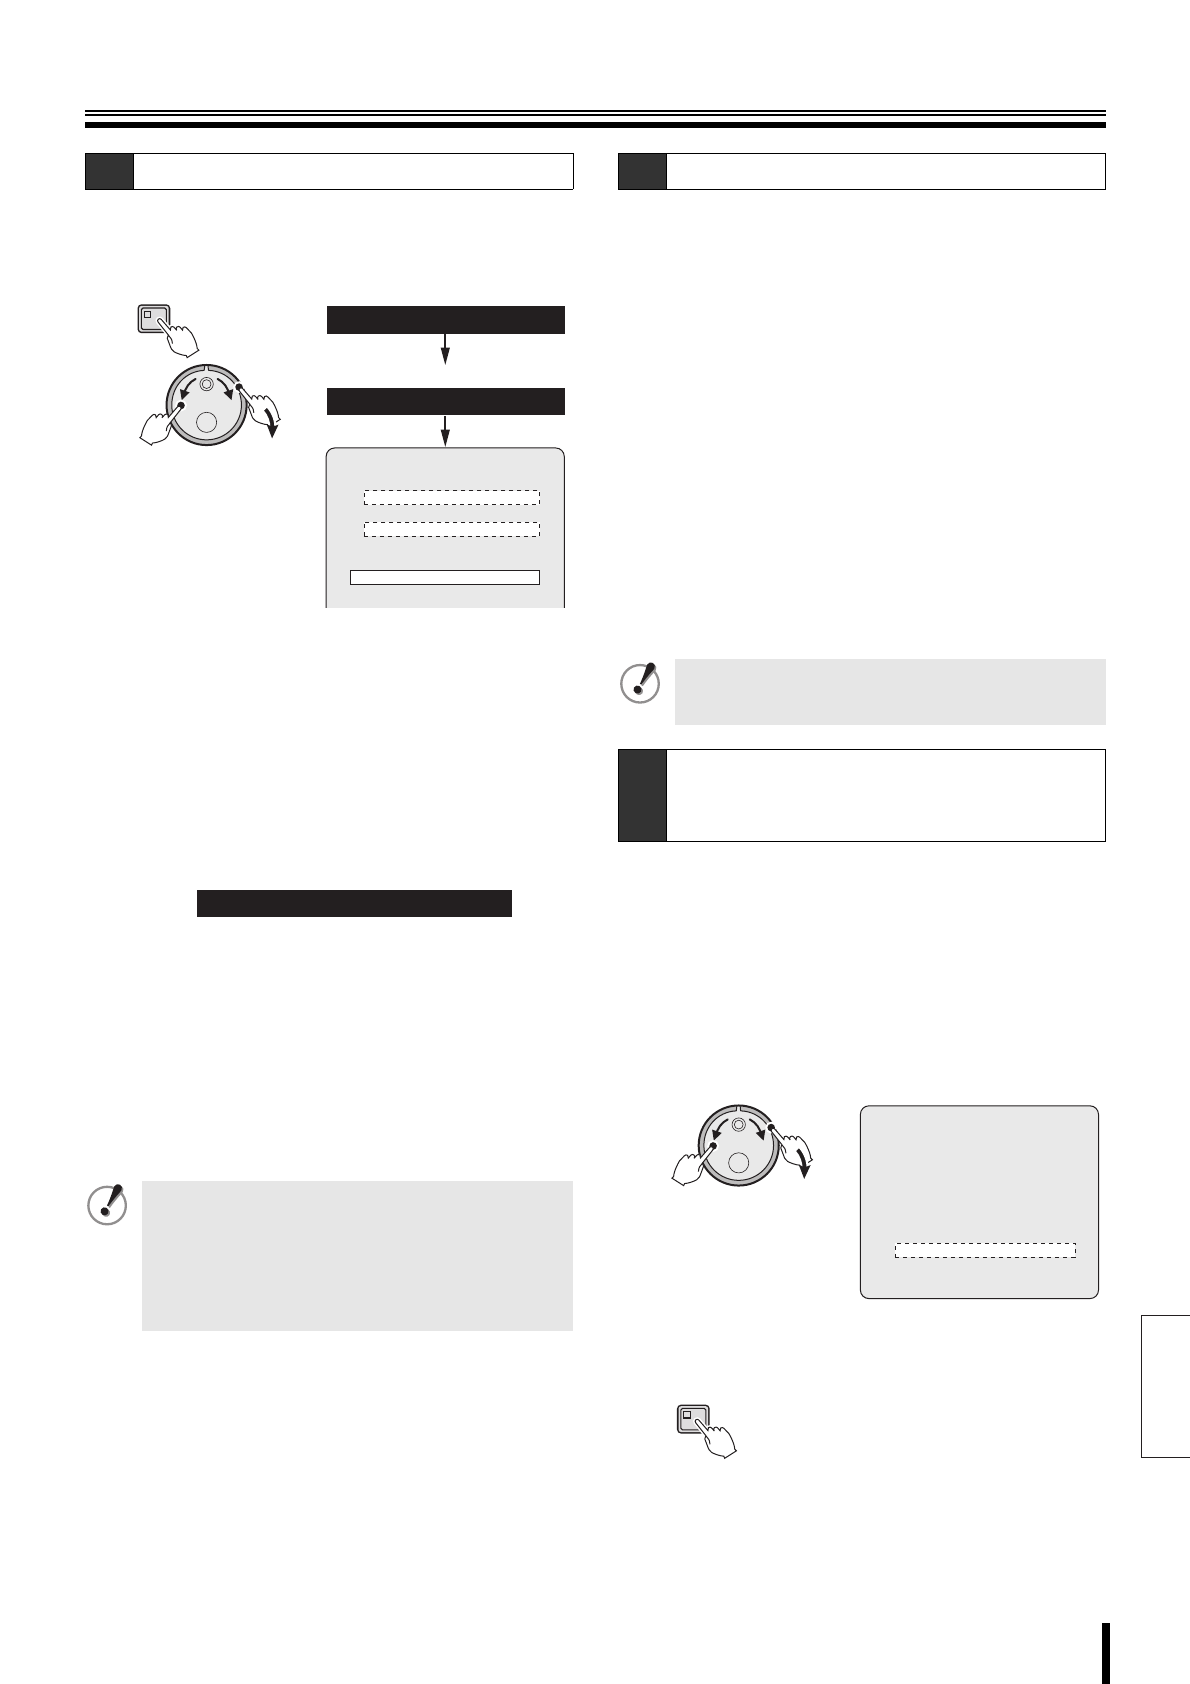
Display the <RECORDING CONDITIONS SET>
screen as explained in "Displaying the recording
settings screen" (P39).
3
Turn the S-dial to select "OVERWRITE" under
NORMAL RECORDING AREA. Turn the J-dial to
select "OFF", and then turn the S-dial clockwise.
Repeat the same procedure to set the OVERWRITE for
the ALARM RECORDING AREA to "OFF".
4
Turn the J-dial to select "SERIES RECORDING",
and then turn the S-dial clockwise.
The cursor moves to "OFF".
5
Turn the J-dial, select "ON", and turn the S-dial
clockwise.
6
Press the EXIT/OSD button to return to the menu.
7
The series recording sets the following series
recording. Press the EXIT/OSD button.
• Normal recording (P49)
• Timer-controlled recording (P51)
• Sets normal recording and combined alarm
recording (P55, 56)
• Sets timer-controlled recording and combined alarm
recording (P55, 56)
8
Copy the setting contents of the menu to media
such as CompactFlash card as explained in the
"COPY MENU SETTINGS" section (P82).
9
Copy the setting contents of the copied menu to
DVR performing series recording (P82, 83).
The DVR connected for series recording will have the
same menu settings.
1
Start recording on the first DVR.
• Press the REC/STOP button if using normal
recording or normal recording combined with alarm
recording.
• Press the TIMER button if using timer-controlled
recording or timer-controlled recording combined
with alarm recording.
2
If the normal or alarm recording area of the first
DVR is insufficient, the recording will stop and it
will automatically start on the hard disk of the next
connected DVR.
3
Stop the recording.
• Press the REC/STOP button for approximately 3
seconds if using normal recording or normal
recording combined with alarm recording.
• Press the TIMER button if using timer-controlled
recording or timer-controlled recording combined
with alarm recording.
The archive area is not subject to storage expiration;
archived videos will not be erased. When the storage
period expires, video stored in the normal and alarm
recording areas will be automatically erased.
1
Turn the J-dial to select "AUTO DELETE", and then
turn the S-dial clockwise.
The cursor moves to "OFF".
2
Turn the J-dial to select the storage period
(example: 10), and then turn the S-dial clockwise.
3
Press the EXIT/OSD button to end the setting
procedure.
C-2 Setting series recording (continued)
• Alarm recording cannot be used alone. Alarm
recording must be used in combination with normal
or timer-controlled recording.
• Normal recording and timer-controlled recording
cannot be used simultaneously. If both are set at the
same time, the timer-controlled recording will be
disabled.
MENU
(J)
(S)
NORMAL RECORDING AREA
OVERWRITE : OFF
ALARM RECORDING AREA
OVERWRITE : OFF
REMAINING DISK WARNING : 1%
SERIES RECORDING : OFF
AUTO DELETE : OFF
3.RECORDING CONDITIONS SET
2.RECORD SET
<MAIN MENU>
<RECORD SET>
<RECORDING CONDITIONS SET>
SERIES RECORDING : ON
C-3 Series recording
When series recording is used, the normal and the
alarm recording areas will be automatically
overwritten. Save important videos before recording.
C-4
Setting the storage period (AUTO
DELETE) for videos recorded in the
recording areas
(J)
(S)
<RECORDING CONDITIONS SET>
NORMAL RECORDING AREA
OVERWRITE : ON
ALARM RECORDING AREA
OVERWRITE : ON
REMAINING DISK WARNING : **
SERIES RECORDING : OFF
AUTO DELETE : 10 DAYS
EXIT/OSD


