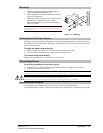
Mounting
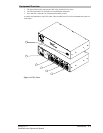
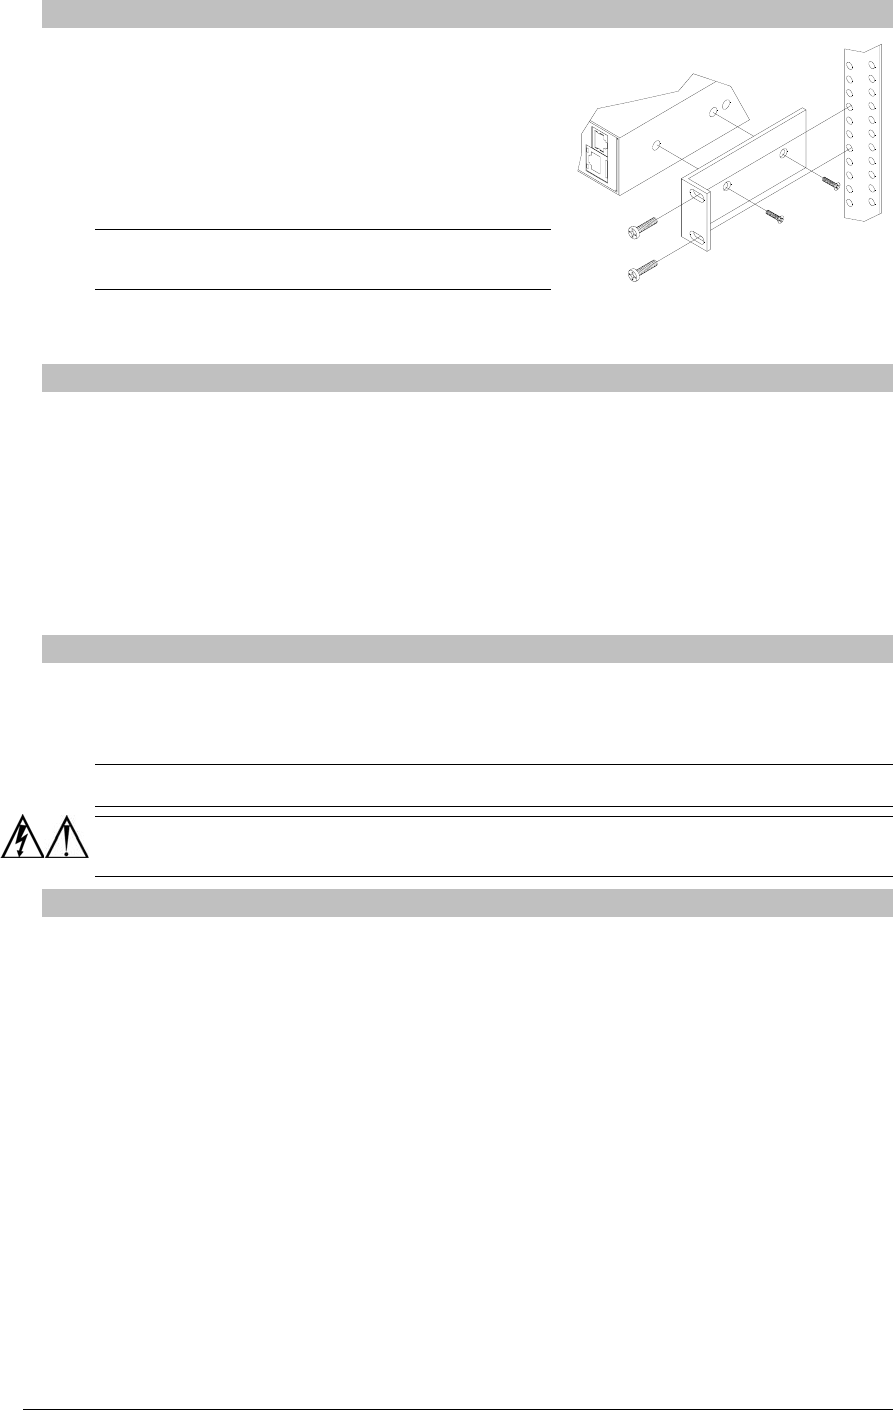
1. Select the appropriate bracket mounting points for
proper mounting depth within the rack.
2. Attach the brackets to these mounting points with two
screws for each bracket.
3. Install the enclosure into your rack, using the slots in
each bracket. The slots allow about ¼ inch of
horizontal adaptability to align with the mounting
holes of your rack.
NOTE: A mounting bracket kit for 23” wide racks or cabinets is
available. Contact your Server Technology Sales Representative for
more information.
Figure 2.1 Mounting
Connecting to the Power Source
The input power cord must first be attached to the unit before connecting the unit to the power source.
Each outlet powers up sequentially, eliminating a potential blown primary fuse or circuit breaker from
excessive in-rush current.
To attach the power cord to the unit:
1. Plug the female end of the power cord firmly into its connector at the base.
2. Use a screwdriver to tighten the two screws on the retention bracket.
To connect to the power source:
Plug the male end of the power cord into the AC power source.
Connecting Devices
To avoid the possibility of noise due to arcing:
1. Keep the device’s on/off switch in the off position until after it is plugged into the outlet.
2. Connect devices to the PT22 outlets.
NOTE: Server Technology recommends even distribution of attached devices across all available outlets to avoid
exceeding the outlet, branch or phase limitations. See Power Ratings on page 69 for more information.
Always disconnect both power supply cords before opening to avoid electrical shock.
Afin d’éviter les chocs électriques, débranchez les cables électrique avant d’ouvrir.
Immer beiden Netzleitungen auskuppeln vor den Aufmachen um elektrischen Schlag zu vermeiden.
Connecting the Sensors
The Switched CDU is equipped with two mini RJ11 T/H ports for attachment of the
Temperature/Humidity sensors. Attach the mini RJ11 plug of the sensor(s) to the appropriate T/H port.
Sentry PT22 Installation • 7
Installation and Operations Manual


