


42
Timer Recording
VIDEO Plus
+
VIDEO Plus
+
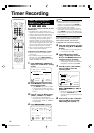
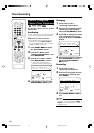
Timer Recording with
VIDEO Plus+
®
system
HDD
VR MODE
DVD-RW
VIDEO MODE
DVD-RW
DVD-R
The operation method is the same for both
HDD and DVD.
•
The VIDEO Plus+
®
system allows you to
programme your Recorder for timer recording
simply by inputting the PlusCode number.
•
The
PlusCode
numbers are listed in most
newspapers, television guides, and local
CATV listings. Simply by inputting this
PlusCode
number, you can program your
Recorder for timer recording, eliminating the
need to input programme start time, stop
time, channel, date and other information
usually necessary for timer recording.
• Up to 16 timer programs can be stored.
(This includes Timer Program.)
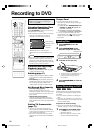
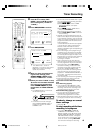
Preparation to Use VIDEO Plus+ system
• Check that the clock is displaying the
correct time.
• If the TIMER indicator on the front of the
Recorder is lit, press TIMER ON/OFF to
turn off the TIMER indicator and to set the
TIMER STANDBY mode to off.
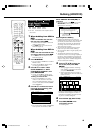
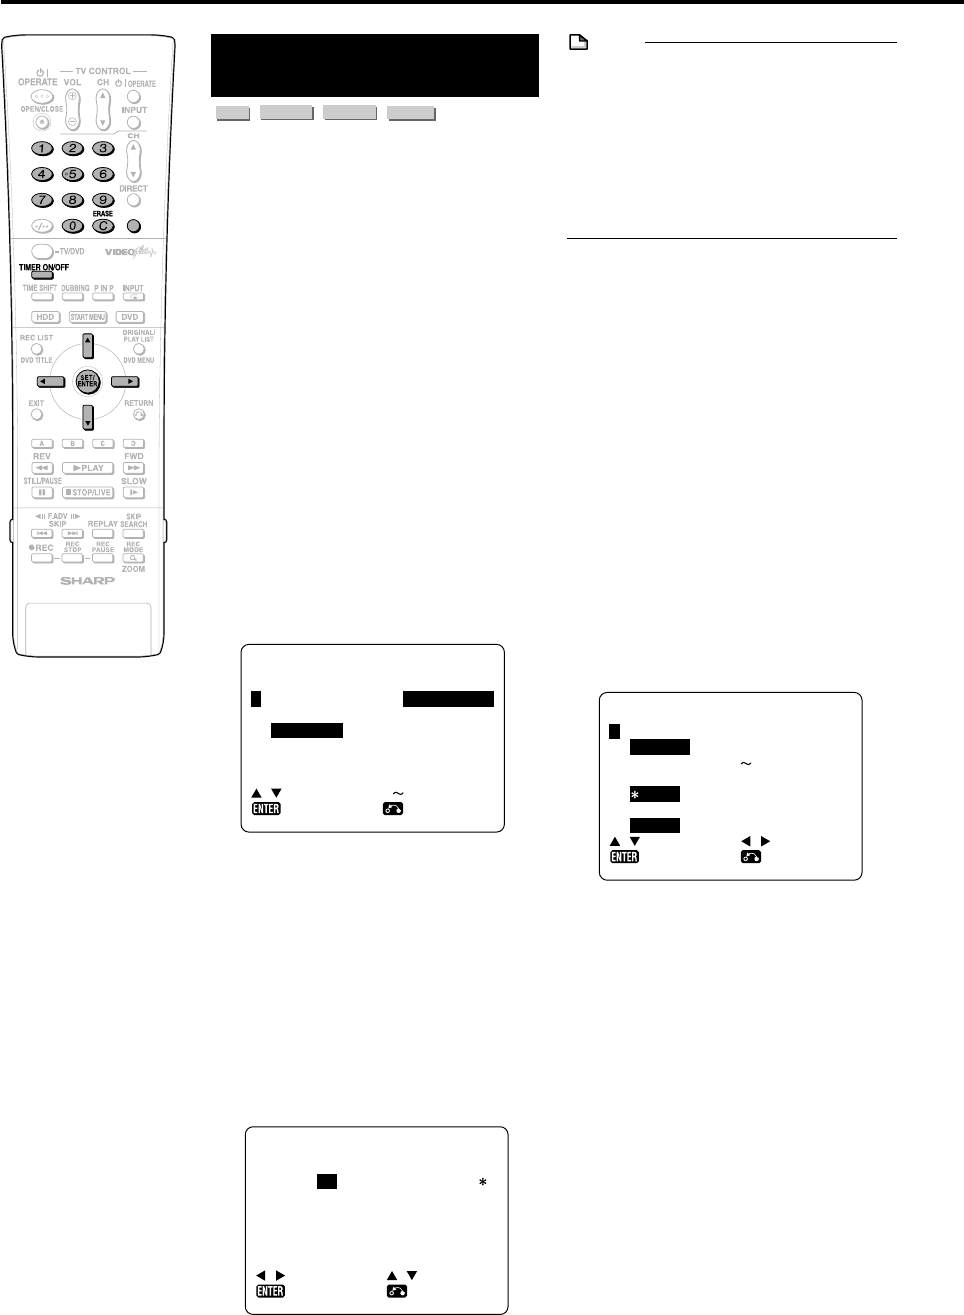
1
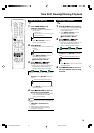
Press VIDEO Plus+ (button) to
display the “VIDEO Plus+” setting
screen.
PLUSCODE NO.
-
VIDEO PLUS
+
ONCE WEEKLY
SYSTEM
: SELECT 0 9
DAI LY
:RETURN
:INPUT
:ENTER
➞
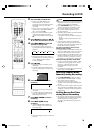
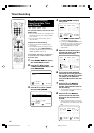
2
Press Number buttons to enter
the PlusCode number.
• Press ERASE if you make a mistake
in the PlusCode number. Each time
you press the button, one digit will be
erased.
3
Press ", then use \/| to select
“ONCE”, “WEEKLY” or “DAILY”.
• If you want to make additional
recordings at the same time each day
or week, select “DAILY” or “WEEKLY”
as appropriate.
4
Press SET/ENTER to confirm.
NOTE
•“ERROR” will appear if you have entered a
number that is not a correct PlusCode
number. If this happens press ERASE to
delete the numbers as required and enter
the correct PlusCode number.
• Check that the menu list agrees with the
times shown in the TV listing. If it does not,
press ERASE to return to the VIDEO Plus+
system menu, then enter the correct VIDEO
Plus+ number.
The first time that you use the VIDEO
Plus+ system to make a recording on
each channel preset, “PR” may be
highlighted on the On-Screen Display.
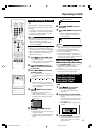
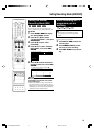
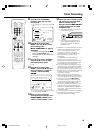
5
Enter the channel button you want
to record using '/" or Number
buttons.
• For Example to record a programme
on channel 8 press 0 8.
6
Press \/| to select “START
(time)” / “STOP (time)” then use
'/" or the Number buttons to
change the time if necessary.
• When entering less than 10 hours or
minutes add a “0” before the number, for
example for 12:05 start, press 1 2 0 5.
REC. MODE
F:FINE S:SP L:
M:MANUAL
VPS/PDC
:ON
-
:OFF
REC. MEDI A
H:HDD D:DVD
:SELECT
LP E:EP
(1 32)
➞
16
:RETURN
:CHANGE
:ENTER
➞
When “M:MANUAL (1~32)” is
selected:
• Select the recording mode with
\\
\\
\/
||
||
|,
then press SET/ENTER. (The
recording mode can be selected from
32 levels.)
8
Press '/" to select “VPS/PDC”,
then use \/| to turn the VPS/
PDC setting ON(“
∗∗
∗∗
∗”)/OFF(“-”).
7
Press | to select “REC. MODE”,
then use \/| to select the
recording mode.
DATE PR START S
25/12W
--
12:35 1
--
/
-- -- -
:
--
:SELECT
PR : PRESET
:RETURN:ENTER
--
/
-- -- -
:
--
--
/
-- -- -
:
--
1/4
TOP
-
:
-- ---
3:05 F H
-
:
-- ---
-
:
-- ---
:CHANGE
DV-HR350H/300H-040-046 2004.4.8, 10:41 AM42