


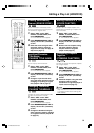
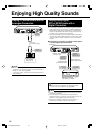
85
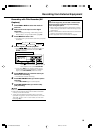
Recording with This Recorder (DV
Capture)
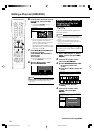
1
Press HDD or DVD to select the media to
record to.
2
Select audio to be input from the digital
camcorder.
• Before starting recording, check setting of “DV
AUDIO INPUT” using “DV SETTING” (page 93).
3
Press INPUT to select “DV”.
• The setting will cycle as follows each time you press
the button.
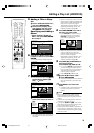
4
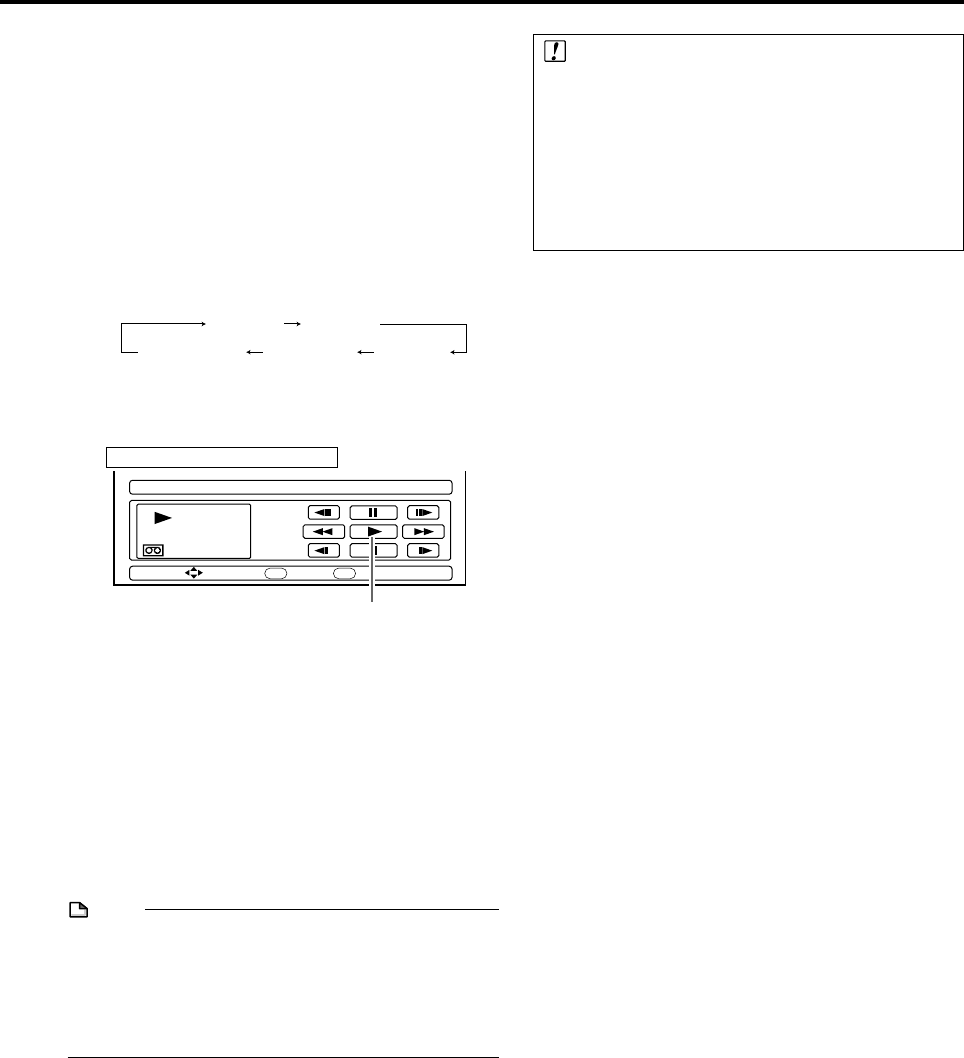
Perform digital camcorder playback.
• Press
''
''
'/
""
""
"/
\\
\\
\/
||
||
| to select the desired button on
the On-screen Control Panel, then press SET/
ENTER to operate.
• If you press EXIT on the remote control, the On-
screen Control Panel will disappear. To display it
again, press ON SCREEN (under the cover).
5
Press ●REC when you reach the scene you
want to start recording.
• The Recorder will start recording.
6
Press REC PAUSE when you want to pause
recording.
• Press REC PAUSE again to cancel pause.
7
Press REC STOP when you want to stop
(end) recording.
NOTE
• Material protected with a copy guard cannot be recorded.
• Date and time data as well as the contents of cassette
memory cannot be recorded.
• There are some digital camcorders which cannot be
operated using the On-screen Control Panel, even when
“DV LINK” is set to “ON”. In such cases, set it to “OFF”.
(See page 93.)
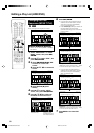
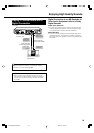
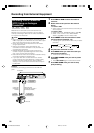
Recording from External Equipment
SELECT ENTER
PLAYBACK
PLAYBACK
DV LINK (ENABLES CONTROL OF DV CAMCORDER)
EXIT
ENTER
00 : 00 : 10
EXIT
L1 (IN 1)
TV channels DV (DV IN)
L3 (IN 3)
L2 (IN 2)
Important!
Abnormal images may be recorded or the Recorder
enters the Pause mode when any of the following
occur during DV capture.
• When the connected equipment plays back a portion
where nothing is recorded or video containing a copy
guard signal.
• When the DV cable is disconnected or the camcorder
power is turned off during DV capture.
• When playback from the camcorder is stopped.
When “DV LINK” is set to “ON”
Select
||
||
| on the On-screen Control Panel to
start playback, then press SET/ENTER.
DV-HR350H/300H-082-086 2004.4.8, 11:07 AM85