75
Timer Recording (For analogue broadcasting only)
7 Select the input source using M/m,
and select the programme position
using the number buttons or M/m.
You can also select the programme
position using the yellow button
(“Channels”).
8 Press the green button (“Next”).
The display for entering characters
appears.
To change the title name, select a
character on the keyboard using </M/
m/,, and press ENTER.
To switch between upper-case, lower-
case, or characters with accents, press the
yellow button (“Keyboard”).
9 Press the green button (“Save”).
The date, start and stop times,
programme position, etc. settings appear.
The recorder is ready to start recording.
To confirm, change, or cancel a timer
recording
See “Checking/Changing/Cancelling Timer
Settings” on page 77.
To stop recording during timer recording
Press x REC STOP.
Note that it may take a few seconds for the
recorder to stop recording.
On-screen instructions may appear after
pressing x REC STOP. In this case, follow
the on-screen instructions.
Rec. Mode Adjust
If there is not enough available disc space for
the recording, the recorder automatically
adjusts the recording mode to enable the
entire programme to be recorded. Set “Rec.
Mode Adjust” to “On” in the “Recording”
setup (page 143).
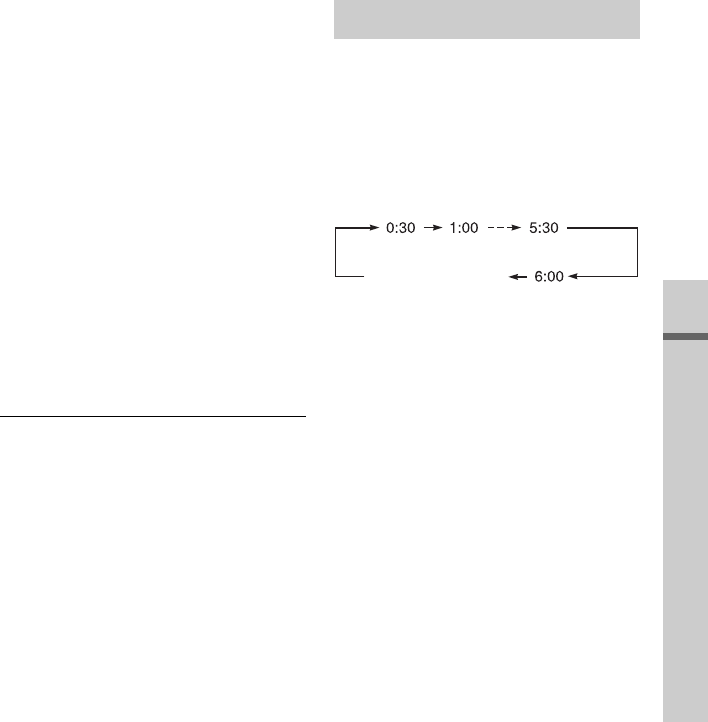
You can set the recorder to record in 30-
minute increments.
Press z REC repeatedly to set the
duration.
Each press advances the time in 30-minute
increments. The maximum duration is six
hours.
The time counter decreases minute by minute
to 0:00, then the recorder stops recording (the
power turns off).
To cancel the Quick Timer
Press z REC repeatedly until the counter
appears in the front panel display. The
recorder returns to normal recording mode.
To stop recording, press x REC STOP.
b Note
If you turn off the recorder during recording,
recording is stopped.
Using the Quick Timer function
(normal recording)
,continued


