29
Basic Operations
29
Basic Operations
Using the System Menu
The System Menu provides entry to the
recorder’s functions.
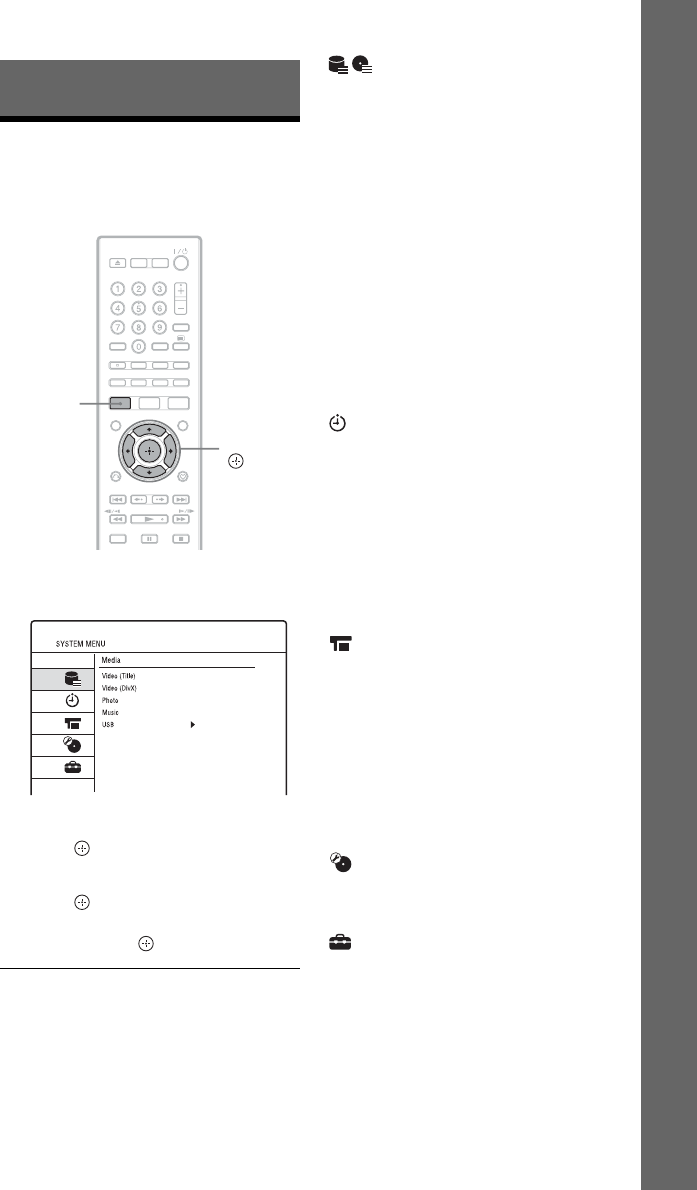
1 Press SYSTEM MENU.
The System Menu appears.
2 Select a menu icon using M/m, and
press .
3 Select an option using M/m, and
press .
If necessary, select a sub-option using
M/m, and press .
To exit the System Menu
Press SYSTEM MENU.
Media
Displays the contents of the HDD, a disc, or
the connected USB device.
“Video (Title)”: Displays the Title List on
the HDD or a DVD (page 31).
“Video (DivX)”: Displays the DivX List on
the HDD, DATA DVD, or DATA CD
(page 59).
“Music”: Displays the Music List on the
HDD, CD, DATA DVD, or DATA CD
(page 61).
“Photo”: Displays the Photo List on the
HDD, DATA DVD, or DATA CD
(page 63).
“USB”: Displays the DivX List/Music List/
Photo List on the connected USB device
(page 65).
Timer Recording
Displays a menu for timer recording.
“Programme Guide”: Allows you to set a
programme to be recorded based on the
information provided by the EPG
(Electronic Programme Guide) (page 38,
47).
“Timer List”: Allows you to set the date,
time, and programme position of the
programme manually (page 50).
HDD-Cam/DV
Displays the Dubbing List.
“HDD-Cam Dubbing”: Allows you to dub
the contents of a Sony HDD camcorder to
the hard disk drive of the recorder via the
USB jack on the front panel (page 75).
“DV Dubbing”: Allows you to dub the
contents of a DV camcorder to the hard disk
drive of the recorder via the DV IN jack on
the front panel (page 78).
Disc Setup (page 81)
Displays the Disc Setup menu for adjusting
HDD/DVD related settings.
Initial Setup (page 83)
Displays the Initial Setup menu for setting
up the recorder to suit your preferences.
</M/m/,,
SYSTEM
MENU


