


Using the FREEZEfeature
To use the FREEZE feature:
1
When viewing the TV, press _ to make the
picture a still picture.
FREEZE
2 To return to the moving picture, press
again (or any other button).
Note: If the TV is left in FREEZE mode for more
than 15minutes, the FREEZE mode will
automatically be released and the TV will return
to moving picture.
Using the FREEZE function for any purpose
other than your private viewing may be
prohibited under the Copyright Laws of the
United States and other countries, and may
subject you to civil and criminal liability.
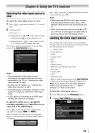
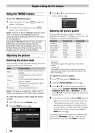
Adjusting the picture
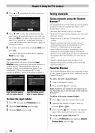
Selecting the picture mode
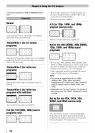
You can select your desired picture settings from four
different modes, as described below.
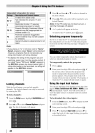
od_ Net_N _
Bright and dynamic picture (factory
Sports setting)
Standard Standard picture settings (factory
setting)
Lower contrast for darkened room
Movie
(factory setting)
PC Designed for viewing of PC tables
and documents
Preference Your personal preferences
Note: PC mode is available for HDMI and PC
inputs only (grayed out for other input sources).
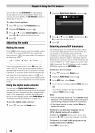
To select the picture mode using the menu
system:
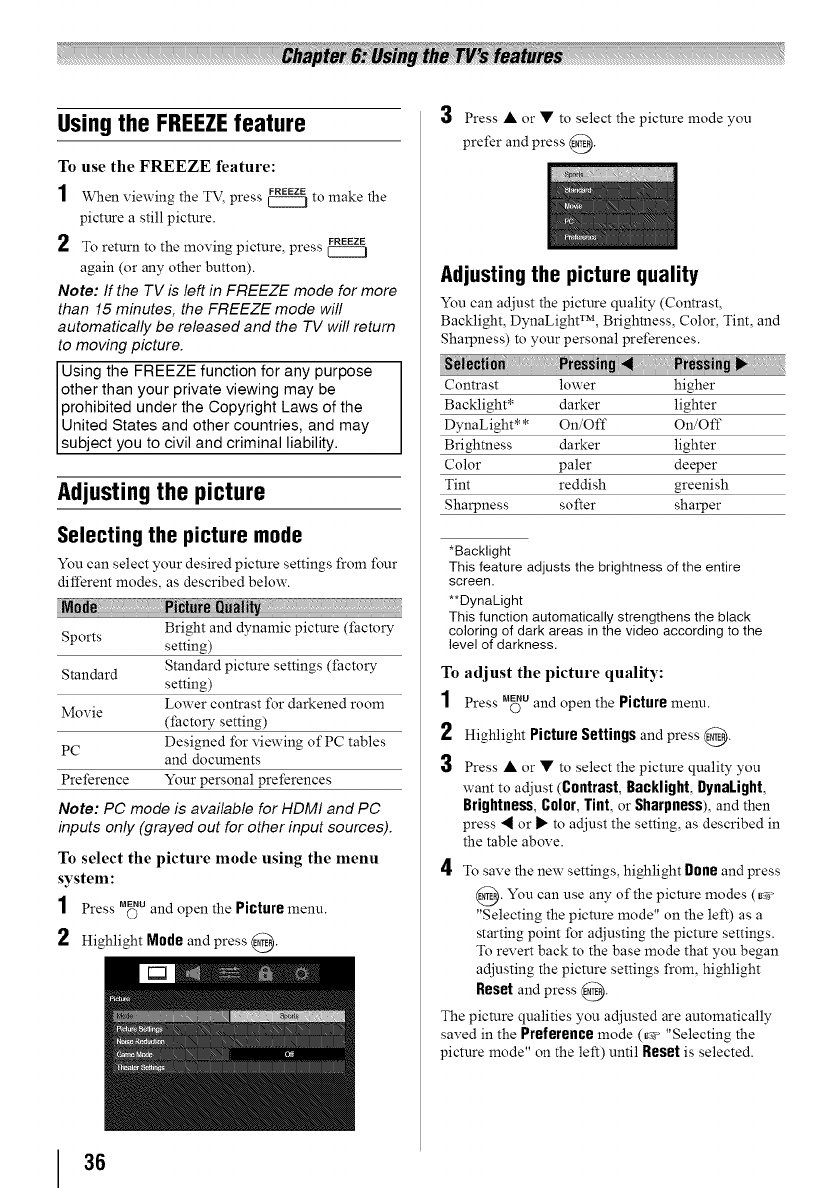
1 Press ._u and open the Picture menu.
2 Highlight Mode and press @.
3 Press • or • to select the picture mode you
prefer and press @.
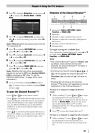
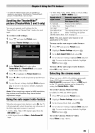
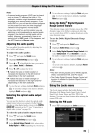
Adjusting the picture quality
You can adjust the picture quality (Contrast,
Backlight, DynaLight TM, Brightness, Color, Tint, and
Sharpness) to your personal preferences.
Contrast lower higher
Backlight* darker lighter
DynaLight* * On/Off On/Off
Brightness darker lighter
Color paler deeper
Tint reddish greenish
Sharpness softer sharper
*Backlight
This feature adjusts the brightness of the entire
screen.
**DynaLight
This function automatically strengthens the black
coloring of dark areas in the video according to the
level of darkness.
To adjust the picture quality:
1 Press _u and open the Picture menu.
2 Highlight PictureSettingsand press @.
3 Press • or • to select the picture quality you
want to adjust (Contrast, Backlight, DynaLight,
Brightness, Color, Tint, or Sharpness), and then
press _ or _" to adjust the setting, as described in
the table above.
4 To save the new settings, highlight Done and press
@. You can use any of the pictnre modes (_
"Selecting the pictnre mode" on the left) as a
starting point for adjusting the picture settings.
To revert back to the base mode that you began
adjusting the pictnre settings from, highlight
Reset and press @.
The pictnre qualities you adjusted are automatically
saved in the Preference mode (_ "Selecting the
picture mode" on the left) until Reset is selected.
36