


5. OPERATIONS
5-1. Power ON/OFF
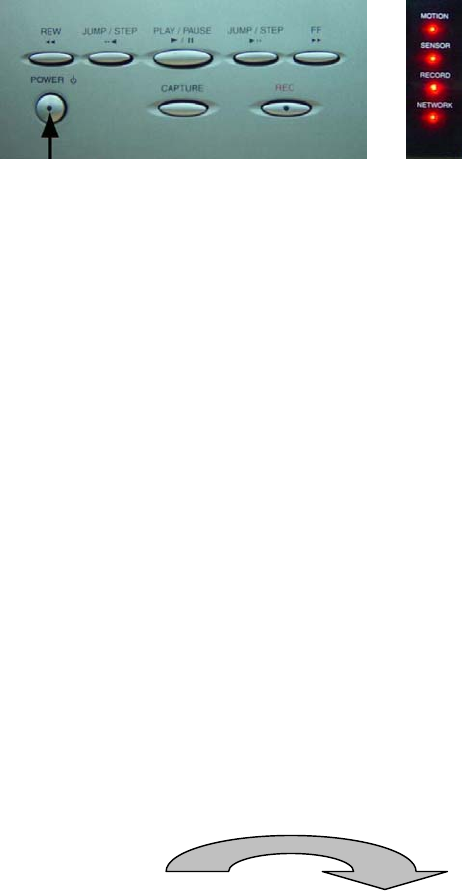
5-1-1. Power ON
A. Connect the camera input cables to the camera input port on the back of DVR.
B. Connect the monitor cable to the video output port on the back of DVR.
C. Connect the power cable to the power input port on the back of DVR.
D. Press the POWER button only after DVR and other equipments have been fully
connected. The LED on the POWER button and SENSOR, MOTION, RECORD, and
NETWORK LED on the front right view will light up when DVR starts up.
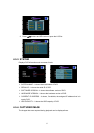
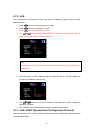
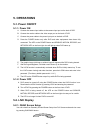
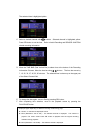
E. The graphic image (with logo or without logo) will appear while DVR is being booted.
F. After the logo disappears, a divided screen shows up on the monitor.
G. The LOCK function is automatically activated when DVR is initially started up. To use
the ‘LIVE screen viewing’ and other functions, press the LOCK button and enter in the
password. (The factory default password is ‘1111’.)
H. The LED on the POWER button stays lit up while DVR is being operated.
5-1-2. Power OFF
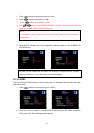
A. DVR cannot be turned off using the POWER button when the LOCK function is on.
Deactivate the LOCK function by pressing LOCK and entering the password.
B. Turn off DVR by pressing the POWER button on the front view of DVR.
C. When DVR is being turned off, the LED on the POWER button and SENSOR,
MOTION, RECORD, and NETWORK LED on the front right view stay on for a while.
D. The LED is no longer lit when DVR is turned off.
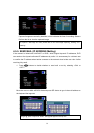
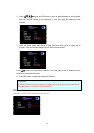
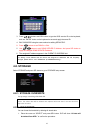
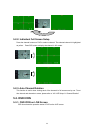
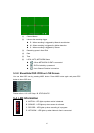
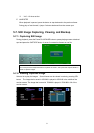
5-2. LIVE Display
5-2-1. QUAD Screen Setup
You can switch from Quarterly Divided Screen Setup from Full Screen mode and vice versa
by pressing QUAD/MUX button.
45