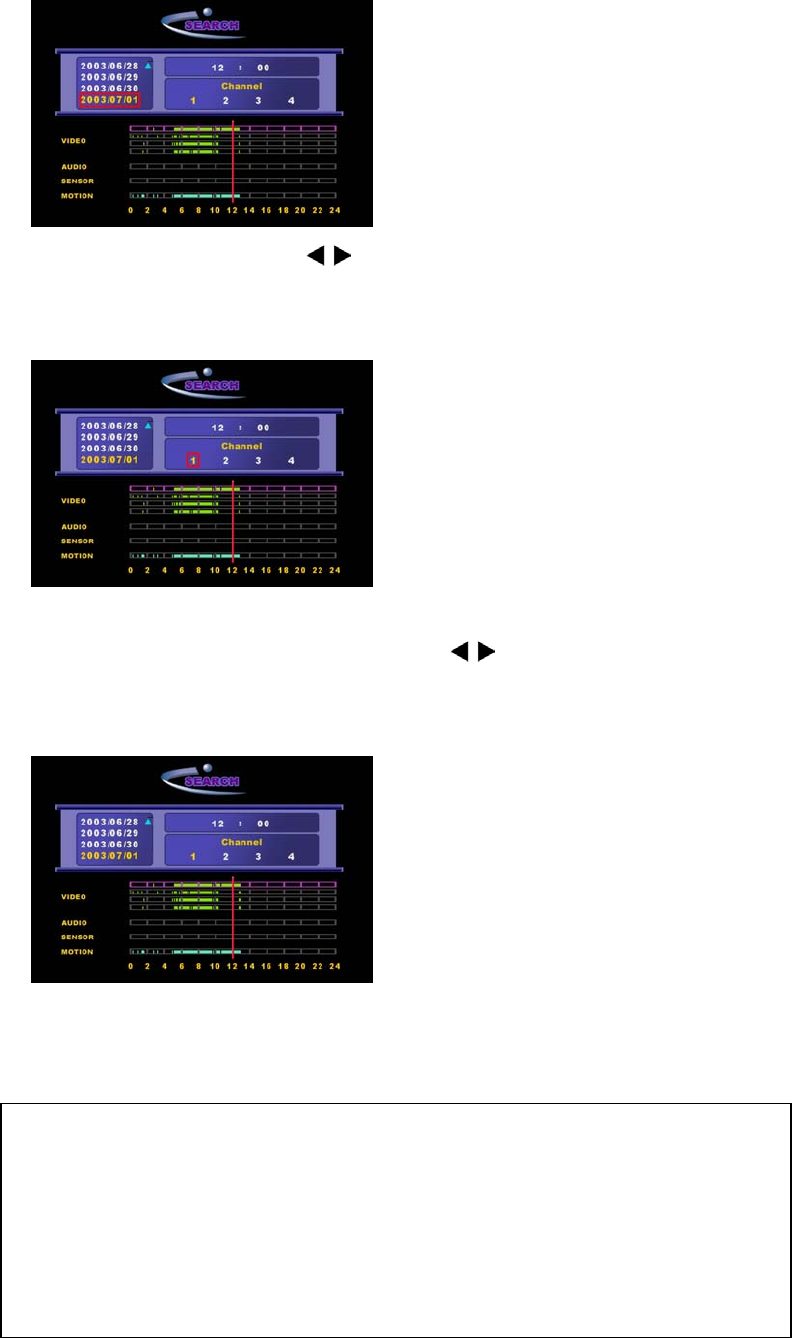
The selected date is highlighted yellow.
C. Select a desired channel with
buttons. Selected channel is highlighted yellow.
Press SEL button to set the time. Refer to Audio Recording and SENSOR & MOTION
related recording information.
D. Move the TIME BAR (Red Vertical Bar) to select time at the bottom of the Recording
Information Columns. Move the time bar using
buttons. The time bar moves by
7, 15, 22, 30, 37, 45, 52, 00 minutes. The selected time is shown up on the upper part
of the Select Channel field.
E. To change the date again, move to Date by pressing SEL button.
F. After completing time selection, move to the playback screen by pressing the
PLAY/PAUSE button.
49
<Displayed types depending on different recording modes during play>
QUAD – 4 channels are displayed at once
MUX (Resolution: 360 X 240) – The selected channel is displayed. The channel is
played in full screen mode. Press SEL button to playback with the original recording
resolution during playback.
MUX (Resolution: 720 X 480) – The selected channel is displayed.
