


Divar 700 Series Hardware setup | en 25
Bosch Security Systems Installation and Operation manual F.01U.246.471 | v3.6 | 2011.11
4.3 Hard disk installation
Up to four hard disks can be installed in the DVR. All hard disks are accessed from the front of
the unit by removing the front panel. Do not open the top cover or attempt to service the unit.
No user serviceable parts inside. Refer all servicing to qualified service personnel. Improper
handling or installation could void the warranty of both the hard disk and the DVR.
Note:
Only genuine Bosch hard disks will work in the Divar 700 Series. See the Bosch website or
contact your local Bosch representative for available hard disks.
Installing or removing hard disks does not breach the warranty conditions as long as the
warranty label is not broken.
4.3.1 Mounting instructions
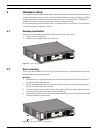
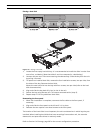
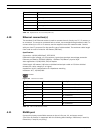
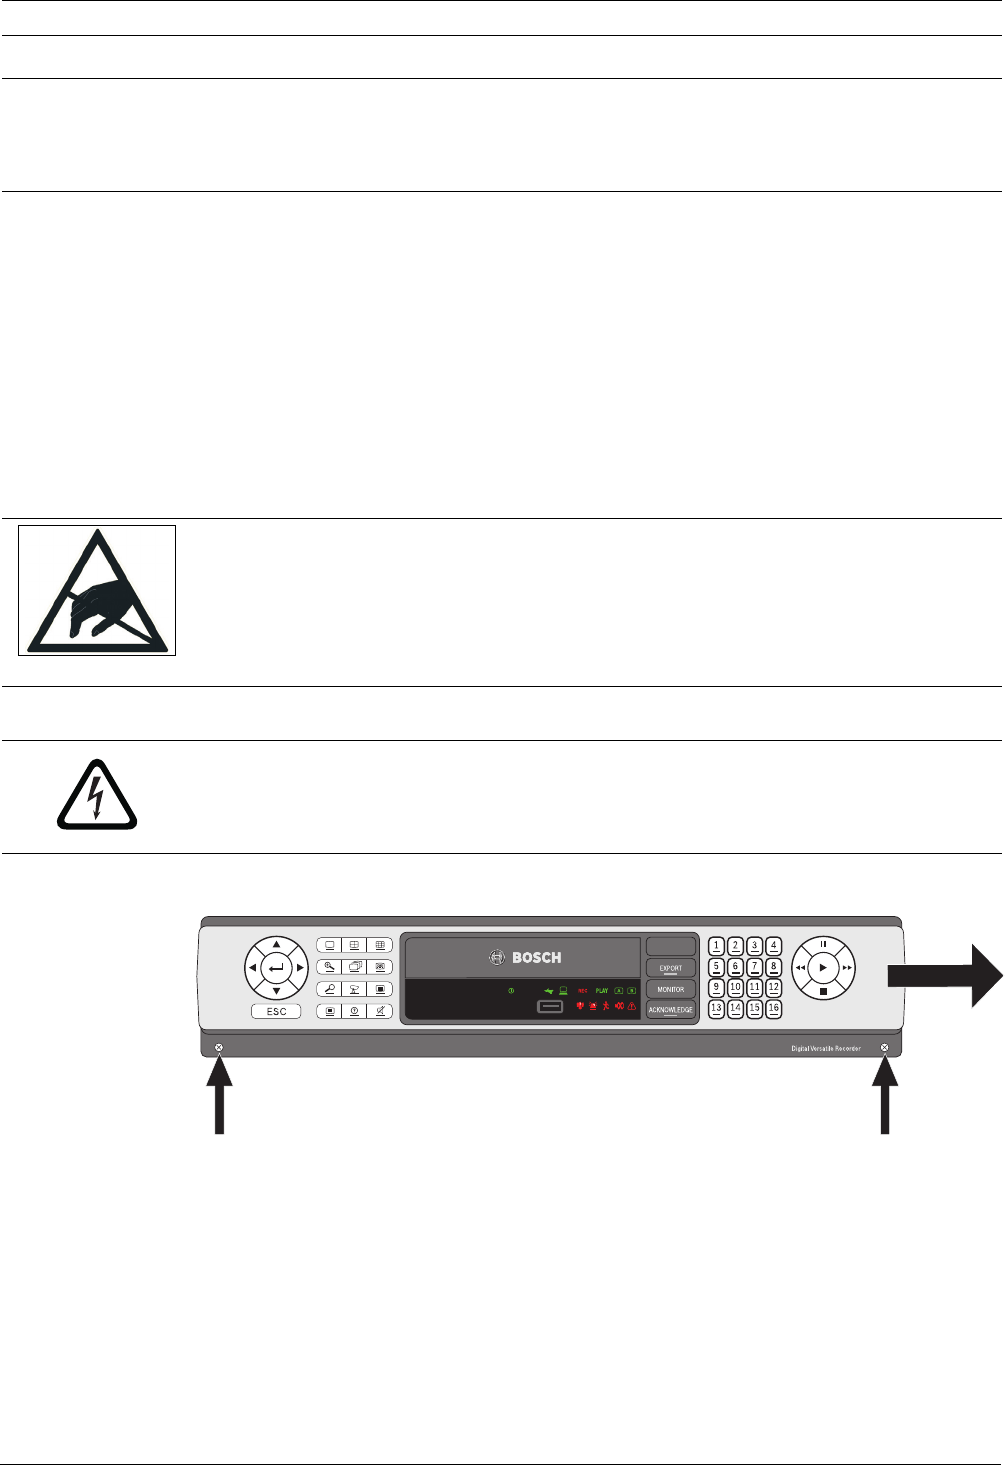
Removing the front panel
Figure 4.3 Front panel removal
1. Loosen the two captive cross head screws on the bottom front panel.
2. Slide the front panel to the right until it is free.
3. Place the front panel on top of the unit, taking care not to strain the flat cable. If there is
no room on top of the unit, disconnect the flat cable and set the front panel aside.
CAUTION!
When installing the assembly into the rack, do not restrict air flow around the vents located on
the side panels or exceed the recommended operating temperature.
Secure the connection cables to the rack to relieve excessive weight to the back of the unit.
CAUTION!
Electrostatic discharges
Any electrostatic energy coming in contact with the hard disk or other sensitive internal parts
can damage them permanently. Improper handling could void the warranty of the hard disk.
When working with electrostatic sensitive devices such as a hard disk or the Divar unit, make
sure to use a static-free workstation.
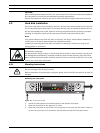
DANGER!
Electrical voltage. Risk of electric shock.
Before installation of the hard disk, unplug the power cord of the DVR and wait for at least 30
seconds.
Divar