


Page 117
Using Troubleshooting Tools
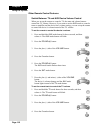
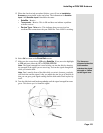
5. Press the POUND (#) button.
The TV mode button flashes three times.
6. Press the SAT mode button.
7. Press the plus (+) and minus (-) sides of the VOLUME
button.
The TV’s volume changes and the TV mode button
lights instead of the AUX mode button.
Using Troubleshooting Tools
Your receiver has diagnostics tools that a Customer Service Representative may
ask you to use if you should ever run into problems while using your equipment.
Even though these tools are quite helpful, it is recommended that you only use
them when on the phone with a DISH Network representative.
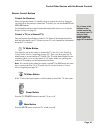
Resetting Your Receiver
Reset your receiver as directed by the Customer Service Representative as
follows:
1. Press and hold the front panel POWER button until only the green
TV1
indicator is lit.
2. Let go of the front panel POWER button.
It will take a few minutes for your receiver to reset and come back on.
When you reset your receiver, your receiver may have to download an
updated Program Guide. If this is the case, it may take longer for the
receiver to come back on.
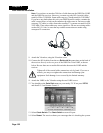
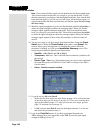
Diagnostics
The Customer Service Representative may ask you to open the Diagnostics
screen. Remember to have an active phone line connected to your receiver.
1. Press MENU-6-3.
The
Diagnostics screen shows you various tests the Customer Service
Representative may ask you to perform on your receiver:
•
Connection - Tests for a valid receiver phone connection.
•
Dial Out - If No Dial Out Pending is displayed, the receiver does not
need to have its smart card records updated.
•
Counters - Shows you a list of diagnostic counters. Use PAGE UP and
PAGE DOWN to scroll through the list of counters displayed.
Note: If you have the receiver connected to a DSL (Digital Subscriber Line)
phone line, it may cause this test to fail. If so, you will need to install a DSL
filter between the receiver and the phone jack on the wall. You should be
able to get a DSL filter from your DSL provider, or your local electronic
parts store.
2. Select
Done.