E
Recording
Basic SetupConnections Playback EditingIntroduction Function Setup Others
Español
BASIC RECORDING & ONE-TOUCH TIMER RECORDING
Press
STOP
to stop recording.
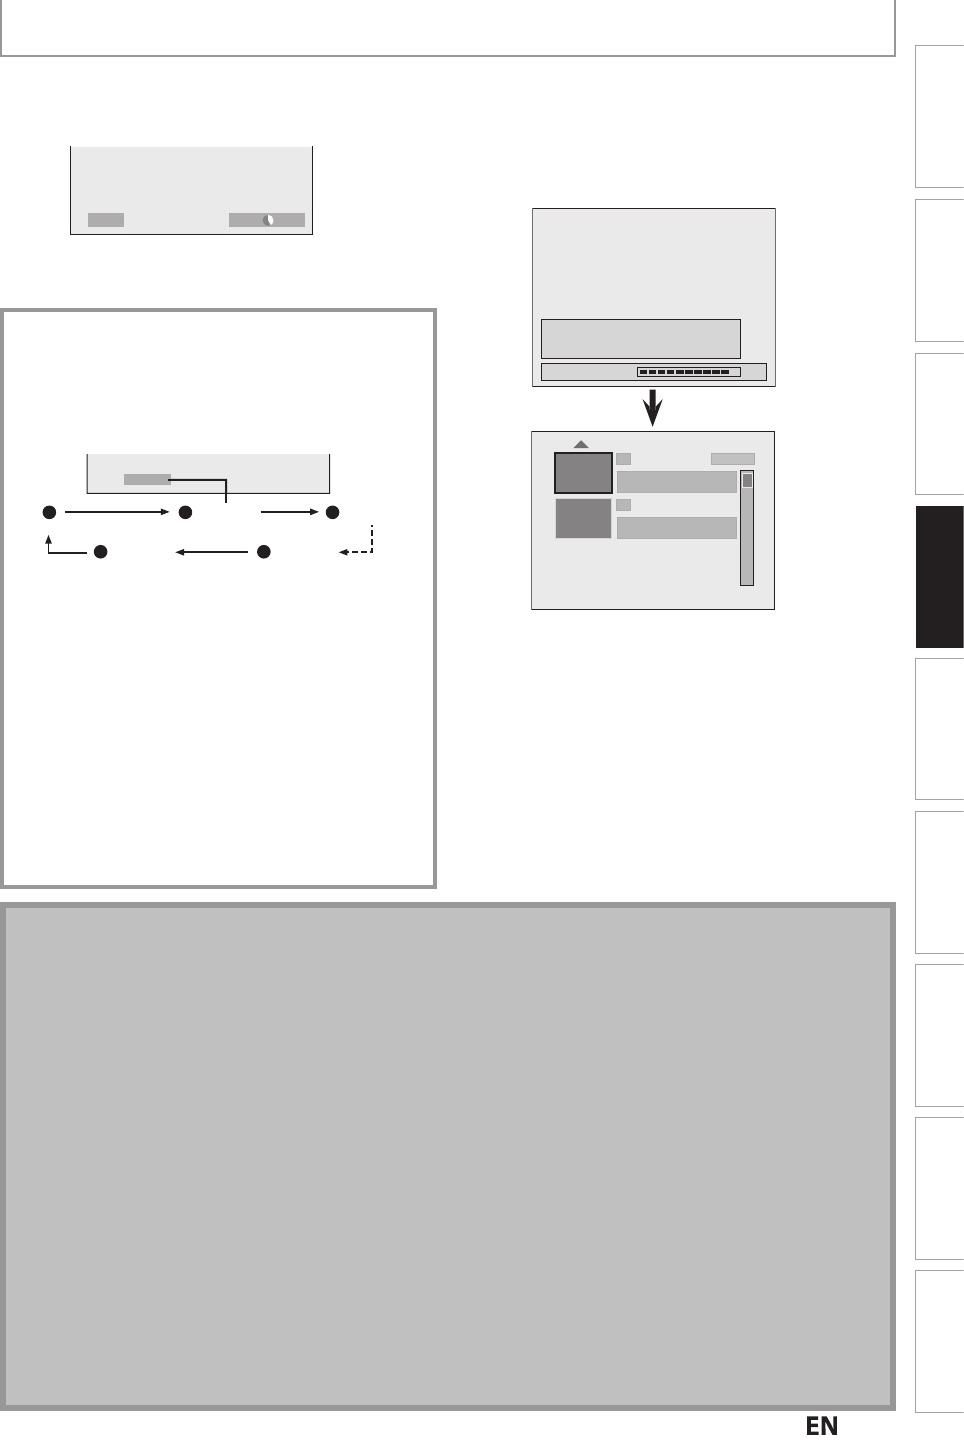
As for DVD recording, the title list will appear
automatically a
ter writing to a disc complete.
(Refer to “Guide to a Title List” on page 83.
e.
.) DVD+R
Writing to Disc
Please finalize the disc when the writing is
completed before playing back on other DVD
players.
90%
1 SP(2Hr)
2
EMPTY SPACE
1:41:17
SP (2Hr)
NOV/25/12 11:00
AM
CH12 SP
SUN NOV/25/12 0:20:44
• Pr
STOP
xi
h
i
l
li
Press [REC] to start recor
ing
HDD”
r “
DVD” will be displa
ed for 4 seconds.
e.g.
DV
I
DVD
SP(2Hr) 2h00m
Press
PAUSE
to pause recording.
Pr
[PAUSE
]]
r [REC] again to restart
recording
To set one-touch timer recordin
(OTR)..
This is a simple way to set the recording time in blocks
of 30 minutes
Pr
REC
repeatedly until the desired recording time
(30 minutes to 6 hours) appears on the TV screen
One-touch timer recordin
will start
0h30m 1h00m
(normal recording)
5h30m6h00m
I
0h30m
o c
ange t
e recor
ing
engt
uring t
e one-
touc
timer recor
ing
r
REC
repeatedl
until the desired length appear.
o cancel the one-touch timer recording within the
specified time
Pr
STOP
en t
e recor
ing is comp
ete
, t
e unit wi
as
ou w
et
er to turn t
e unit to t
e stan
y mo
e
except un
er con
itions
iste
e
ow
- If a timer recording is programmed to start in 5 minutes
During pla
back of HDD or DVD
While displaying menus or in
ormation on the screen.
• The unit will be turned to the standb
mode automaticall
i
ou select “Yes” or if
ou do not repl
in 1 minute
N
• When you press
REC
recording starts immediately and continues until the HDD or disc is
ull, record 12 hours to
HDD or you stop recor
ing
• This unit cannot record ima
es with an aspect ratio of 16:9. The 16:9 ima
es will be recorded as 4:3.
• When the unit clock has not been set, the space for a date and time of title names will be blank.
• When you record a TV program, you have to select the TV channel audio be
orehand. Only the selected channel
audio will be recorded. Re
er to “Selecting TV Audio” on pages 36-37
or more details
• This unit cannot record in both stereo and SAP (secondar
audio program) at the same time.
• You cannot chan
e the recordin
mode durin
the recordin
pause mode
• You can change a channel to be recorded during the recording pause mode
• You can pla
back a title on one component while making a recording on other. To do so, simpl
select the
omponent (HDD or DVD) you like to use for the playback by pressing
HDD
r
DVD
durin
HDD / DVD
recording. And then follow the normal pla
back procedure
• If playback and recording are in progress at the same time, select the appropriate component by pressing
HDD
r [DVD] before you press [PAUSE
r [STOP
to
ause or sto
the o
eration
Note for one-touch timer recordin
• The remaining recording time will be displayed on the front panel display during one-touch timer recording. Press
DISPLAY
i
n
h
TV
r
n
• Unlike the timer recording, you can perform the following operations during one-touch timer recording.
- Turning the power to the standby mode to stop one-touch timer recording.
- Using
REC
r
STOP
n
h
r
m
n
r
l
• You cannot use the pause function during one-touch timer recording
