


4
8
E
N
EN
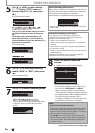
5
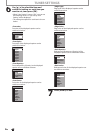
Use
[
K
/
L
/
s
/
B
] to se
l
ect Ana
l
o
g
(“- - -”) / Digita
l
(“DTV”) mo
d
e or
Externa
l
input (L1 / L2), t
h
en press
[
B
]
.
e.
g
.) externa
l
input mo
d
e
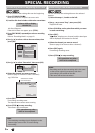
L1
OFF
FEB/10
SP 1h00m
SP
10 : 30AM
11 : 30AM
Skip
CH
Date
REC To
HDD
Mode
Start End
satellite box), select L1 or L2
.
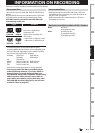
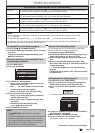
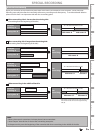
Use
[
K
/
L
] or [t
h
e Num
b
er
b
uttons] to se
l
ect
the Channel Number to Record, then press
[
B
]
.
For Digital mode, select both Major and
Minor Channels. Refer to “How to Select a
Channel Number for the Timer Recording” on
page 49 for more details.
e.g.) analog mode
OFF
FEB/10
SP 1h00m
SP
10 : 30AM
11 : 30AM
Skip
CH
Date
REC To
HDD
Mode
Start End
- - - 10
OFF
FEB/10
SP 1h00m
SP
10 : 30AM
11 : 30AM
Skip
CH
Date
REC To
HDD
Mode
Start End
DTV 69.1
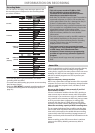
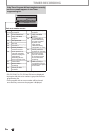
6
Use
[
K
/
L
] to se
l
ect t
h
e Recor
d
ing
me
d
ia (“HDD” or “DVD”), t
h
en press
[
B
]
.
e.g.) recording to DVD
OFF
FEB/10
SP 1h00m
SP
10 : 30AM
11 : 30AM
Skip
CH
Date
REC To
DVD
Mode
Start End
DTV 69.1
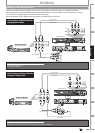
Use
[
K
/
L
]
to se
l
ect a Recor
d
ing mo
d
e.
DTV 69.1
OFF
FEB/10
SP 1h00m
SP
10 : 30AM
11 : 30AM
Skip
CH
Date
REC To
DVD
Mode
Start End
• You can check the remaining recordable space
o
f
the disc when you select the Recording
mode
.
DTV 69.1
OFF
FEB/10
SP 1h00m
SP
10 : 30AM
11 : 30AM
Skip
CH
Date
REC To
DVD
Mode
Start End
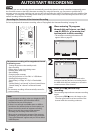
Auto Recor
d
in
g
mo
d
e se
l
ect..
.
When “Auto” is selected as a Recordin
g
mode, the unit
ca
l
cu
l
ates
h
o
w m
uc
h
t
im
e
i
s
a
v
a
il
ab
l
e
o
n
t
h
e
d
i
sc
a
n
d
selects the Best Recording mode available
automatically to complete Recording the program
.
DTV 69.1
OFF
FEB/10
Auto 1h00m
Auto
10 : 30AM
11 : 30AM
Skip
CH
Date
REC To
DVD
Mode
Start End
• “Auto” is only available for One program in the Timer
P
rogram list
.
Alternate recording (DVD only)...
In the
f
ollowing cases, the unit will detect it and
automatically record to the HDD even when DVD is
se
l
ecte
d
as t
h
e recor
d
ing me
d
ia.
- If
t
h
e
r
e
i
s
n
o
r
eco
r
dab
l
e
d
i
sc
in
t
h
e
u
ni
t
- I
f
the disc does not have enough space to complete the
r
ecordin
g
- I
f
the material is “copy-once” program and prohibited to
b
e recor
d
e
d
on a DVD
- If the disc is not available because the repairin
g
process is
c
ancelled halfwa
y
This
f
eature is available only
f
or Timer Recording. Not
available
f
or One-Touch Timer Recording
.
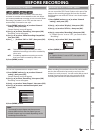
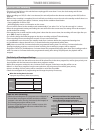
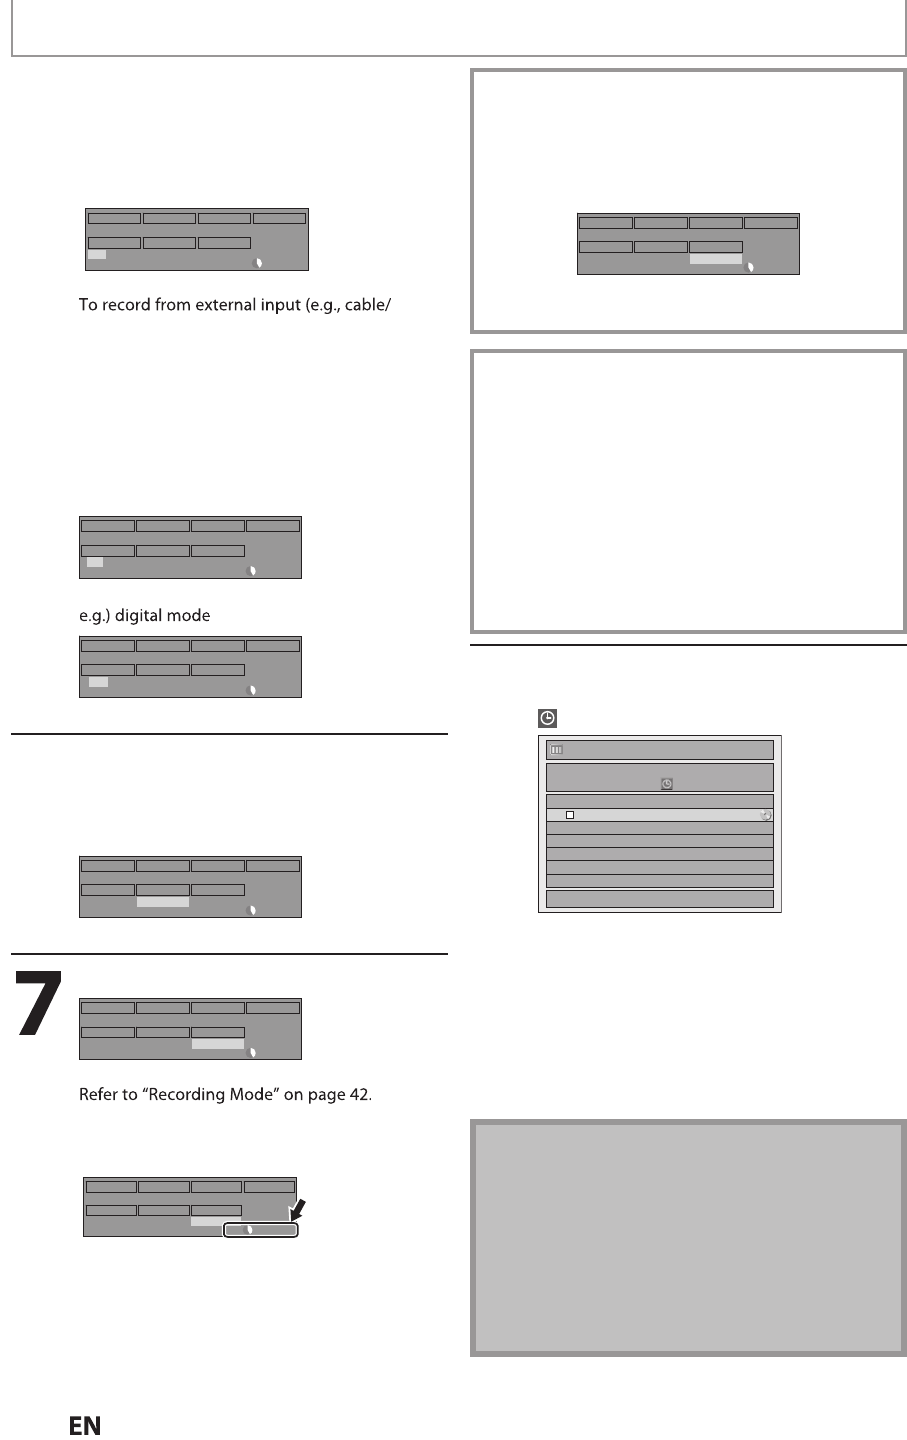
8
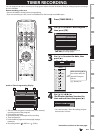
Press [OK] w
h
en a
ll
items are
entere
d.
will appear on the
f
ront panel display.
Timer Programming
1/1
THU FEB/09 11:30AMSP (1:00)
FEB/10/12 10:30 AM 69.01 SP
Skip Date Start End CH
FEB/10 10:30AM 11:30AM DTV69. 1
New Program
Your pro
g
ram settin
g
is now stored
.
• To set another program, repeat steps 2 to 8.
• To exit,
p
ress
[
TIMER PROG.
]
or
[
MENU
]
.
• When 2 or more programs are overlapped,
“
Timer pro
g
ram overlapped” appears, and the
overlapped program will be displayed in blue.
• To correct the timer program refer to
“
Checking, cancelling, or correcting the Timer
P
rogramming information” on page 49.
TIMER RECORDING
Note
• If you have not set the clock yet
:
E
ntr
y
screen for the clock setting will appear instead
of the Timer Pro
g
rammin
g
list at step 1. Continue
with the step 5 in “Manual Clock Settin
g
” on pa
g
e 34
before settin
g
a Timer Pro
g
rammin
g.
• Use
[
s
/
B
]
to move the cursor to the left and the
ri
g
ht in the entry screen for the Timer Programmin
g
.
• You cannot make a Timer Recording program that
exceeds 12 hours.
Instructions continue on the next pa
g
e.