RQT8320
21
You can enter up to 16 programmes up to a month in
advance.
(Each daily or weekly programme is counted as one
programme.)
1 Press [PROG/CHECK].
2 Press [e,r] to select “New Timer
Programme” and press [ENTER].
3 Press [q] to move through the items
and change the items with [e,r].
• Press and hold [e,r] to alter Start (Start time) and
Stop (Finish time) in 30-minute increments.
• You can also set Name (Programme position/TV
Station Name), Date, Start (Start time), and Stop
(Finish time) with the numbered buttons.
• You can also press [REC MODE] to change the
recording mode.
•Date
• To enter programme name
Press [w,q] to select “Programme Name” and press
[ENTER] (Ô page 43).
4 Press [ENTER].
The settings are stored and the programme goes to
timer recording standby.
The timer icon is displayed in left column.
“z” lights on the unit’s display to indicate timer
recording standby has been activated.
Repeat steps 2–4 to programme other recordings.
To exit the timer recording list
Press [PROG/CHECK].
1 When this unit is on
Press [g].
The confirmation screen appears.
2 Press [w,q] to select “Stop
Recording” and press [ENTER].
Recording stops and the timer recording is cancelled.
(Daily and weekly timers remain and timer recording
will start as programmed.)
1 Press [PROG/CHECK].
2 Press [e,r] to select the programme
and press [A].
The timer icon (Ô left) disappears.
• To put the programme on recording standby
again
Perform step 2 again before the programme start time
to put the programme on recording standby. Timer
recording will work only if the timer icon is displayed.
•“z” flashes on the unit’s display for about 5 seconds when
the unit cannot go to timer recording standby (e.g., a
recordable disc is not in the disc tray).
• Timer recordings begin when the set time is reached even
when recording or when playing.
• If the unit is turned on when timer recording begins, it
remains turned on after recording finishes. It does not turn
off automatically. You can turn the unit off during timer
recording.
• If the unit is not put in the timer recording standby mode at
the last 10 minutes before the programmed timer recording
starting time, “z” flashes on the unit’s display. In this case,
insert a recordable disc to put the unit in the timer recording
standby mode.
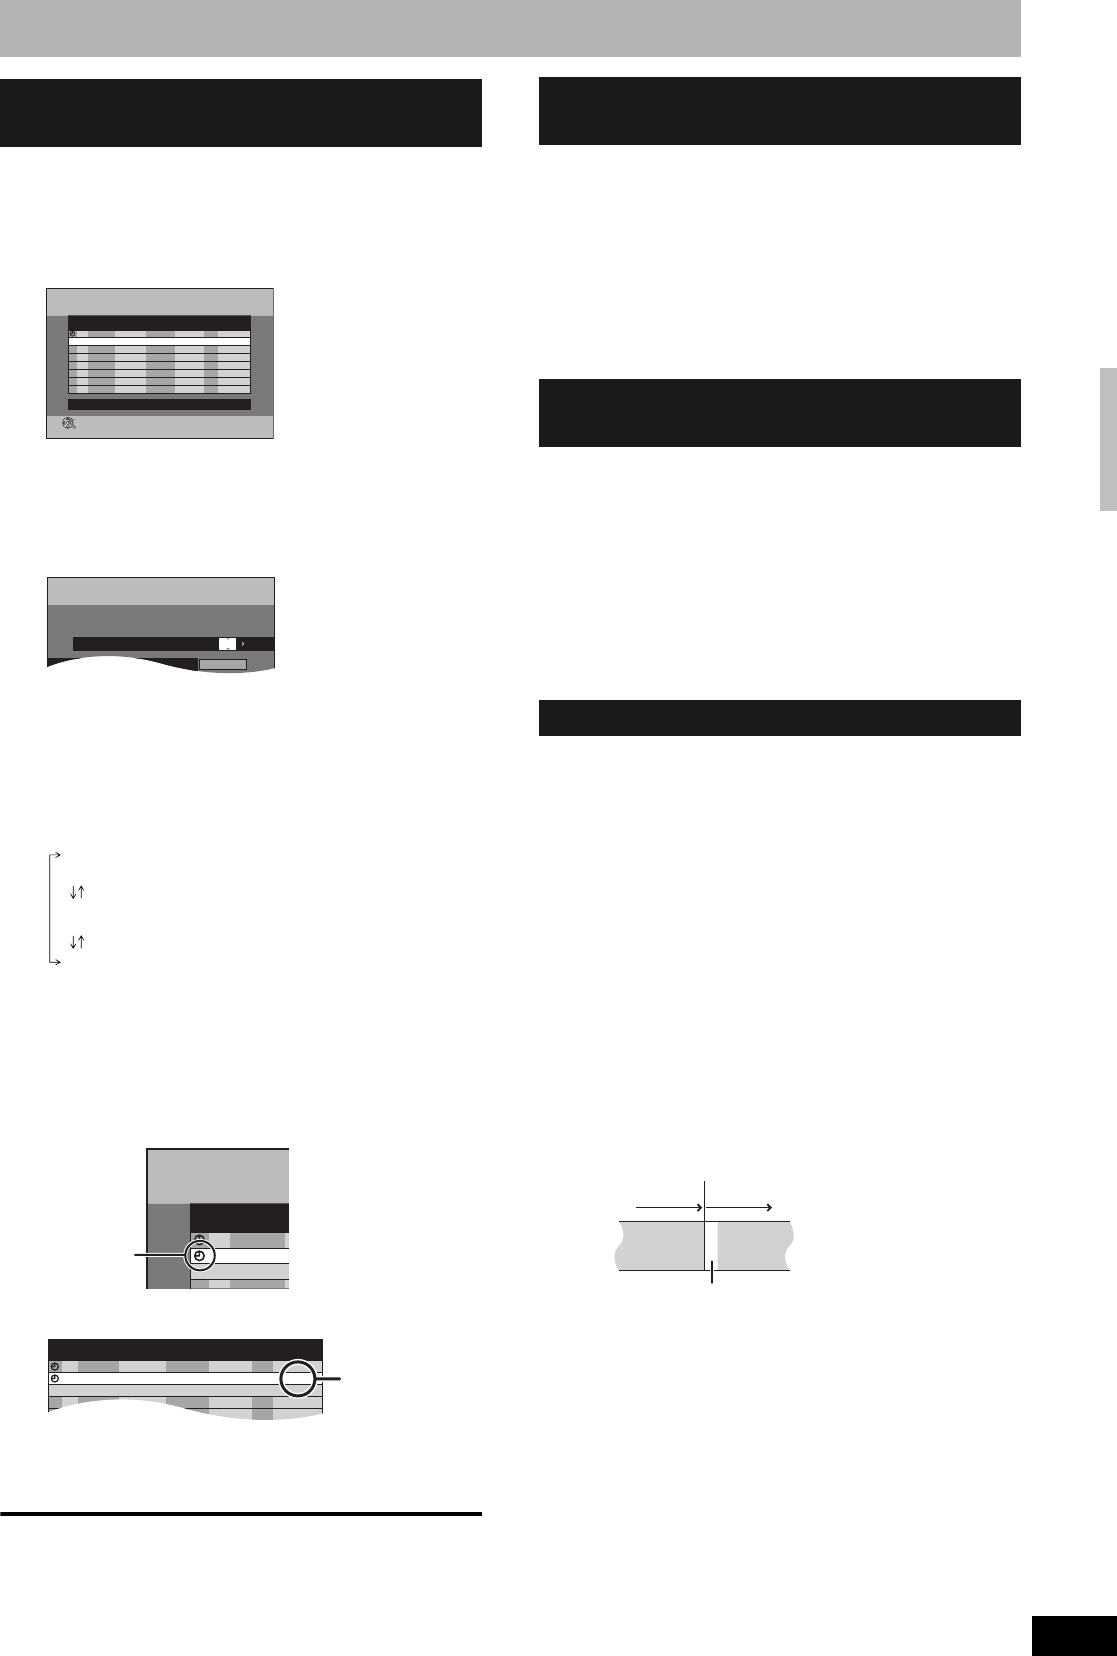
• If you are making consecutive recordings that will start one
after the other, the beginning of the later programme cannot
be recorded.
e.g., Programme1 10:00–11:00
Programme2 11:00–12:00
• If the actual broadcasting times of timer recordings overlap,
the recording that starts first always has priority, and the
recording of the later programme will start only after the first
timer recording has finished.
Manually programming timer
recordings
S
SUB MENU
Timer Off
A
CANCEL
Timer
Recording
Remain
8:17:23 7/ 5 SUN
1:57 SP
NameNo. Date
7/ 5 SUN
Start
19:00
New Timer Programme
Stop
20:00
Mode
SP
Drive
space
OK
ENTER
RETURN
BBC101
Press ENTER to store new programme.
Name Date Start Stop Mode
Timer
Recording
Remain
7/ 5 SUN
SP
7/ 5 SUN 19:00 20:00BBC1
Programme Name
8:18:12
1:57
SP
Date: Current date up to one month later
minus one day
Daily timer: SUN-SAT → MON-SAT → MON-FRI
Weekly timer:SUN → --- → SAT
Timer
Recording
NameNo.
BBC101
BBC102
Timer icon
NameNo. Date
7/ 5 SUN
Start
19:00
Stop
20:00
Mode
SP
Drive
space
OKBBC101
7/ 5 SUN 22:00 22:30 SP OKBBC102
New Timer Programme
When “!”
appears, make
sure the disc
has a sufficient
space.
To cancel recording when
recording has already begun
To release the programme from
recording standby
Notes on timer recording
11:00
Programme2Programme1
RecordedRecorded
Not recorded
Timer recording


