


Getting started
04
22
En
Use the
/
(cursor left/right) buttons to move
from one field to another.
• You can go back to the previous screen at anytime in
the Setup Navigator by pressing
RETURN
.
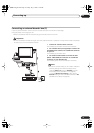
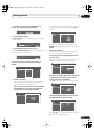
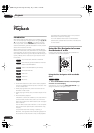
7 That’s it! Press ENTER to finish setting up.
Other settings you can make
After setting up using the Setup Navigator, you should be
ready to start enjoying your DVD recorder. It’s possible,
however, that you may want to make a couple of
additional settings, depending on how the recorder is set
up for terrestrial TV broadcasts.
• Manual channel setting – This setting lets you skip
channels where there is no station, as well as
manually tune to stations. See
Manual CH Setup
on
page 50.
• Set Guide Preset – This setting lets you assign guide
channels to ensure that the VIDEO Plus+
programming system works correctly. See
Set Guide
Preset
on page 51.
Making your first recording
This quick guide shows you how to make a basic
recording of a TV program to a recordable DVD.
Recording is covered in much more detail in chapter 6
(
Recording
).
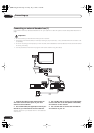
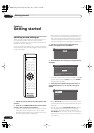
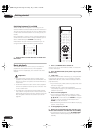
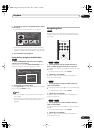
1 If they aren’t already on, switch on your TV and
this recorder.
Press
STANDBY/ON
to switch on.
• Make sure that the video input on your TV is set to this
recorder.
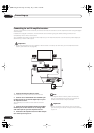
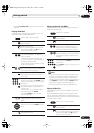
2 Press
OPEN/CLOSE (front panel only) to open
the disc tray.
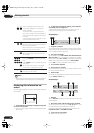
3 Load a blank DVD-R or DVD-RW disc with the
label side face-up, using the disc tray guide to align
the disc.
• When you load a new, blank DVD-RW disc, the
recorder will take a moment to initialize it for
recording.
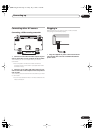
4 Use the CH +/– buttons to select the TV channel
you want to record from.
• You can also use the
+/–
buttons on the front panel if
the recorder is stopped.
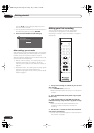
Setup Navigator
Setup is complete!
Enjoy using your DVD recorder!
Finish Setup
DVD RECORDER
ì REC
STANDBY/ON
CH+
CH–
DVR-230_UK.book Page 22 Friday, July 1, 2005 11:52 AM