Recording
06
41
En
1 During timer recording, press and hold
ì
REC for
three seconds.
Only the program is canceled (the timer indicator
disappears); recording continues so that you can
manually stop recording whenever you like.
2 When you want to stop recording completely,
press
.
Preventing use of the recorder before a
timer recording (child lock)
You can make all the front panel and remote control
buttons inoperative using the child lock feature. This is
useful when you set a timer recording and want to make
sure that the timer settings are not changed before
recording has finished.
1 If the recorder is on, switch it into standby.
2 Press and hold
on the front panel for three
seconds to lock the controls.
The front panel display briefly shows
LOCK
. If any buttons
are pressed on the remote or front panel,
LOCK
is briefly
displayed again.
• To unlock the recorder, press and hold
on the front
panel for three seconds until the display shows
OK
.
• To cancel a timer recording when the recorder is
locked, first unlock the recorder (see above), then
press and hold
ì
REC
for three seconds.
Timer recording FAQ
Frequently Asked Questions
• Even though the timer is set, the recorder
d
oesn’t start
recording!
Check that the disc loaded is recordable, not locked
(see
Lock Disc
on page 53), and that there are fewer
than 99 titles already on the DVD.
• The recorder won’t let me enter a timer program! Why
not?
You can’t enter a timer program if the clock isn’t set.
• What happens when two or more timer programs
overlap?
Basically, the program with the earlier recording start
time has priority. However, the recorder will start
recording the program with the later start time after
the earlier program is finished. If two programs have
the same times (but different channels, for example),
the program displayed higher up in the list in the
timer recording screen has priority.
Recording from an external
component
You can record from an external component, such as a
camcorder or VCR, connected to one of the recorder’s
external inputs.
1 Make sure that the component you want to
record from is connected properly to the DVD
recorder.
See Chapter 2 (
Connecting up
) for connection options.
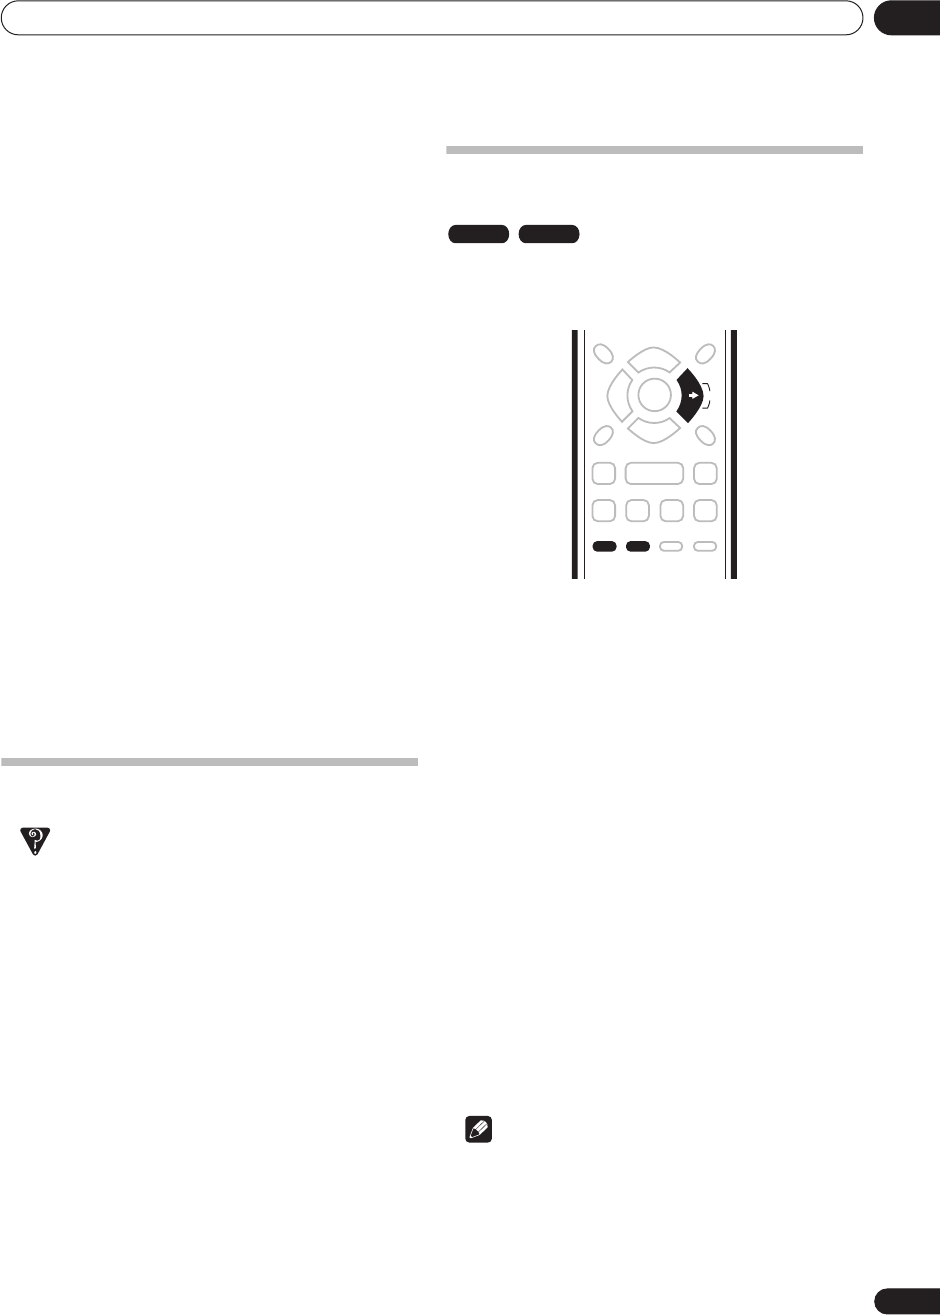
2 Press INPUT repeatedly to select one of the
external inputs to record from.
There are two analog inputs. The current input is shown
on-screen and in the front panel display:
• On-screen :
AV2/L1
(front panel disply:
L1
) – Input 1
•
L2
– Input 2 (front panel)
Check that the
Audio In
settings for
External Audio
and
Bilingual Rec
are as you want them (see
Audio In
on
page 56).
• If the aspect ratio is distorted (squashed or
stretched), adjust on the source component or your
TV before recording.
3 Set up the recorder.
• Use
REC MODE
to set the recording quality. See
Setting the picture quality/recording time
on page 36
for detailed information.
4 Press
ì
REC when you’re ready to start
recording.
Note
• If your source is copy-protected using CopyGuard,
you will not be able to record it. See
Restrictions on
video recording
on page 36 for more details.
VR mode Video mode
DVR-230_UK.book Page 41 Friday, July 1, 2005 11:52 AM


