


24 - English
System Setup
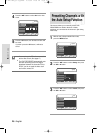
5
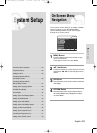
After Auto Channel Scan is completed, Auto Clock
Setting will be started automatically in 10 seconds.
If you want to start Auto Clock Setting immediately,
press OK button. If you do not want to do Auto
Clock Setting, press CANCEL or MENU button.
6
Wait until current date and time are displayed
automatically. If you want to exit Auto Clock
Setting, press MENU button.
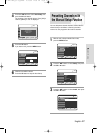
7
Check the date and time.
• if it is : Correct, press OK button then the date
and time will be saved. If you don't press
the OK button, the date and time will be
saved automatically after 5 seconds.
• if it is : Incorrect, input correct Time, Date, Year
using …†œ √ buttons or number buttons.
Press OK button then the date and time
will be saved. When you need to change
clock setting, you can set up it manually.
(see page 25)
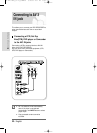
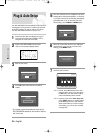
Plug & Auto Setup
Your DVD RECORDER will automatically set itself up when
it is plugged in for the first time. TV stations and clock will
be stored in memory. The process takes a few minutes.
Your DVD RECORDER will then be ready for use.
1
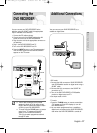
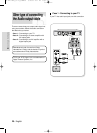
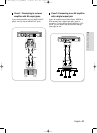
Connect the RF cable as indicated on page 17.
(Connecting Your DVD RECORDER to the TV
Using the RF Cable and scart cable.)
2
Plug the DVD RECORDER into the mains.
“Auto” in the front panel display flickers.
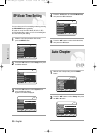
3
Start the auto setup.
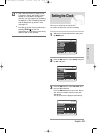
4
Press OK button. Auto Channel scan will be
started.
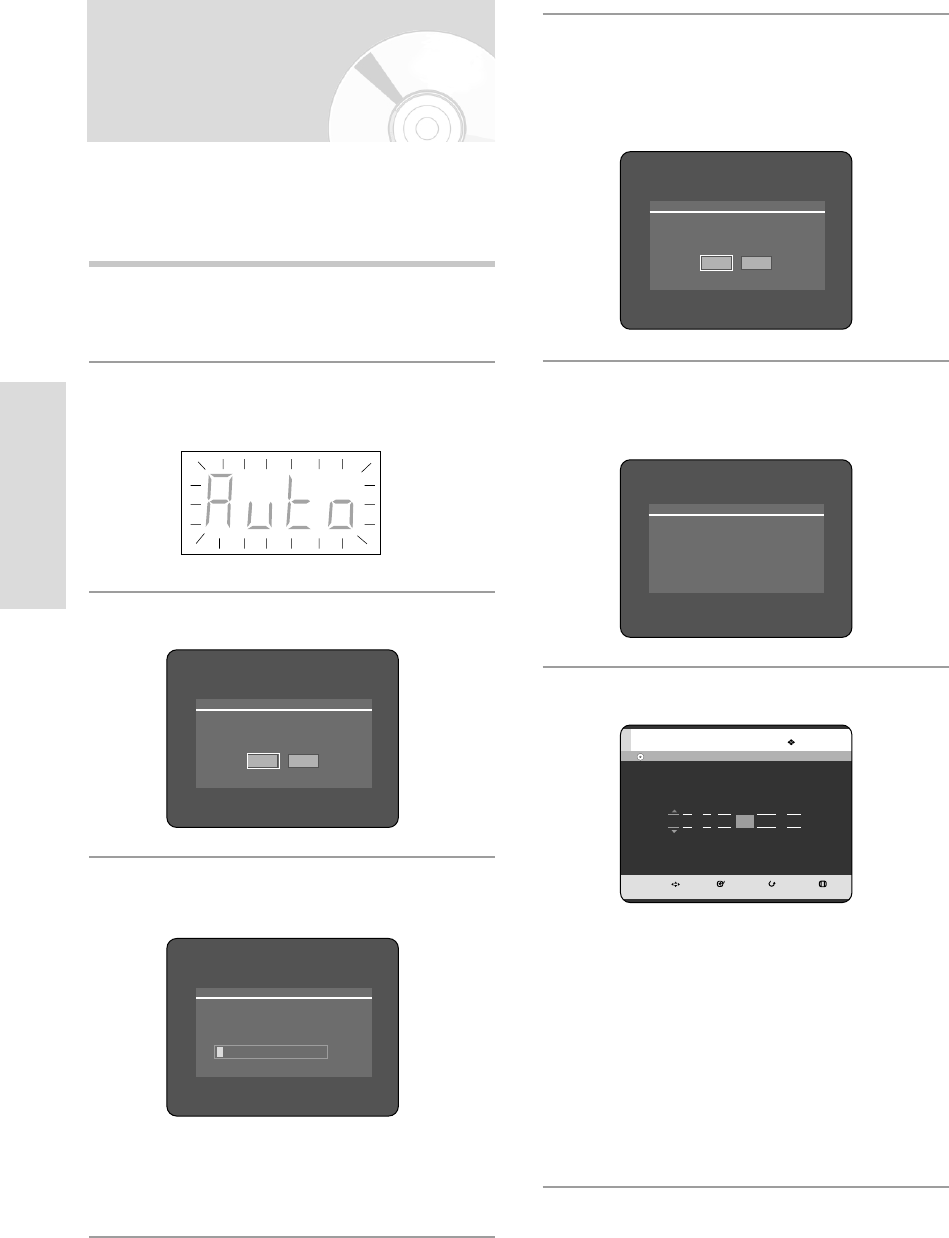
• The number of stations automatically stored by the
DVD RECORDER depends on the number of stations
that it has found.
Please wait. Now setting the clock.
If you want to exit clock setting,
press the [MENU] button.
Auto channel scan completed successfully.
Press the [OK] button to auto clock set.
Yes No
No Disc
MOVE SELECT RETURN EXIT
Clock Set
07 : 49 01 / JAN SAT 2005 On
Time Date
Auto Clock
Auto setup will be started.
Check antenna and TV cable connection.
OK Cancel
10%
Channel Scan
Now,Scanning...
03-R119-XEU_23-39_SETUP 8/19/05 12:39 PM Page 24