77
Settings and Adjustments
Settings and Adjustments
Clock and Language
Settings (Basic)
The “Basic” setup helps you to make clock
and language settings for the recorder.
1 Press SYSTEM MENU while the
recorder is in stop mode.
2 Select “SETUP,” and press ENTER.
3 Select “Basic,” and press ENTER.
The options for “Basic” appear. The
default settings are underlined.
To turn off the display, press SYSTEM
MENU repeatedly.
Normally the clock is set automatically using
the time and date information broadcasted by
the local network package.
If the recorder does not receive a time signal
from any service, you may set the clock
manually. Therefore, please proceed as
follows.
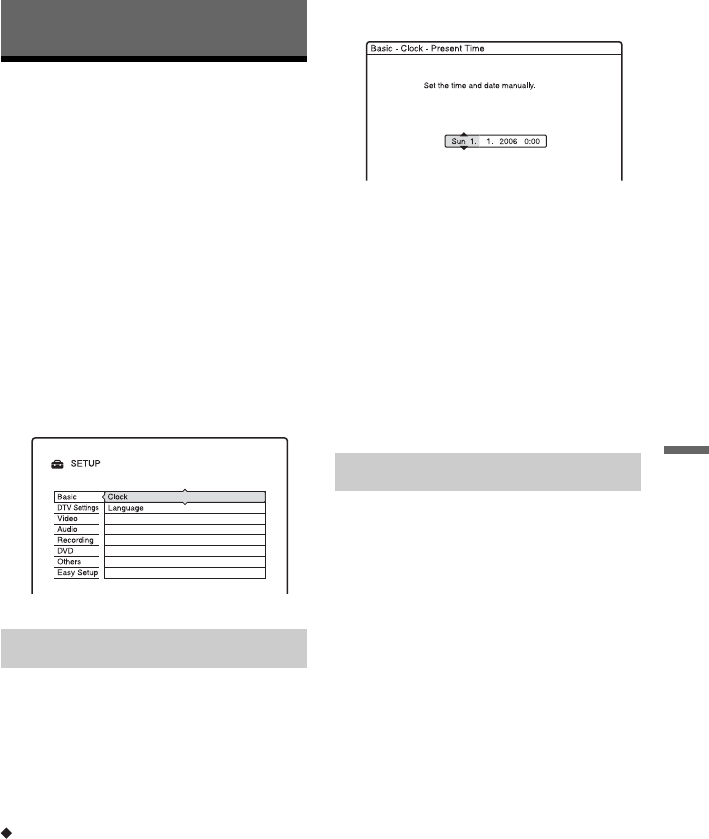
To set the clock manually
1 Select “Clock” in “Basic,” and press
ENTER.
2 Select “Present Time,” and press
ENTER.
3 Press M/m to set the day, and press ,.
Set the month, year, hour, and minutes in
sequence. Press </, to select the item
to be set, then press M/m to set the
numbers. The day of the week is set
automatically.
To change the numbers, press < to
return to the item to be changed, and
press M/m.
4 Press ENTER to start the clock.
DVD Menu (DVD VIDEO only)
Switches the language for the DVD menu.
Audio
Switches the language of the sound track.
When you select “Original,” the language
given priority in the disc or broadcasted by a
digital channel is selected.
Subtitle
Switches the language of the subtitles
recorded on the disc or broadcasted by a
digital channel (when available).
When you select “Audio Follow,” the subtitle
language changes according to the language
you selected for the sound track.
z Hint
If you select “Others” in “DVD Menu,” “Subtitle,”
or “Audio,” select and enter a language code from
“Language Code List” on page 105 using the
number buttons.
b Note
If you select a language in “DVD Menu,”
“Subtitle,” or “Audio” that is not recorded on the
DVD VIDEO, one of the recorded languages will
be automatically selected.
Clock
Language
