82
Signal Strength
This information screen shows the signal
strength of the broadcast you are watching.
1 Select “Signal Strength” in the
“Technical Information” and press
ENTER.
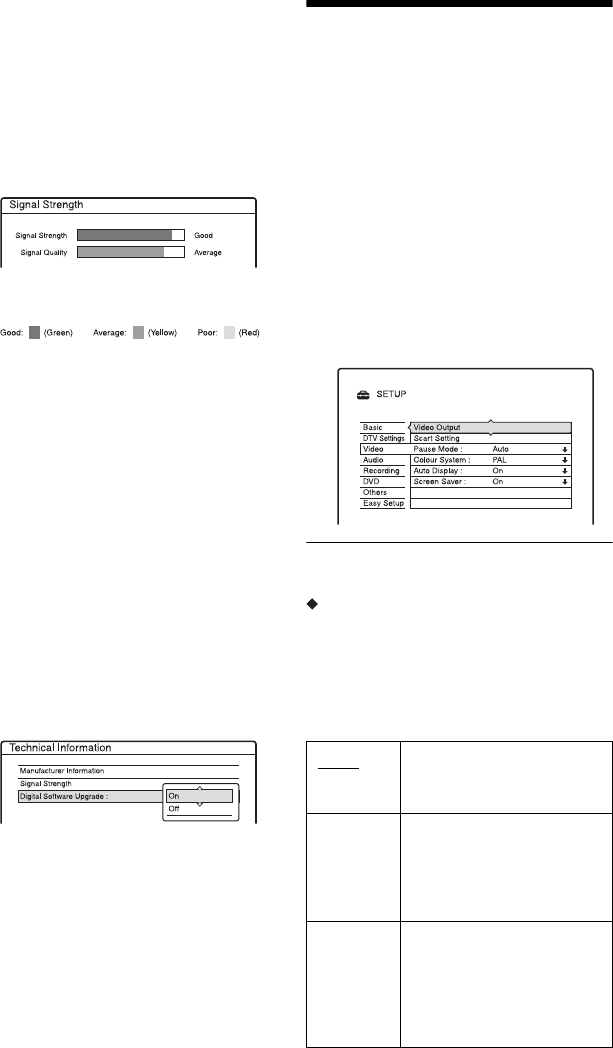
The “Signal Strength” display appears
with the selected channel on view in the
background.
The “Signal Strength” display coloured
bars correspondences are as follows:
2 Press PROG +/– to check the signal
strength of the other tuned channels.
3 After viewing the information displayed,
press O RETURN to come back to the
Technical Information menu.
Digital Software Upgrade
Periodically Sony will issue upgrades for the
software that was initially installed in your
recorder. These upgrades will automatically
be received and enabled. If desired, you can
disable this option as follows:
1 Select “Digital Software Upgrade” in the
“Technical Information” and press
ENTER.
The “Digital Software Upgrade” menu
option appears.
2 Press M/m to select “Off,” and press
ENTER.
b Notes
• Sony recommend that you always leave this
option set to “On.”
• To receive the upgrade, the unit must be powered
on. It will take up to 30 minutes to upgrade the
unit. The new software will be available once the
unit has been placed into standby, and then back
to normal operating mode.
Video Settings (Video)
Video settings will adjust items related to the
image, such as size and colour.
Choose the settings according to the type of
TV or tuner connected to the DVD recorder.
1 Press SYSTEM MENU while the
recorder is in stop mode.
2 Select “SETUP,” and press ENTER.
3 Select “Video,” and press ENTER.
The “Video” setup appears with the
following options. The default settings
are underlined.
Video Output
TV Type
Sets the picture size when playing back a title
recorded from 16:9 size video (page 48) or a
16:9 size commercial DVD video.
Select the playback picture size according to
the type of connected TV (wide-screen/wide
mode TV or conventional 4:3 screen TV).
16 : 9 Select this when connecting
to a wide-screen TV or TV
with a wide mode function.
4:3 Letter
Box
Select this when connecting
to a 4:3 screen TV. Displays a
wide picture with bands on
the upper and lower portions
of the screen.
4:3 Pan
Scan
Select this when connecting
to a 4:3 screen TV.
Automatically displays a
wide picture on the entire
screen and cuts off the
portions that do not fit.


