


English
29
Advanced Conguration
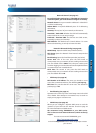
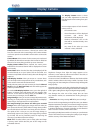
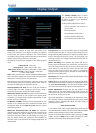
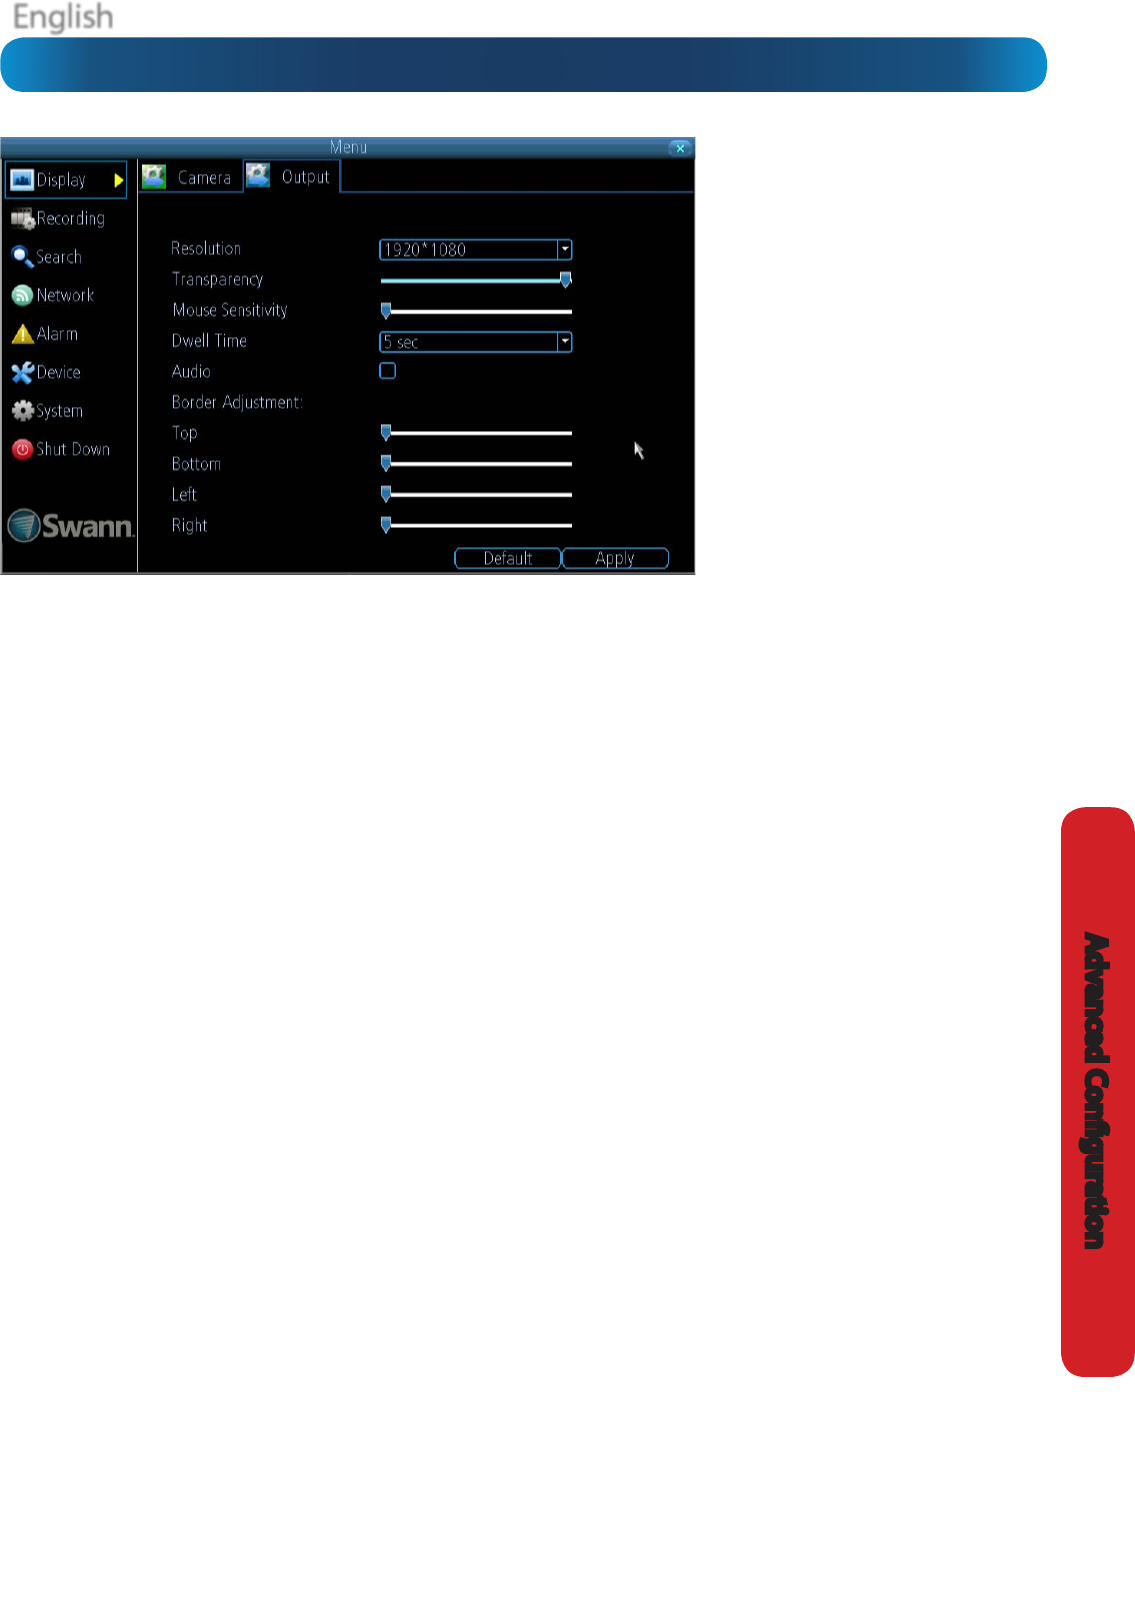
The Camera: Output menu is where
you can control how the DVR is going
to deliver an image to your television,
screen or monitor.
You’ll be able to adjust items such as:
• screen resolution and position on
your monitor
• the audio output
• the appearance of the menus
• the auto-sequence dwell time
• the sensitivity of the USB mouse
Resolution: The number of “little dots” that make up an
image. This should be set as high as possible, but equal to
or lower than the maximum resolution your screen/monitor
can display. Things change a little depending on what kind of
monitor you’re using, and how it’s connected.
The DVR has many formats available, in four dierent aspect
ratios:
Standard (4:3) - 1024 x 768
Standard (5:4) - 1280 x 1024, or 1400 x 1050
Widescreen (16:10) -1280 x 800, 1440 x 900, or 1680 x 1050
Widescreen (16:9) - 1280 x 720 (720p), 1600 x 900,
or 1920 x 1080 (1080p)
Note: 1280 x 1024 and 1400 x 1050 are considered standard aspect
ratios, and are best displayed on monitors with anamorphic pixels.
“Anamorphic” is a fancy term for “not quite square”.
Most televisions are 16:9 widescreen. Computer monitors are
still commonly produced in multiple aspect ratios, with 4:3,
16:9 and 16:10 being the most popular aspects.
Standard Monitor via VGA: Use one of the 4:3 formats to
correctly align the DVR’s output on your screen. Using a
widescreen format will “stretch” the image vertically.
Widescreen Monitor via VGA: If possible, use the widescreen
(16:9 or 16:10) format. If your monitor can’t display those
resolutions, you might need to enable letter-boxing on your
monitor and use a 4:3 format.
PC Monitor via HMDI: Choose a format appropriate for your
monitor. If it’s a widescreen, use a widescreen format. Set to
the highest option that is equal to or less than the screen’s
maximum resolution.
Widescreen Plasma/LCD HDTV via HDMI: The resolution
should be set to the maximum your television can process not
display. Typically, this will be 1080p, as even screens which
don’t have that many pixels can still display the image, just
with less detail. Check your television’s documentation to
learn this value. If your television can’t display 1080p, then use
720p instead.
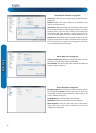
Transparency: You can set the DVR’s menus to be partially
transparent (see-though) - in case you need to keep an eye on
things while adjusting settings (or it makes you feel like you’re
living in the future because it’s so tech - we don’t judge). The
best way to set this is to simply experiment over time and see
what works for you.
Mouse Sensitivity: How sensitive the mouse will be. On
lowest, large and dramatic arm movements are required to
move the mouse but a few inches onscreen. At the other end
of the spectrum, a tiny bump or knock can send the cursor
from one side of the screen to the other. Try somewhere
around the lower end for starters, and then increase it little by
little if it’s moving too slowly.
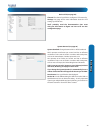
Dwell Time: How long channels will be displayed when using
auto-sequence mode.
Audio: Whether the DVR will output an audio signal. When
checked, the DVR will output audio to a compatible device (via
the HDMI [see note below] or the RCA Audio Output). When
unchecked, the DVR will not output an audio signal at all.
Border Adjustment: Changes the size and position of the
DVR’s images on the screen. Altering the border size can be
useful if you’ve got parts of the DVR’s image extending beyond
the part of the screen you can see.
The border adjustment is more likely to be required for older,
CRT computer monitors connected via the VGA output. HDMI
should (in theory) automatically adjust the DVR’s image to
perfectly t your screen.
Note: Audio via HDMI
If you want to send audio via the HDMI, then you’ll need to
use a standard HD resolution. This is due to the way that HDMI
embeds audio information around video information.
The two resolutions that will stream audio correctly are 720p
(1280 x 720) and 1080p (1920 x 1080). Selecting any other
resolution will prevent audio being sent via HDMI.
Display: Output