


Divar XF Advanced configuration menu | en 55
Bosch Security Systems Installation manual F.01U.135.429 | 2.5 | 2009.08
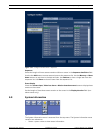
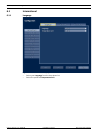
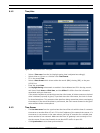
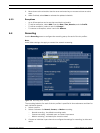
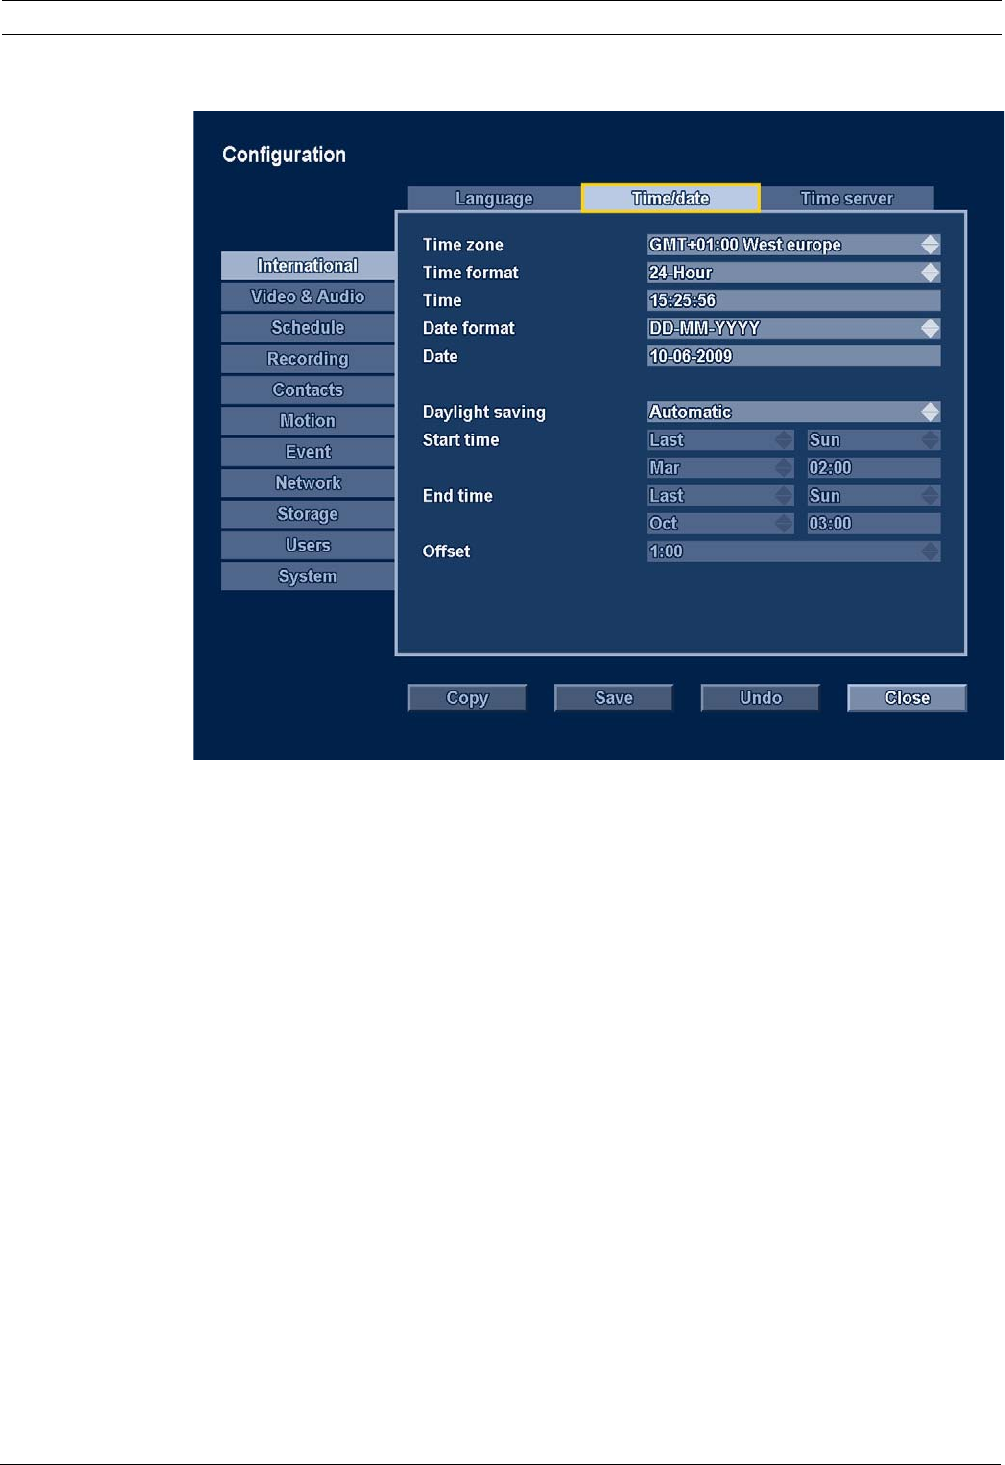
6.1.2 Time/date
Figure 6.2 International menu - Time/date
– Select a Time zone from the list (daylight saving time is adjusted accordingly).
– Select either a 12-hour or a 24-hour clock Time format.
– Fill in the actual Time.
– Select a Date format which shows either the month (MM), the day (DD), or the year
(YYYY) first.
– Enter the actual Date.
–Set Daylight Saving to Automatic to enable it. Set to Manual and fill in the day, month,
and time of both Start and End time, and the Offset if it differs from the information
associated with your time zone.
If the actual time/date is put back by more than 10 minutes, all video content on the hard
drive is deleted (a prompt is given). If put back less than 10 minutes, the clock is frozen
for that allotted time. This prevents video data from being overwritten due to overlapping
time stamps. If the actual time/date is put forward, the clock moves forward to the given
value without further consequence.
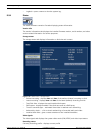
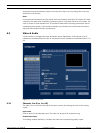
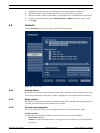
6.1.3 Time Server
– The Use time server function synchronizes the time of the unit with the time of a network
time server or another Divar XF unit. Fill in the IP address of the network time server. If a
time server is not present on the same subnet, the Divar XF searches for a suitable time
server outside its own network. Make sure the Divar XF gateway is set correctly to find
the time server. Ensure that firewalls do not block NTP traffic via port 123.
– Click Synchronize to start time synchronization.