


4
Installing the stand or wall-mount bracketDX-26L100A13
Installing the stand or
wall-mount bracket
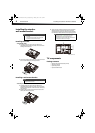
Installing the stand
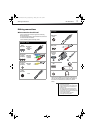
To install the stand:
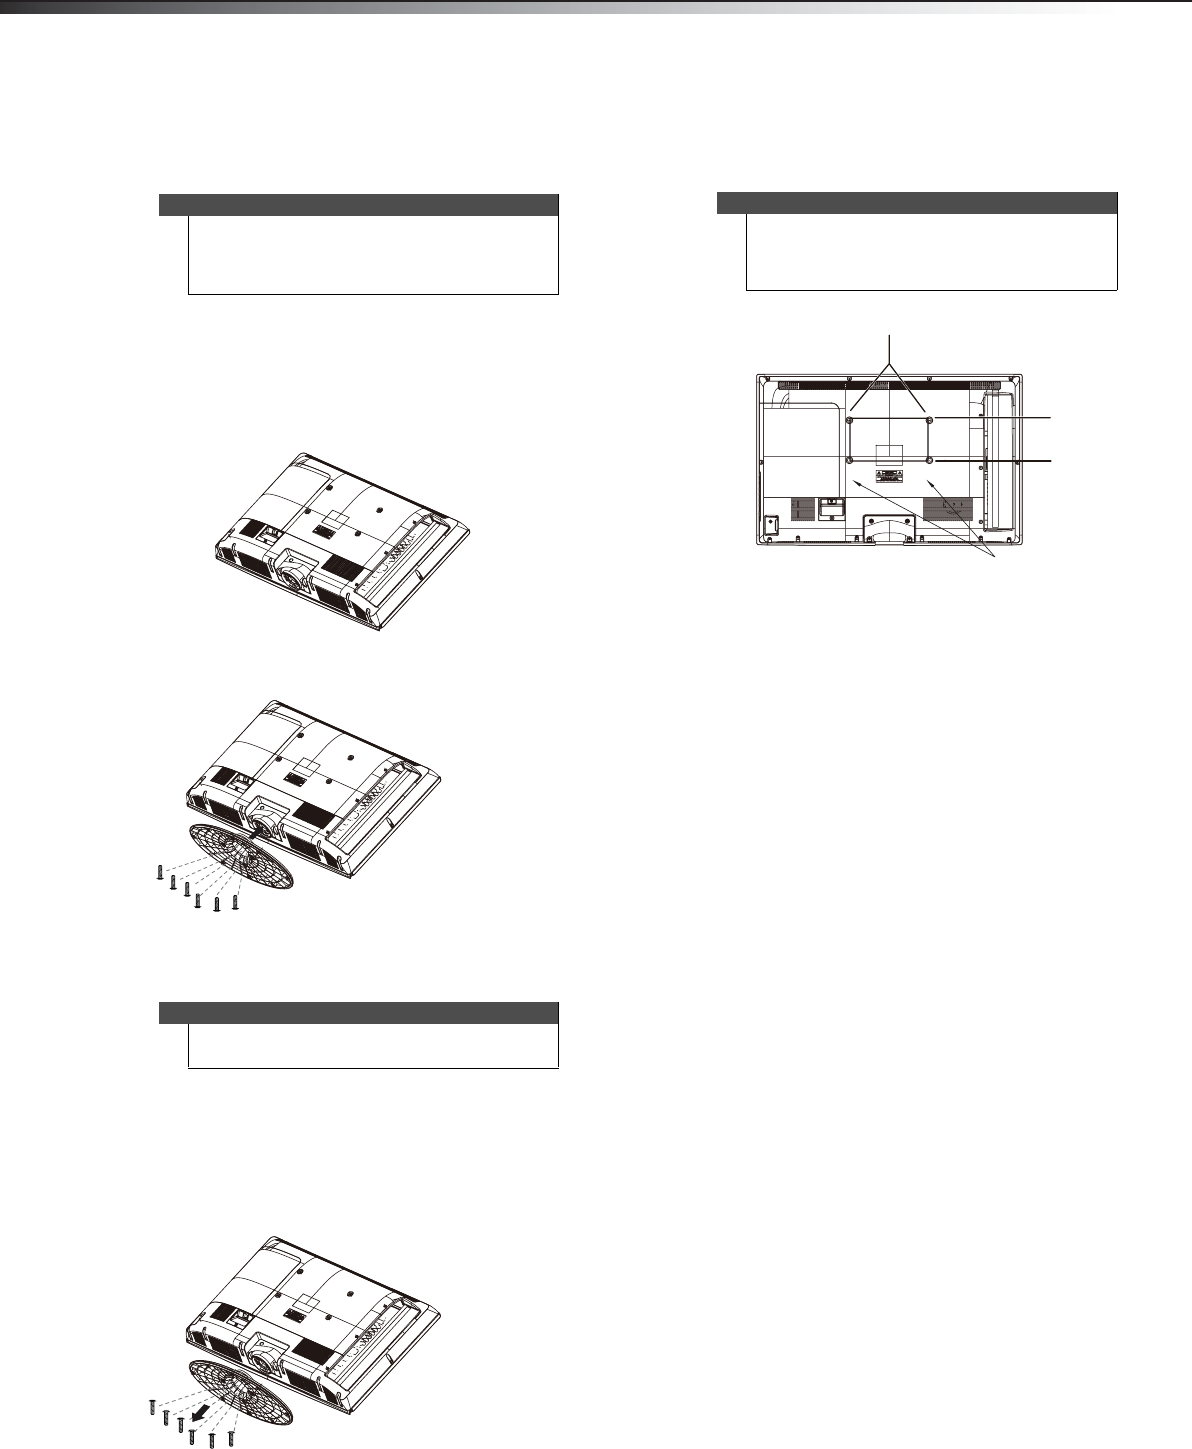
1 Carefully place your TV screen face-down on a
cushioned, clean surface to protect the screen from
damages and scratches.
2 Secure the stand to the stand column on the TV with
the six screws M4 type (16 mm) provided.
Installing a wall-mount bracket
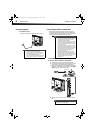
To attach your TV to a wall-mount bracket:
1 Carefully place your TV screen face-down on a
cushioned, clean surface to protect the screen from
damages and scratches. If the base is not connected,
skip to Step 3.
2 Remove the six screws that secure the base to the
stand, then remove the base.
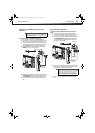
3 Attach the wall-mount bracket to your TV using the
mounting holes on the back of your TV. See the
instructions that came with the wall-mount bracket
for information about how to correctly hang your TV.
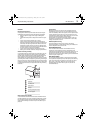
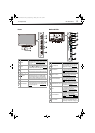
TV components
Package contents
• Remote control and batteries (2 AAA)
• Stand with screws
•Quick Setup Guide
• Important Information
Notes
• If you plan to wall-mount your TV, do not install
the stand.
• Store the stand and stand screws in case you
decide to use the stand in the future.
Warning
This apparatus is intended to be supported by a UL
Listed wall mount bracket.
Note
The length of the M4 wall-mount screws vary
depending on the wall-mount bracket you
purchased. See the instructions that came with the
wall-mount bracket for screw lengths.
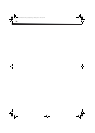
7.87 in. (200 mm)
3.94 in. (100 mm)
Wall mount bracket holes
12-0204_DX-26L100A13 MAN_V1_EN.book Page 4 Monday, June 11, 2012 3:03 PM