


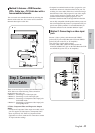
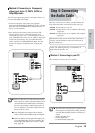
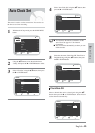
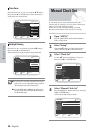
After all connections are complete, plug the power cord
in wall outlet.
“AUTO” in the front panel display flickers. This means
that the current time is being set automatically (Auto
Program) through the antenna under connection. The
setup may take several minutes.
When it normally operates, the current time is
automatically set and displayed in the front panel display.
If “- - - -“ appears, however, it means that auto time
setting has failed.
In that case, set the current time through the manual
clock set, as shown in pages 26~27.
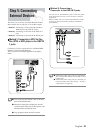
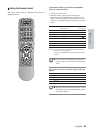
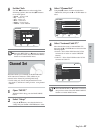
Install Batteries in the Remote Control
• Open the battery cover on the back of the remote.
• Insert two AA batteries. Make sure that the polarities
(+ and -) are aligned correctly.
• Replace the battery cover.
If remote does not operate properly:
• Check the polarity + - of the batteries (Dry-Cell)
• Check if the batteries are dead.
• Check if remote sensor is blocked by obstacles.
• Check if there is any fluorescent lighting nearby.
Dispose of batteries according to local environmental
regulations. Do not put them in the household trash.
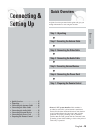
Connections
22 - English
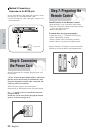
Step 6: Connecting
the Power Cord
Step 7: Preparing the
Remote Control
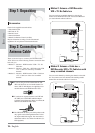
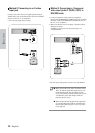
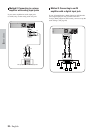
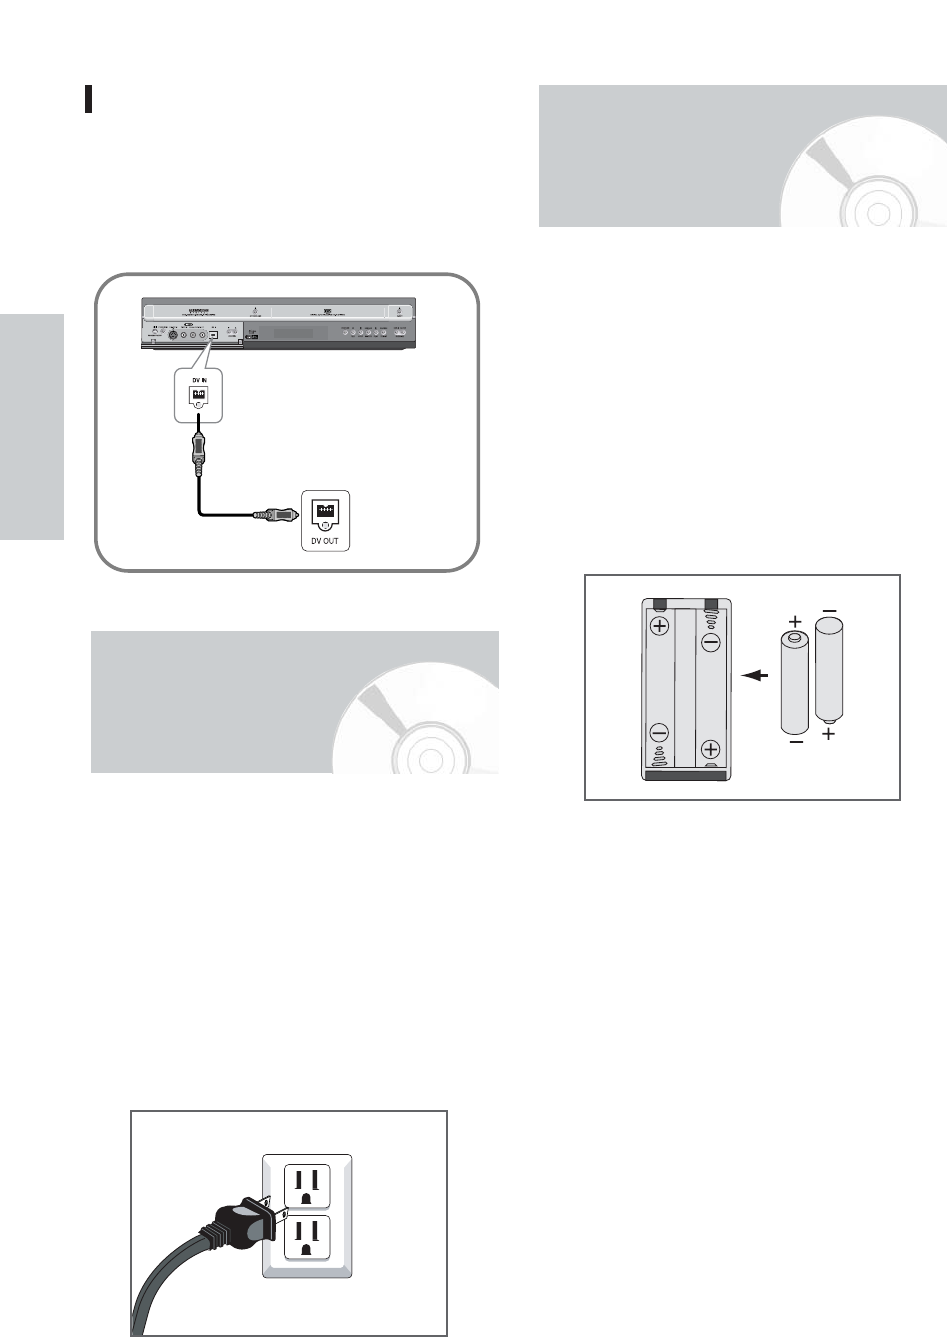
Method 3: Connecting a
Camcorder to the DV IN jack
If your camcorder has a DV output jack, connect it to the
DV input jack of your DVD Recorder-VCR.
• If your camcorder has a DV output jack, see page 71 for
more information.
To external device