Setting Up the LitePro
16 LitePro 560/570 User’s Guide
17.
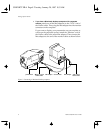
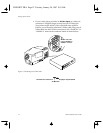
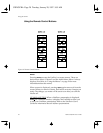
Turn on the projector by pressing the “|” side of the power
switch on the side of the projector.
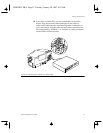
• While the projector is on, you can switch the projection lamp
off by pressing the
standby
button on the remote.
• After about 5 seconds, the projector test pattern appears.
(If it does not, refer to ”Troubleshooting” on page 47. If you
are using an IBM-compatible laptop computer, refer to
”Laptop Display Activation Chart” on page 56 for display
activation commands.)
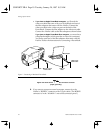
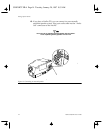
• If the image is not projected directly on the screen, adjust the
height of the elevator. Refer to ”Adjusting the Height” on
page 18 for instructions.
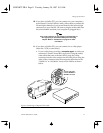
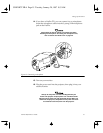
• If you need to focus the projector, turn the focus ring on the
projector’s lens until the image is clear. Refer to ”Focusing the
Image” on page 18 for more information.
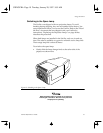
With some computers, the order in which you power up the
equipment is very important. We recommend that you always
turn on the LitePro FIRST. This is especially important if your
computer is a Macintosh.
18.
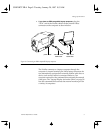
Turn on your computer.
Your LitePro is now ready to use. See ”Using the LitePro” on page 17
for information about using the remote and the on-screen menu.
CONNECT.FRA Page 16 Tuesday, January 28, 1997 9:53 AM


