


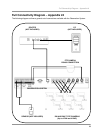

Hard Drive Replacement - Appendix #5
64
Hard Drive Replacement - Appendix #5
The System comes with a pre-installed Hard Drive; however the unit will work with a replacement single
IDE Hard Drive (up to 750GB).
NOTE: Make sure that the System is OFF and the power cable has been disconnected before changing
the Hard Drive.
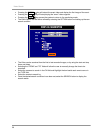
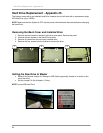
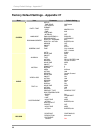
Removing the Back Cover and Installed Drive
1. Remove the two screws on the back hard drive cover panel. Remove the panel.
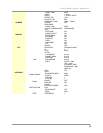
2. Unscrew the two screws on the Hard Drive bracket.
3. Remove all cables from the previously installed drive.
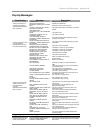
4. Remove the four screws from the bracket to remove the drive.
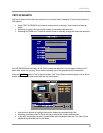
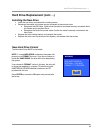
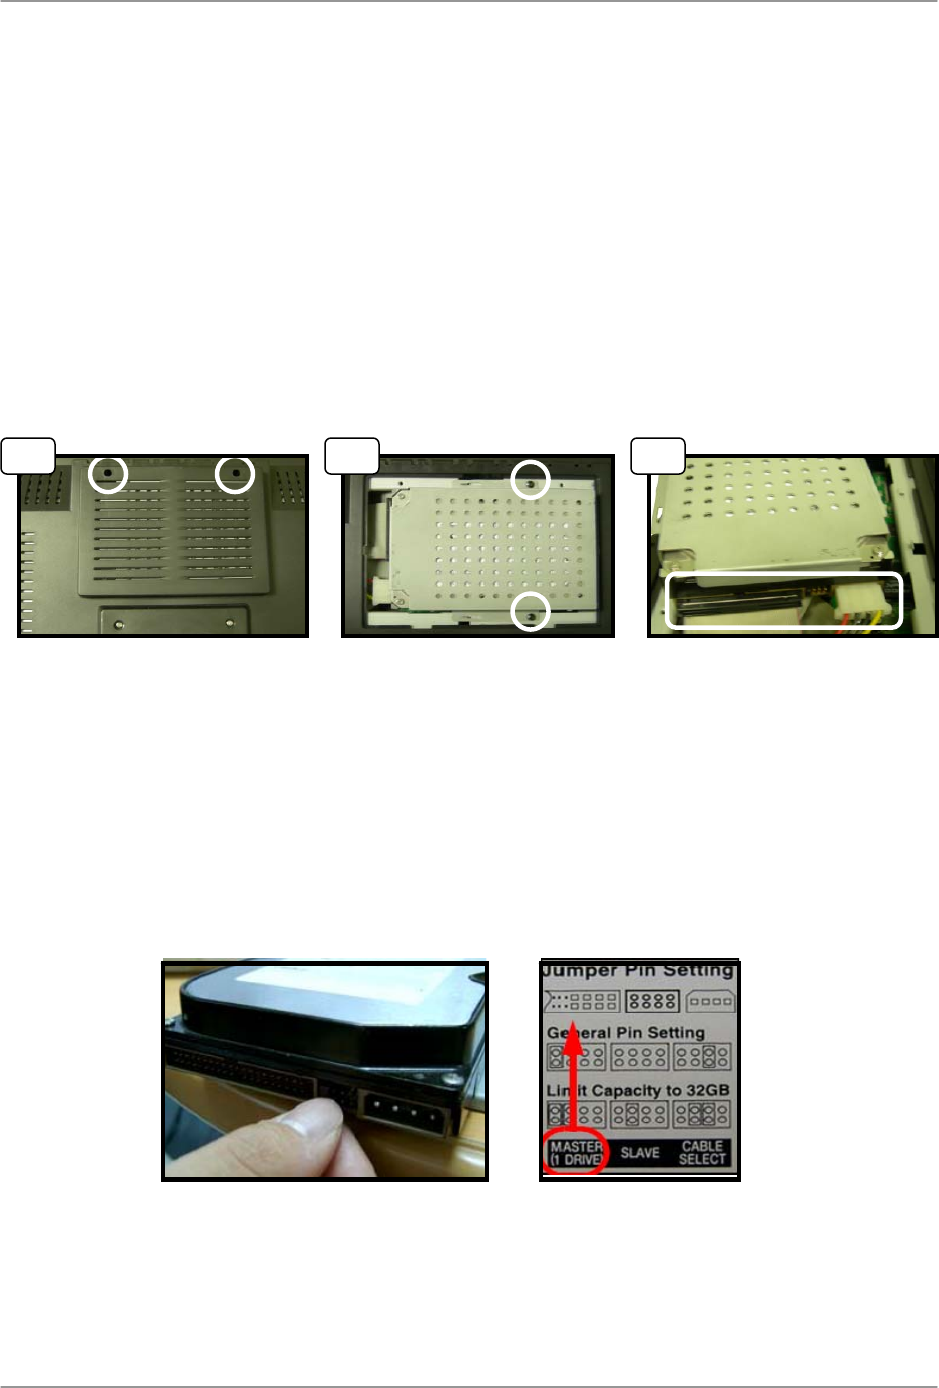
Setting the New Drive to Master
• Refer to the General Jumper Pin Setting on HDD Surface (generally located on a sticker on the
top of the drive).
• Set the Jumper Pin Set to Master (1 Drive).
NOTE: Use an IDE Hard Drive.
1 23